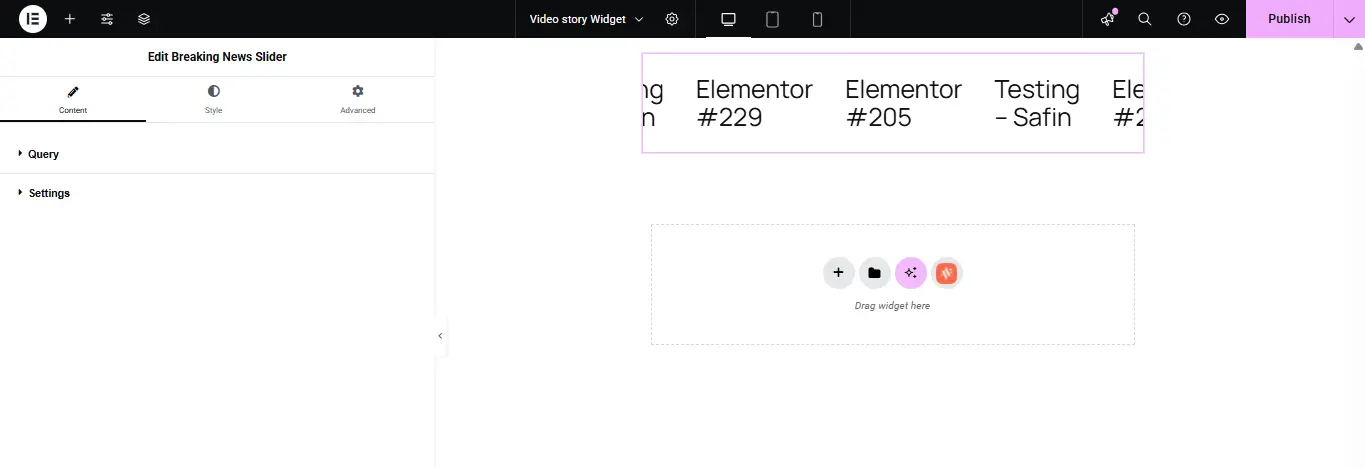
1. Getting Started
1.1 How to Purchase Animation Addons for Elementor Pro Plugin
This guide will help you purchase Animation Addons for Elementor Pro with ease, so you can start using the plugin without any hassle.
Step-by-Step Purchase Guide
Go to the official Animation Addons website and click on the ‘View Pricing’ section.

Choose a Pricing Plan
Before you make a pick, here’s the deal:
You’ve got two options — Annual or Lifetime — just choose what works best for you.
If you go with the Annual Plan, you’ll need to renew it every year to keep using the plugin. If you don’t renew, the plugin will stop working.
On the other hand, if you go with the Lifetime Plan, you just pay once and that’s it — no renewals, no hassle.
Nice and simple. The choice is yours!

Enter Payment Details
Once you pick your pricing plan, click on the “Get Started” button.
Next, enter your name and email address, then choose your preferred payment method. If you have a discount code, you can apply it here as well.
Once you’ve filled in the required details, check the box to agree to our license terms, and then click “Purchase” to complete your order.

After Purchase
After purchasing your specific plans, you will receive an email from Wealcoder. The email may be found in the email inbox or the Spam Folder.
Next, click on the wealcoder link down below. Once you click on the wealcoder link, you can view your details and downloads.


In conclusion, if you have any questions or need a hand, feel free to reach out to our support team—we’re always here to help.
1.2 How to Install Animation Addons for Elementor?
Animation Addons lets you build animated websites using the powerful features of GSAP. It makes the process faster and easier, especially when you’re working on multiple projects. Even if you have no coding experience, you can still create stunning animations with ease.
The plugin is available in both free and premium versions. If you’d like to try the free version, there are two simple ways to download it. Let’s take a look!
Method 1: Installing Plugin From Your WordPress Dashboard
From your WordPress dashboard, go to Plugins > Add Plugin. In the search bar, type “Animation Addons”.

Find the plugin called “Animation Addons for Elementor” with the orange icon.

Afterward, click Install Now, then activate the plugin once the installation is complete.


After activation, the plugin is all set and ready to go!

Method 2: Downloading & Installing from The WordPress Plugin Directory
To download Animation Addons as a ZIP file from an external source, follow the steps below.
- You can find Animation Addons by browsing the WordPress plugin directory.
- One click on the download button and the Animation Addons Zip is yours.

Go to Plugins > Add New, then click the “Upload Plugin” button


Click the “Choose File” button and upload the ZIP file you just downloaded. After that, install and activate the plugin. You’re now all set to start using Animation Addons on your website.
You can explore a variety of beautifully crafted animations or create your own custom effects with ease.
That’s it! If you have any questions or need a hand, feel free to reach out to our support team—we’re always here to help.
1.3 How To Get Support for Elementor Animation Addons for Elementor
Having trouble or need help with Animation Addons for Elementor? No worries—this page will guide you through where to find answers and how to contact support if you need one-on-one help.
Just follow the steps below to get the support you need.
Step 1: Visit the Website
First of all, visit the Animation Addons website and scroll down slightly—you’ll find the support section there.


Step 2: Fill Out the Support Form
Once you click on the Support section, the “Submit a Ticket” form will appear. Select the product “Animation Addons for Elementor Pro.”
Next, paste your license key, then enter your email, password, and name to complete the registration. After that, provide the subject of your issue and include any relevant URLs.
In the Description section, be sure to describe your issue in as much detail as possible. Finally, click “Submit Ticket” to complete the process.

We hope these steps help you easily get the support you need for Animation Addons for Elementor. However, if you have any questions or need a hand, feel free to reach out to our support team—we’re always here to help.
1.4 How To Install Animation Addons for Elementor Pro
Animation Addons for Elementor Pro is a premium plugin designed to work seamlessly with your website. Meanwhile, Animation Addons for Elementor’s free version offers limited features and can be installed directly from the WordPress dashboard.
However, the Pro version isn’t available through the WordPress dashboard.
In this guide, I’ll show you step-by-step through the process of installing the Pro version on your website.
Whether you’ve just purchased it or are setting it up for the first time, this simple guide will help you get everything up and running in no time.
Step 1
First and foremost, click on Plugins> Add Plugin> Upload Plugin, and upload the Animation Addons Pro zip file plugin that you have downloaded.

Step 2
You must install the free version of the Animation Addons plugin first; only then can you use the Pro version properly.

Step 3
Finally, explore the Animation Addons for Elementor Pro full features and take your website to the next level.

Conclusion
I truly believe that by following the steps above, you can easily install Animation Addons for your Elementor Pro website. With it, you’ll be able to make your site more engaging, animated, and interactive.
To sum up, if you have any questions or need a hand, feel free to reach out to our support team—we’re always here to help.
1.5 How to Configure Animation Addons for Elementor Features
Animation Addons for Elementor delivers performance-ready animation tools that enhance the user experience. Whether you’re aiming for subtle transitions or bold visual effects, setting it up is straightforward.
This guide will take you through everything you need to know to get started.
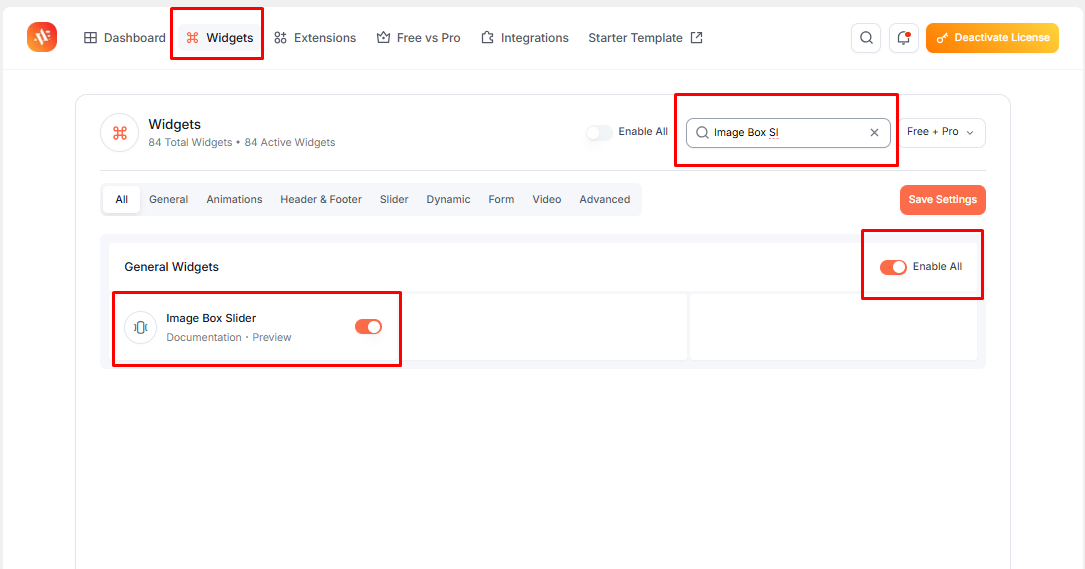
1. First of all, head to Animation Addons for Elementor > Setup, and then hit Continue.


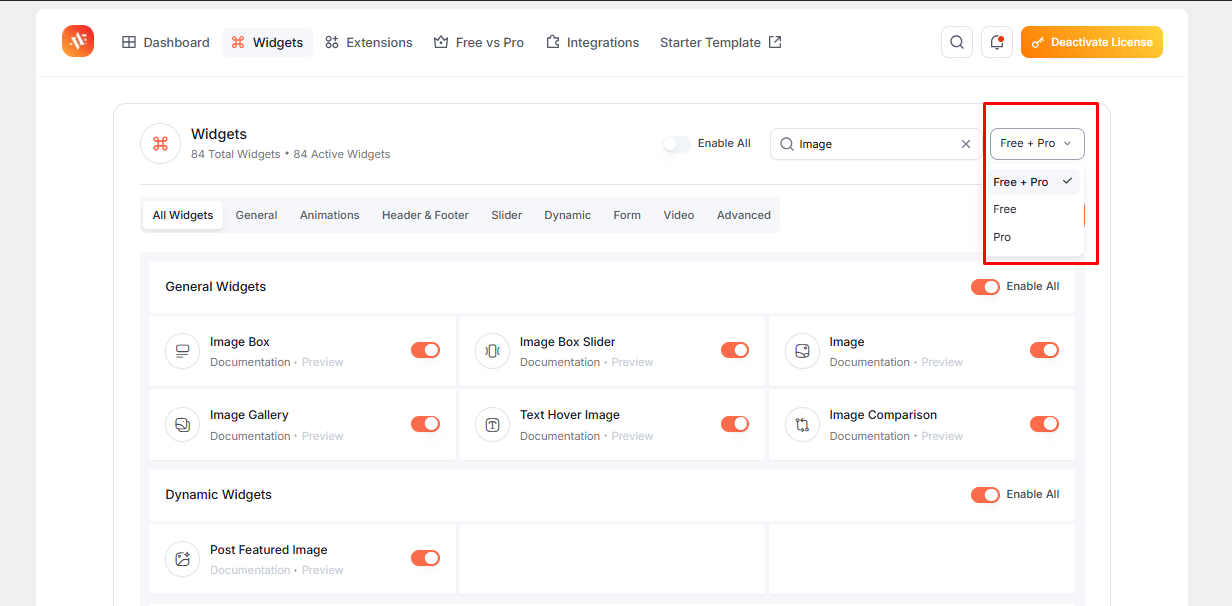
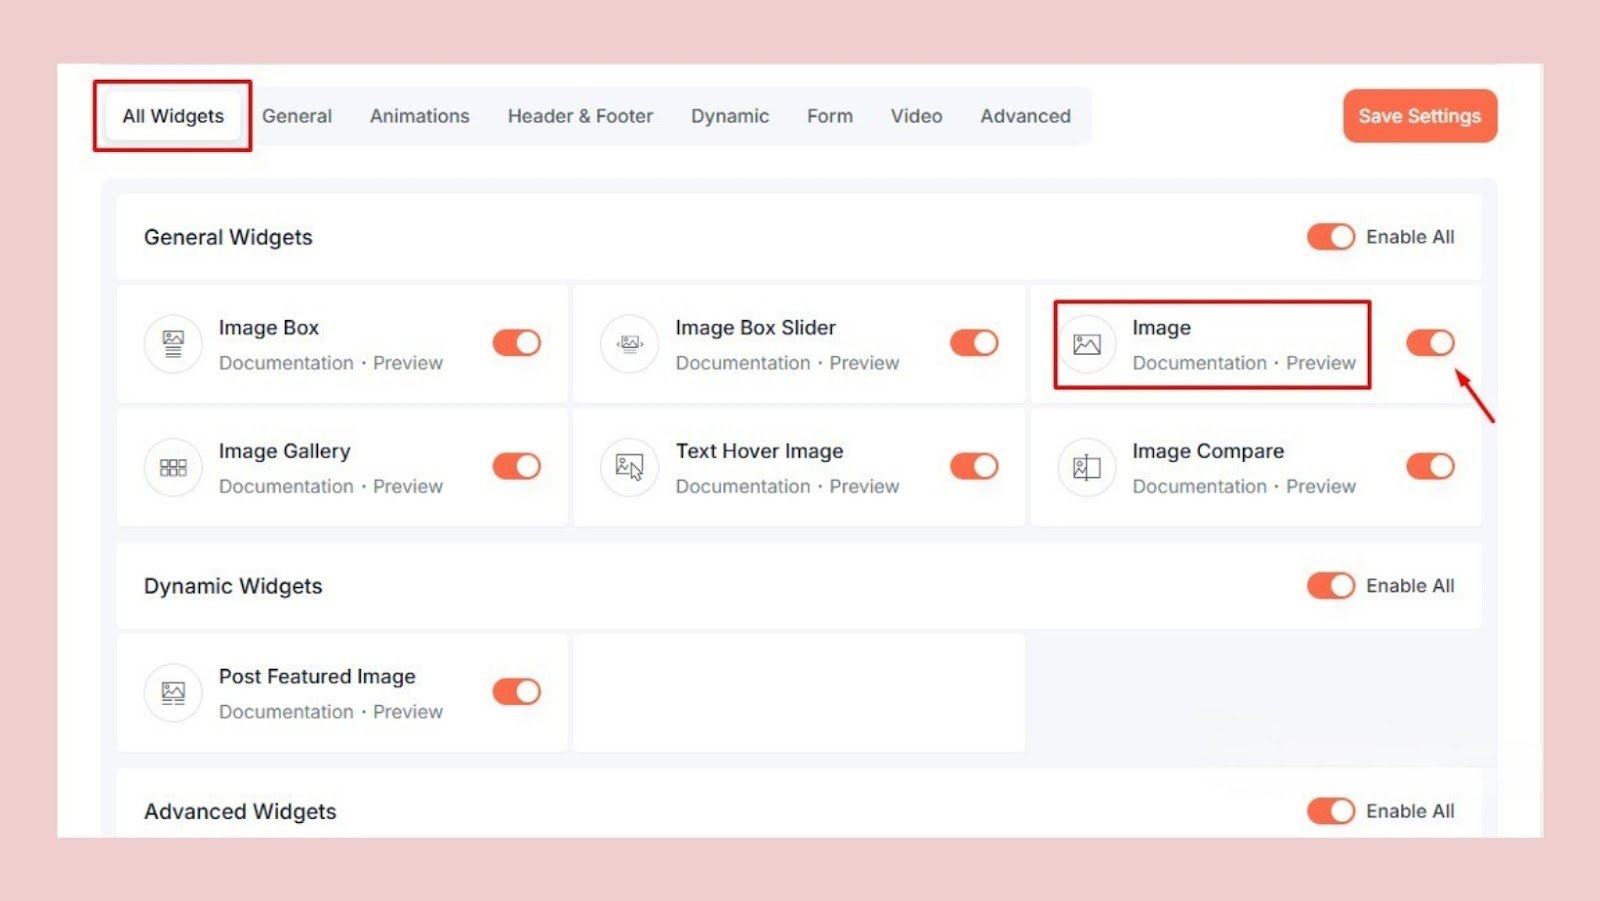
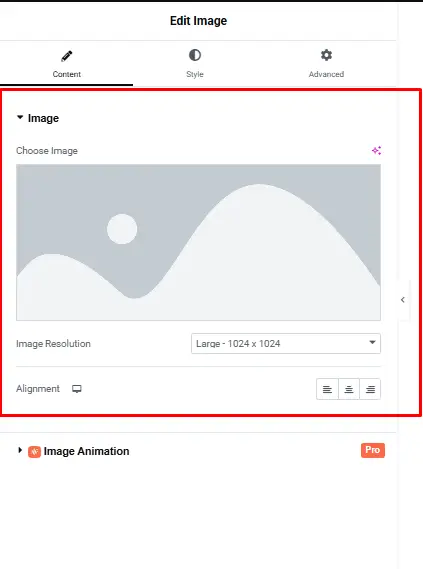
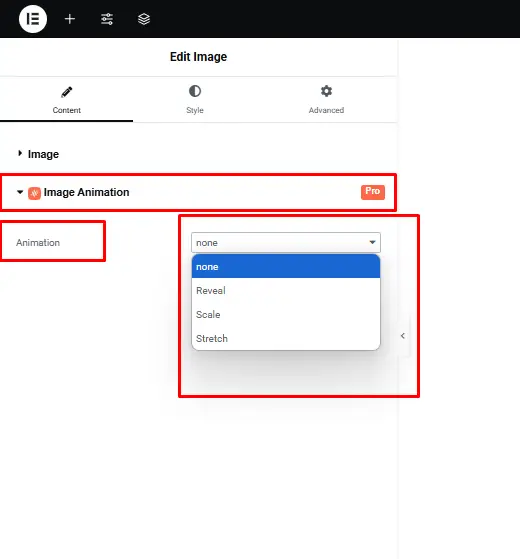
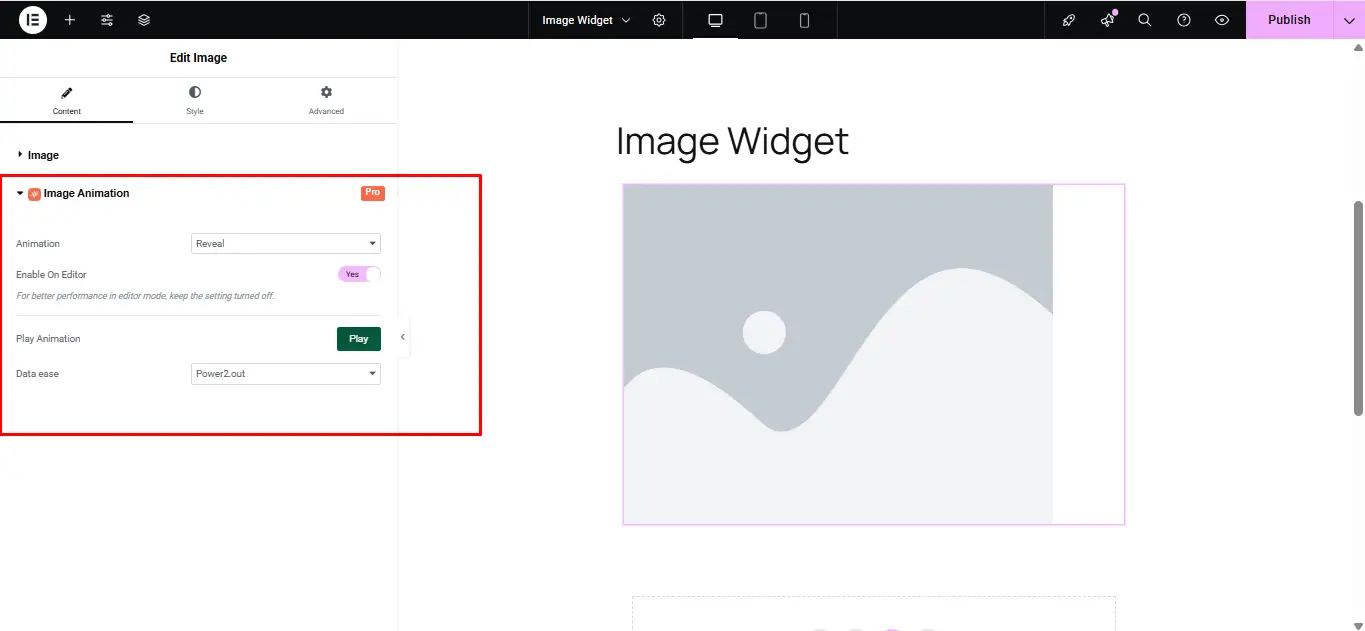
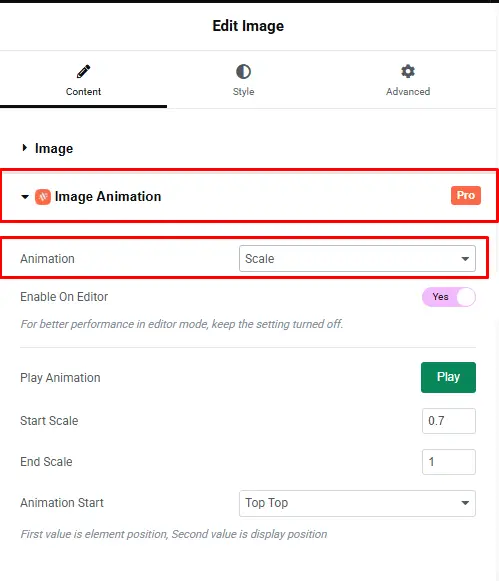
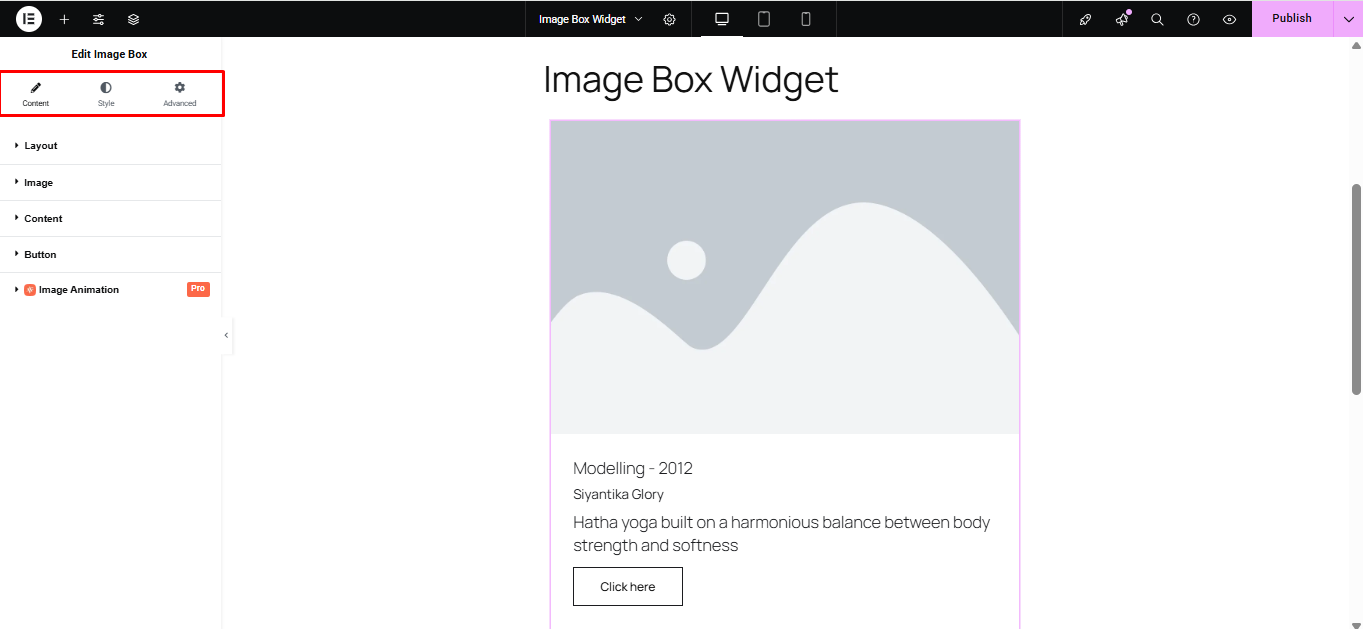
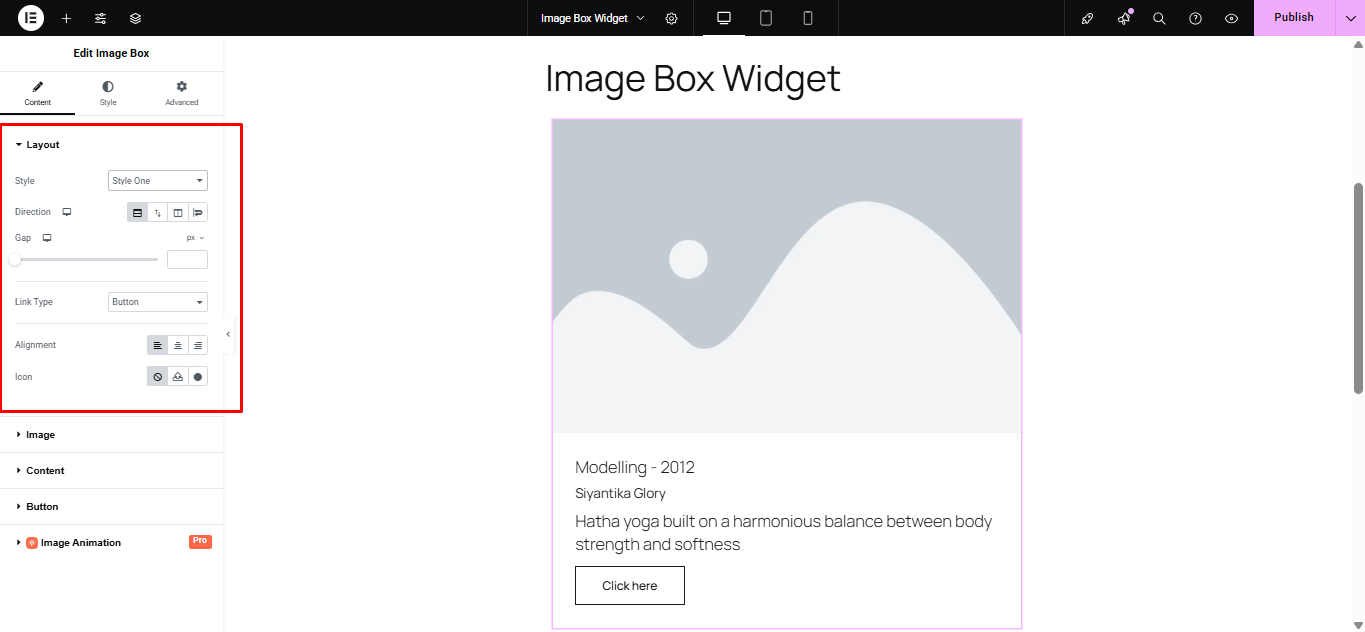
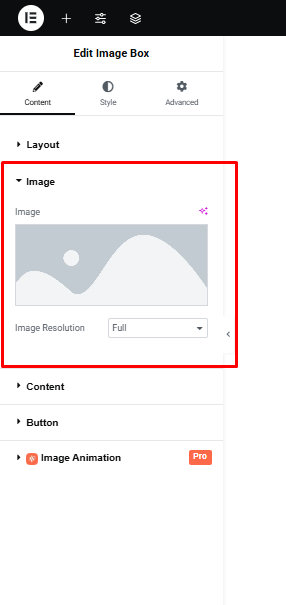
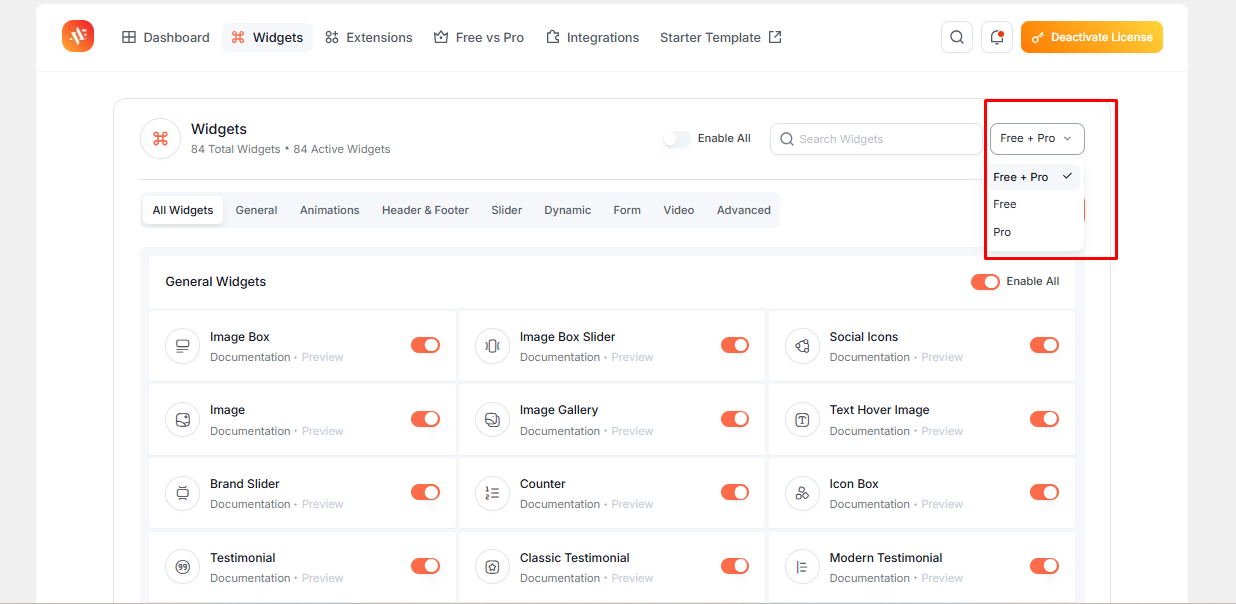
2. Next, you need to activate the widgets you want to use. For example, if you want to use the Image Box widget or the Image Box Slider, simply toggle the switch to enable them.
After that, click on “Continue” and repeat the same process to activate the Extensions, just as you did with the widgets.


3. Once you’ve clicked ‘Continue,’ simply hit the ‘Go to Dashboard’ button to complete the setup and start exploring the addons.


4. After successfully completing the setup process, navigate to the Widgets and Extensions tabs. From there, you can selectively enable the widget elements and extension features that best suit your needs.


Final Verdict
Now that you’ve learned how to configure the key features of Animation Addons for Elementor, you’re ready to transform your website with smooth, high-impact animations.
Whether you’re building a dynamic landing page or an engaging scroll-based experience, the tools are in your hands. Start exploring and bring your creative vision to life.
If you have any questions or need a hand, feel free to reach out to our support team—we’re always here to help.
1.6 Can I upgrade my licenses?
- Yes, you can upgrade your license whenever you need. Just log in to your account at animation-addons.com, find the plugin you purchased, and click on “View Licenses” next to it. From there, you’ll see the available upgrade options.

- If there are any upgrades for your license, you’ll see a View Upgrades link on the right. Simply click it to explore your options and make the upgrade as per your choice.

- Afterward, you will see the total cost for each option, such as Business and Agency. Choose the one that best suits your preference to complete the purchase.

- Next, enter your details, such as your first name, last name, and email address, and choose your preferred payment method.

- After completing your upgrade purchase, your license will be upgraded, allowing you to activate it on additional URLs. To view the domains where your license is activated or deactivate it from a website, head to your account page and click on the View Licenses link.
From there, click Manage Sites, and you’ll have the option to add a new site for activation or deactivate an existing one, like this:


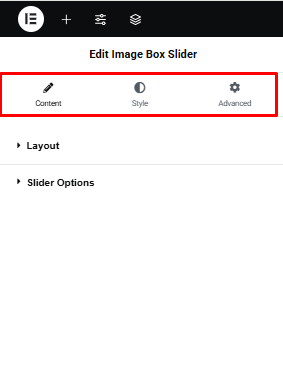


 Here’s the interface where you can configure the settings and customize the GSAP DrawSvg Widget across various tabs.


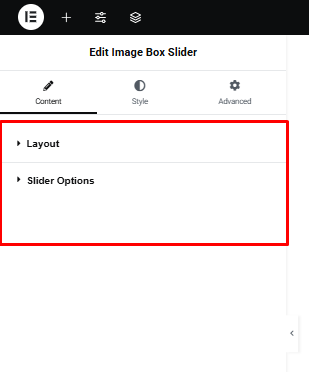
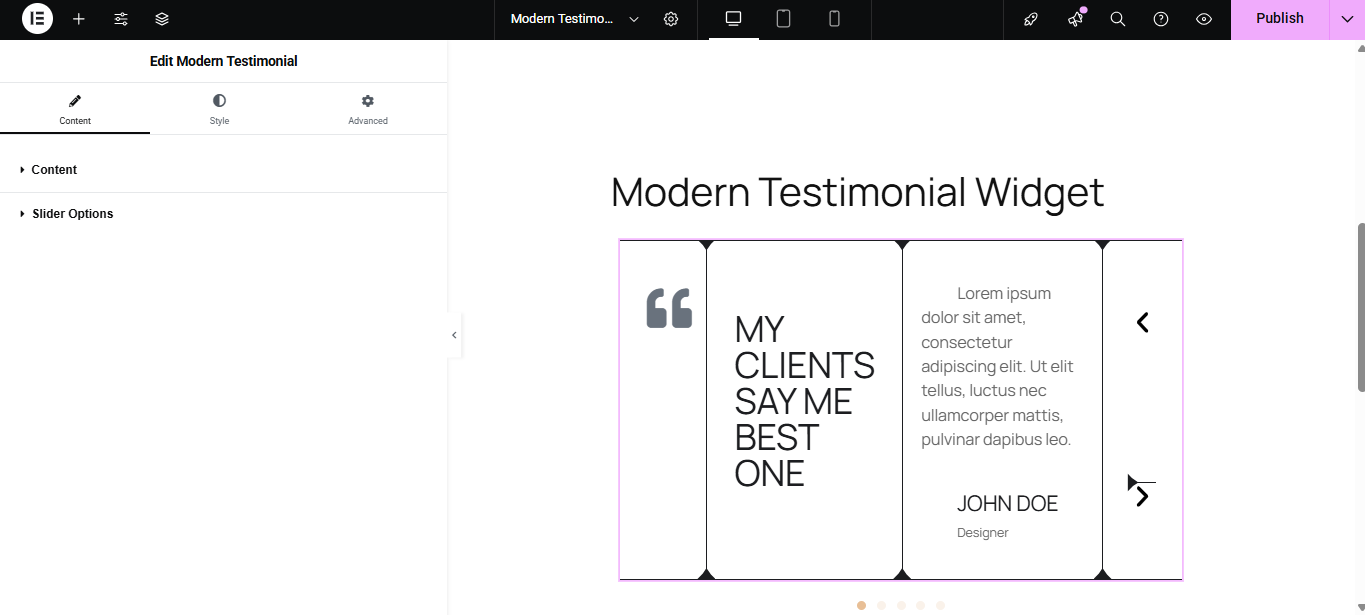
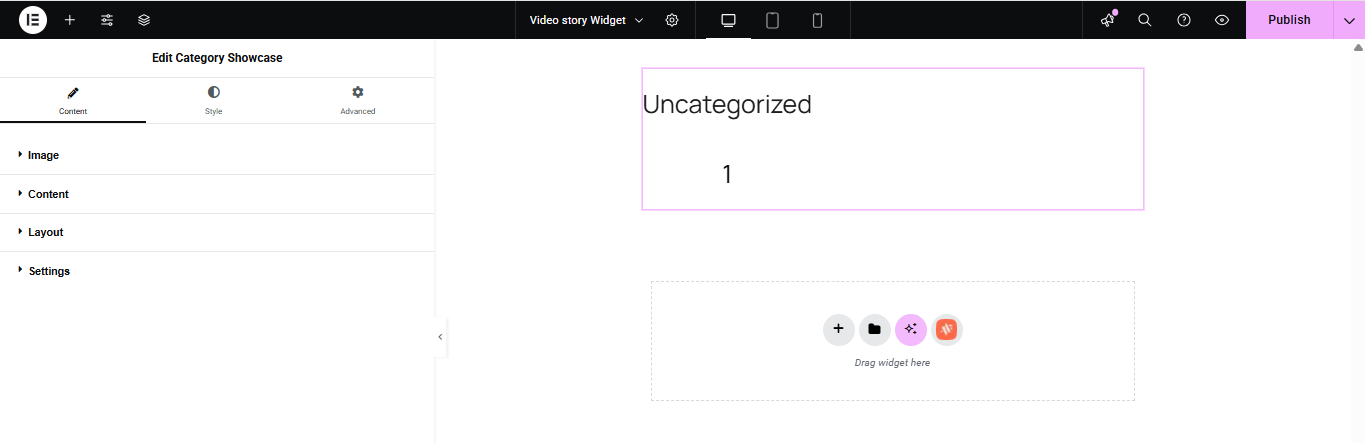
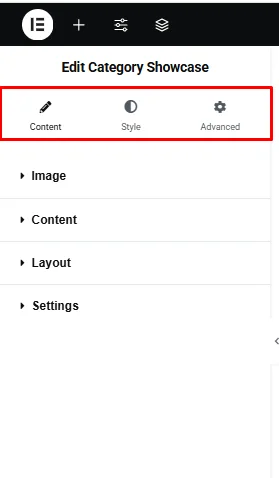
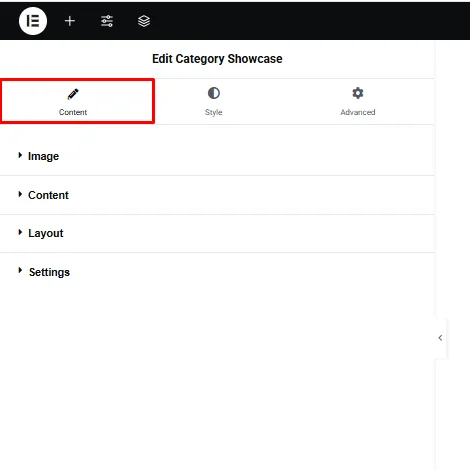
 After selection, the Elementor panel appears with all tools and customization options.


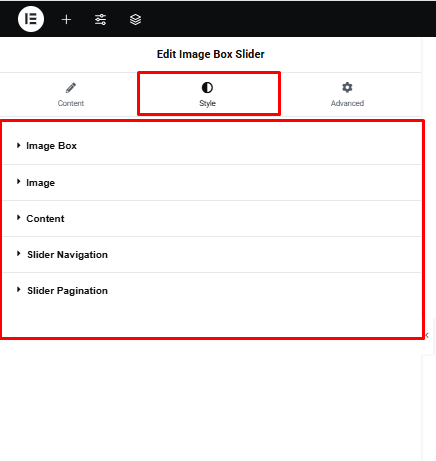
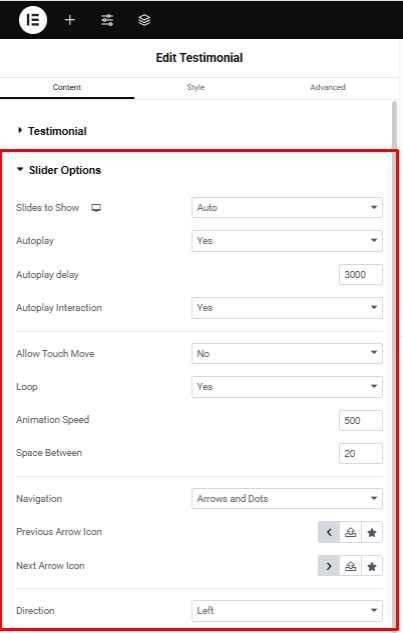
 Here’s the interface where you can configure the settings and customize the Event Slider Widget across various tabs.


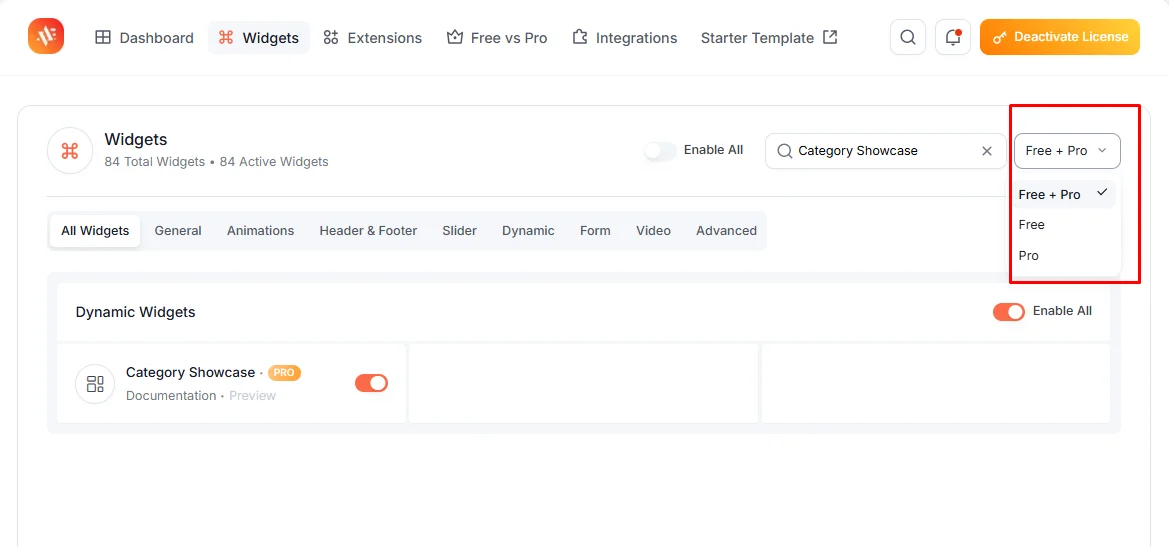
3.2 Social Icons
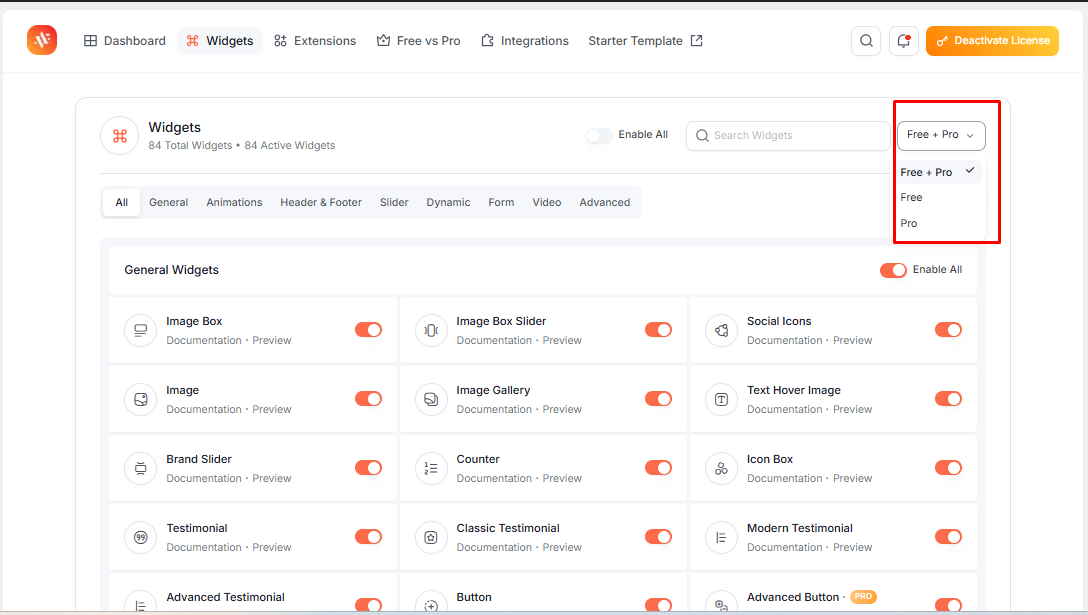
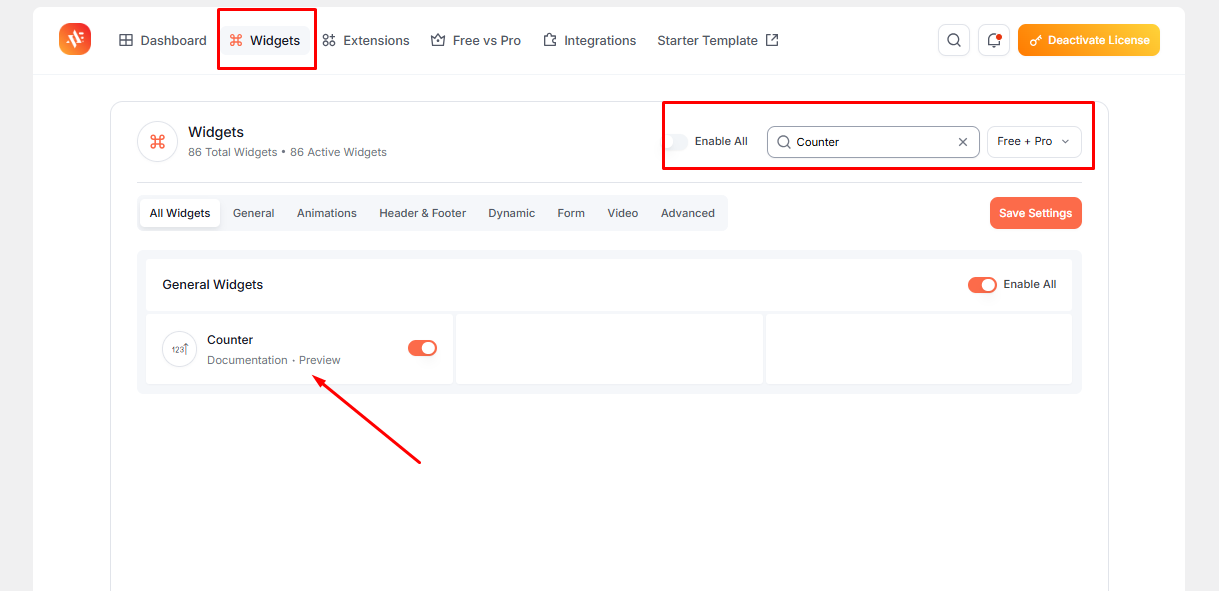
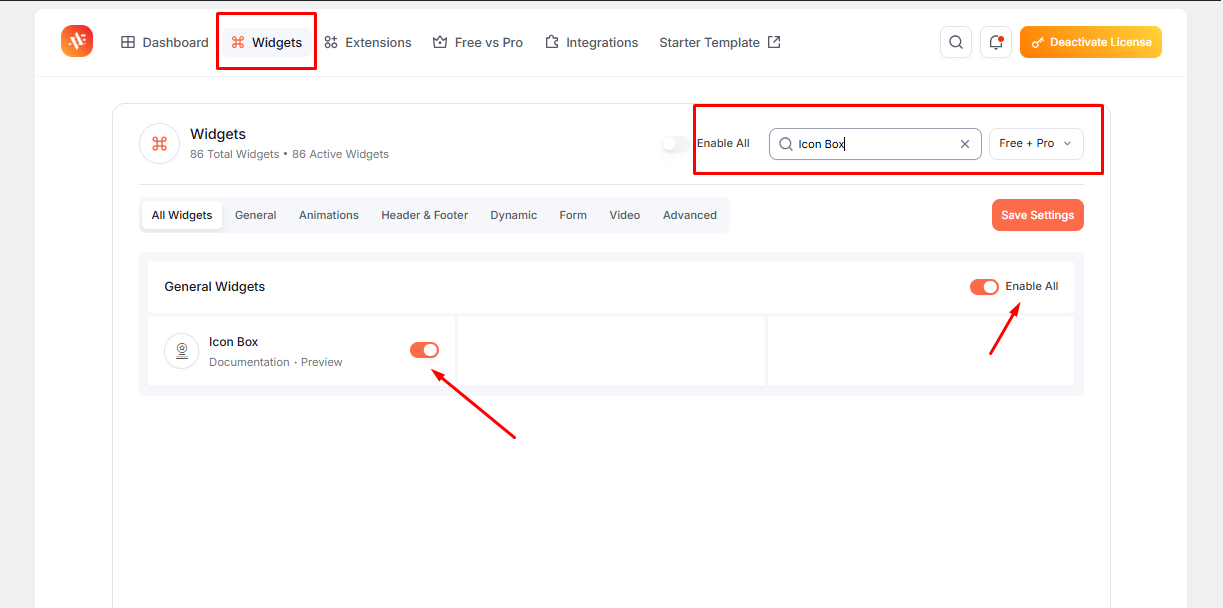
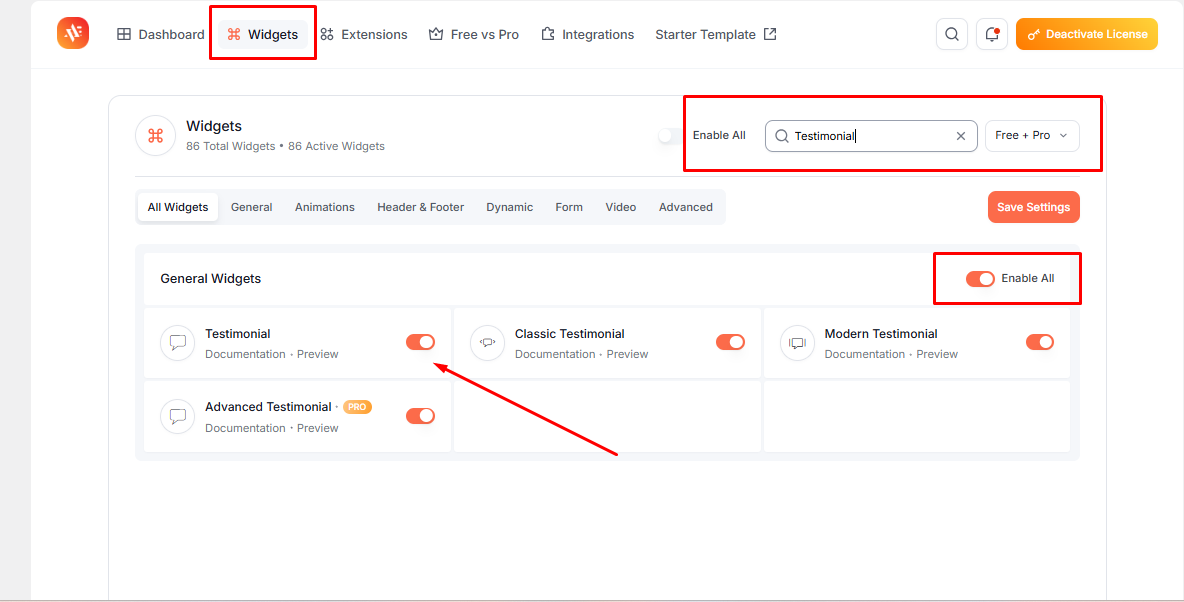
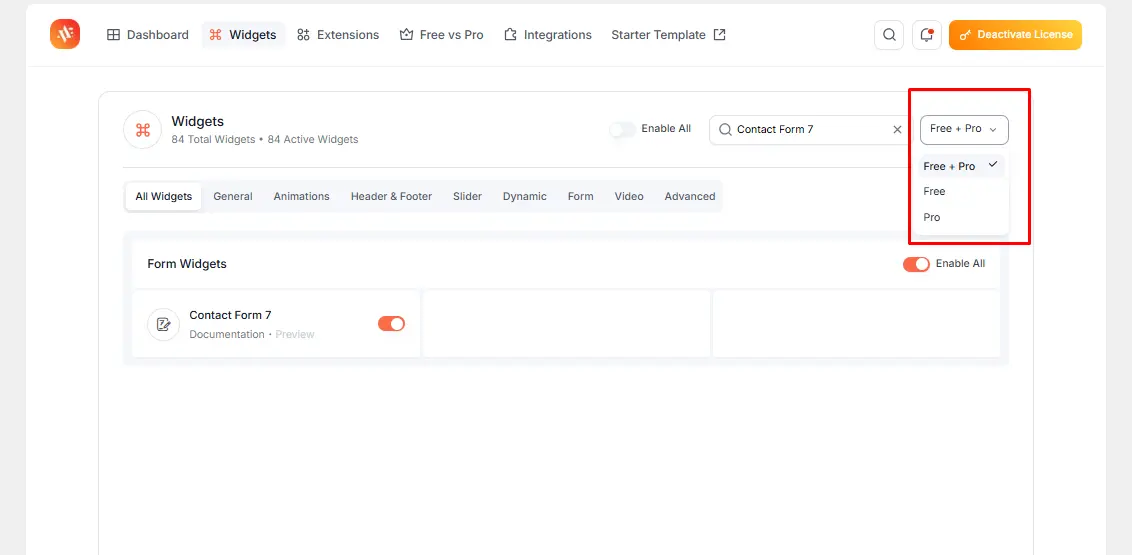
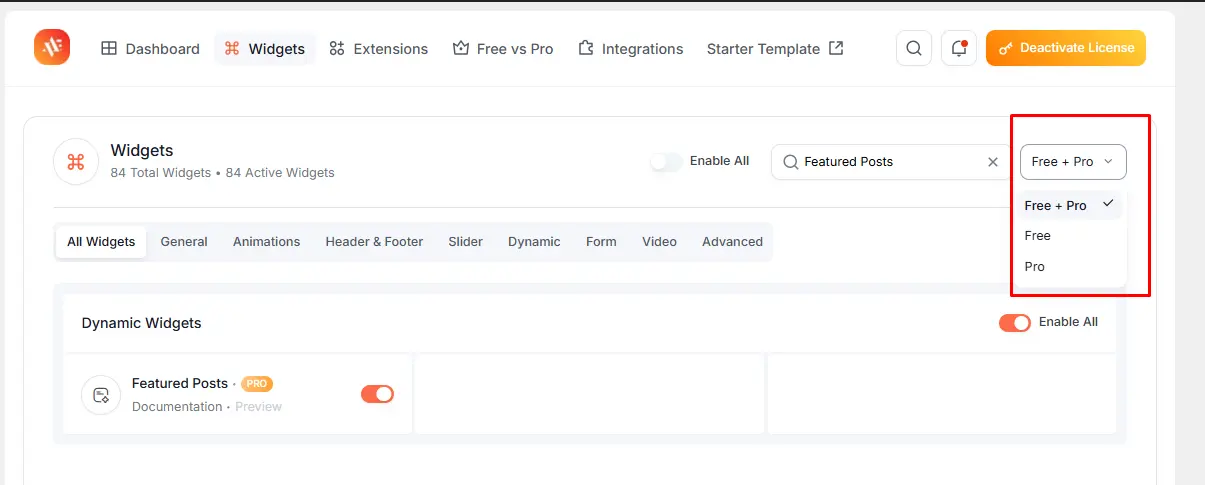
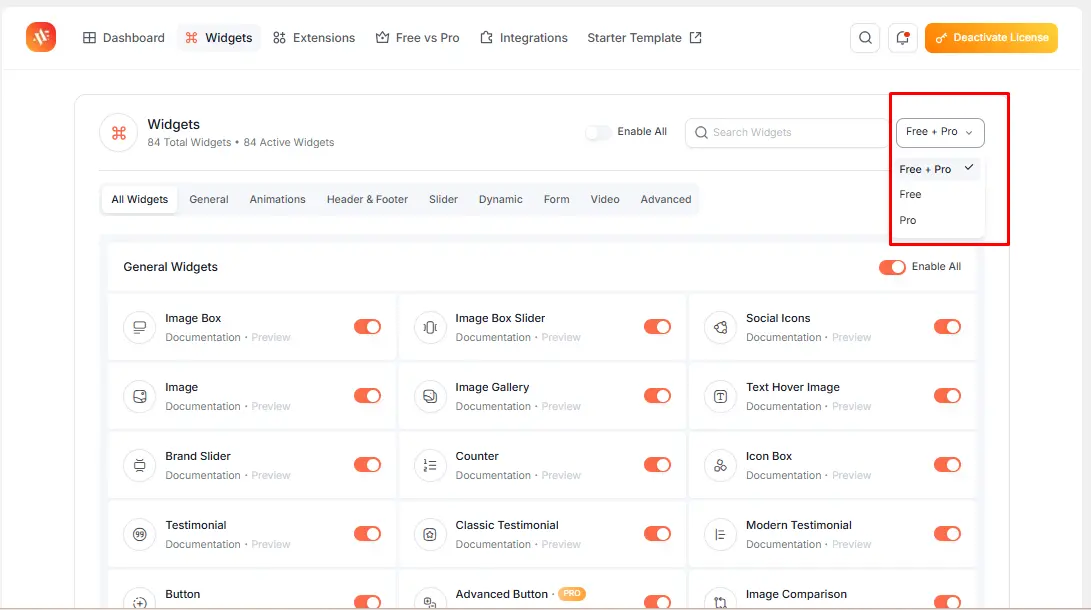
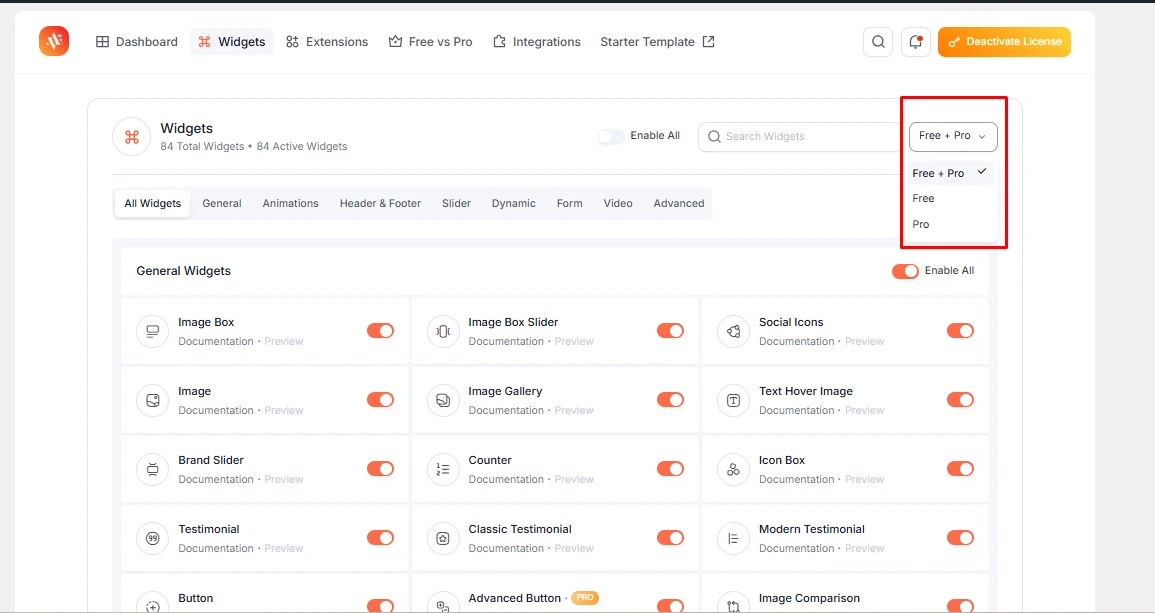
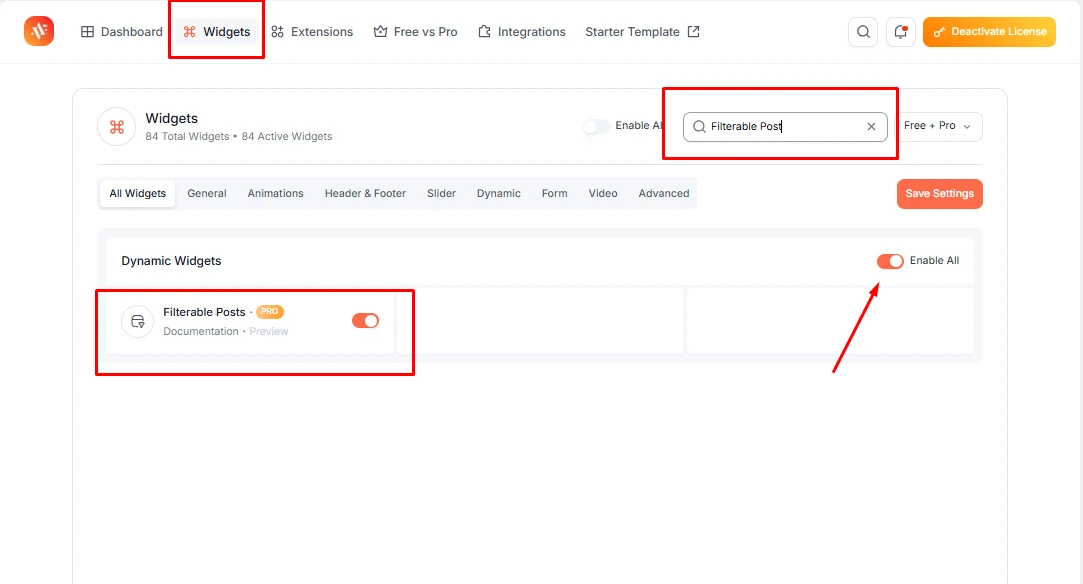
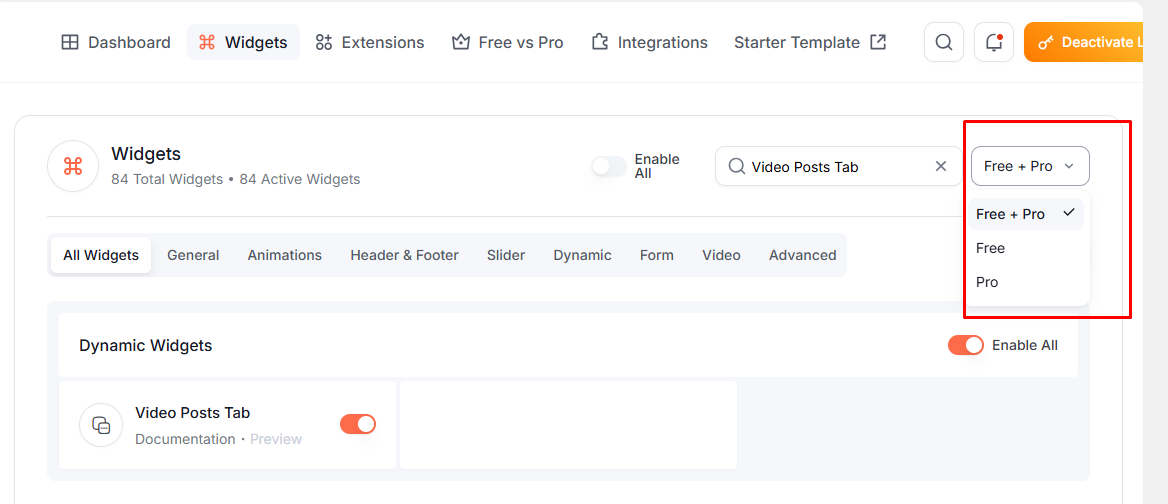
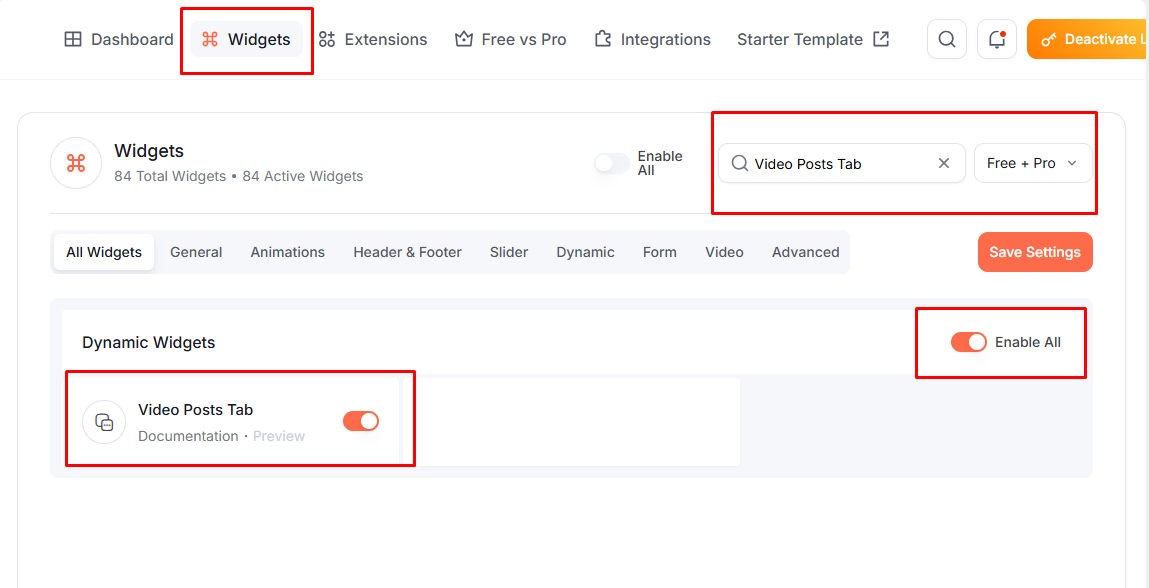
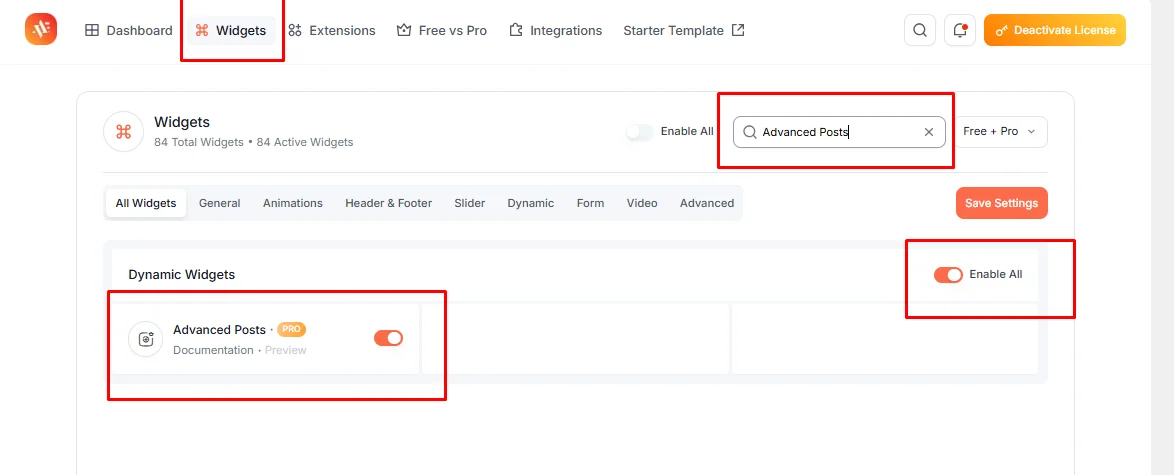
Before setting up the Social Icons Widget, make sure that the Animation Addons for Elementor plugin is installed and activated on your site. Once activated, you’ll get access to all free Elementor widgets, including the Social Icons Widget—completely free! You can also explore both free and pro widgets by using the filter options within the widget library.
Introduction
Social Icons in Elementor let you add customizable icons that link to your social media profiles, improving user engagement and connectivity across platforms like Facebook, Twitter, Instagram, and LinkedIn.
Key Use Cases for the Social Icons Widget in Elementor:
Prerequisite
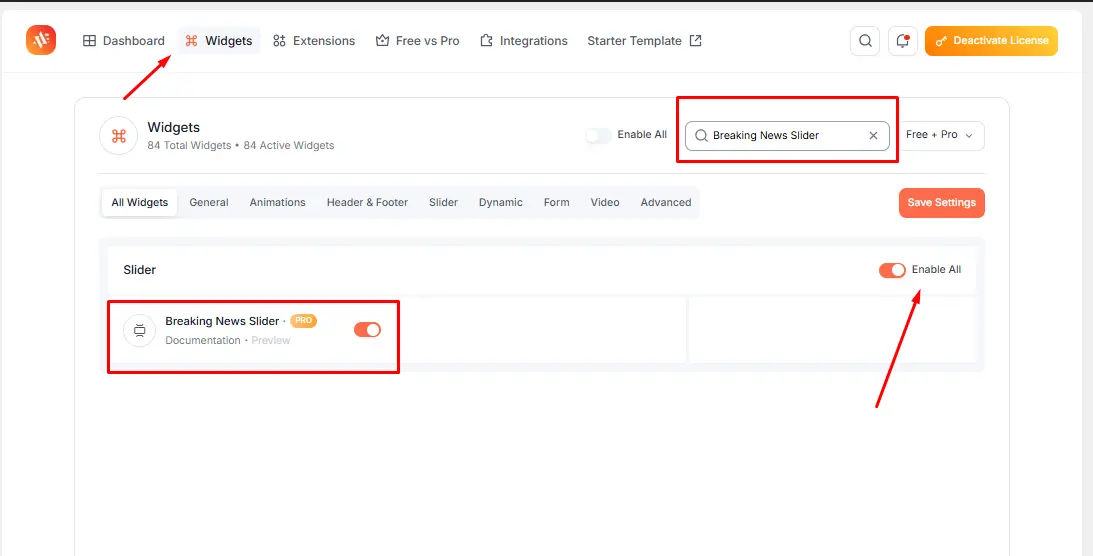
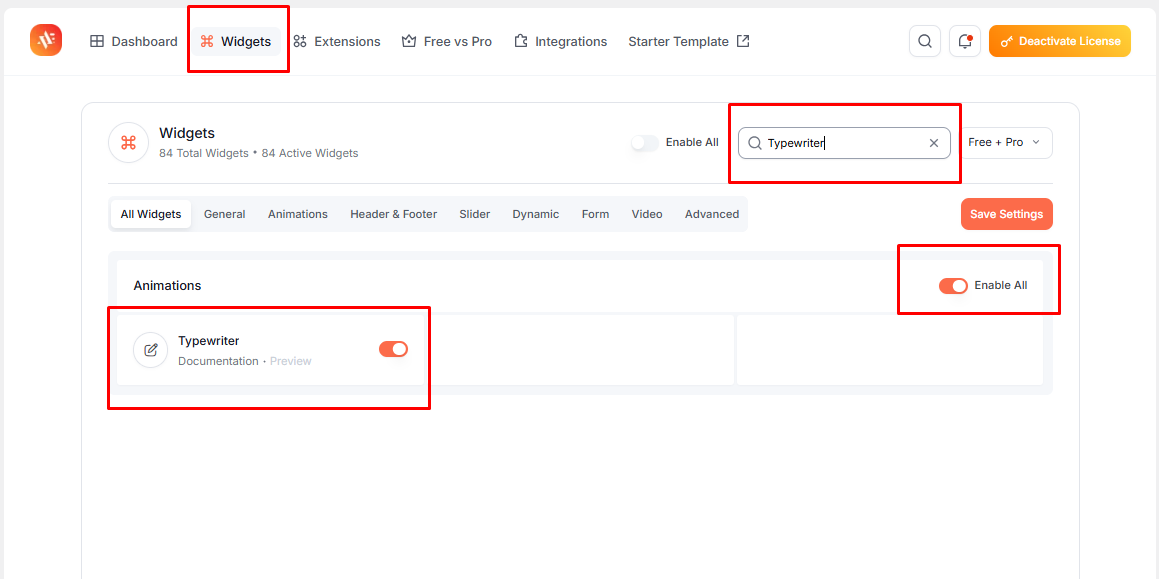
How to Activate the Social Icons Widget?
Now, the Social Icons Widget is ready to use!
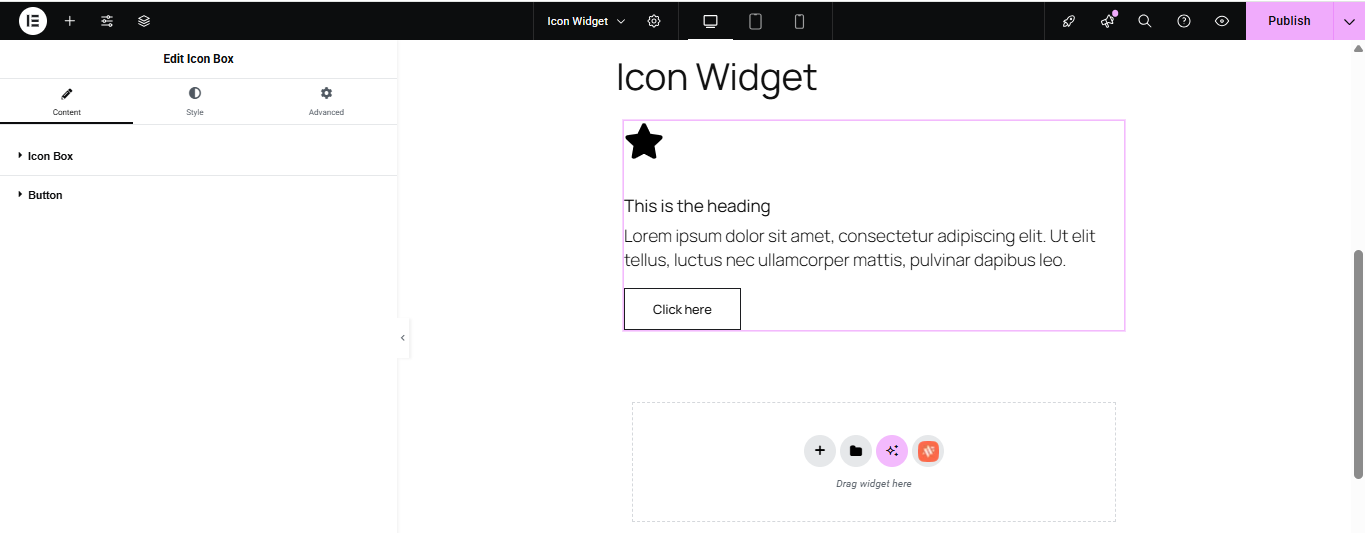
How to Add the Social Icons Widget in Elementor?
In the Elementor panel, search for “Social Icons Widget.”
The Social Icons Widget is now ready for customization!
How to Configure the Social Icons Widget in Animation Addons:
Your Social Icons Widget is now ready to use! Use the configuration interface to personalize your social links with different styling options and make them stand out on your website.
Configuring Social Icons Widget in Animation Addons: A Step-by-Step Guide.
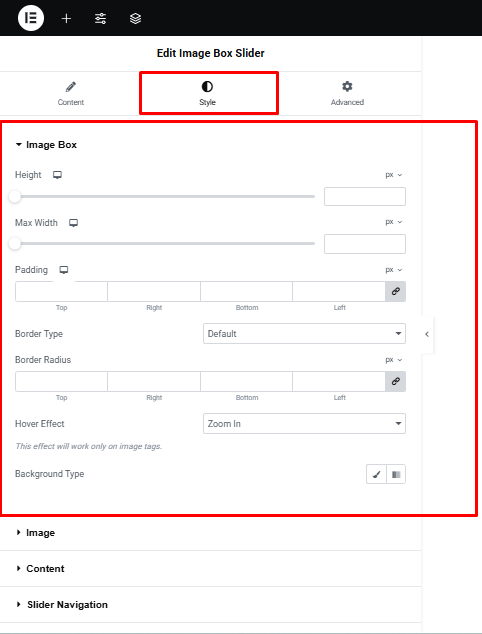
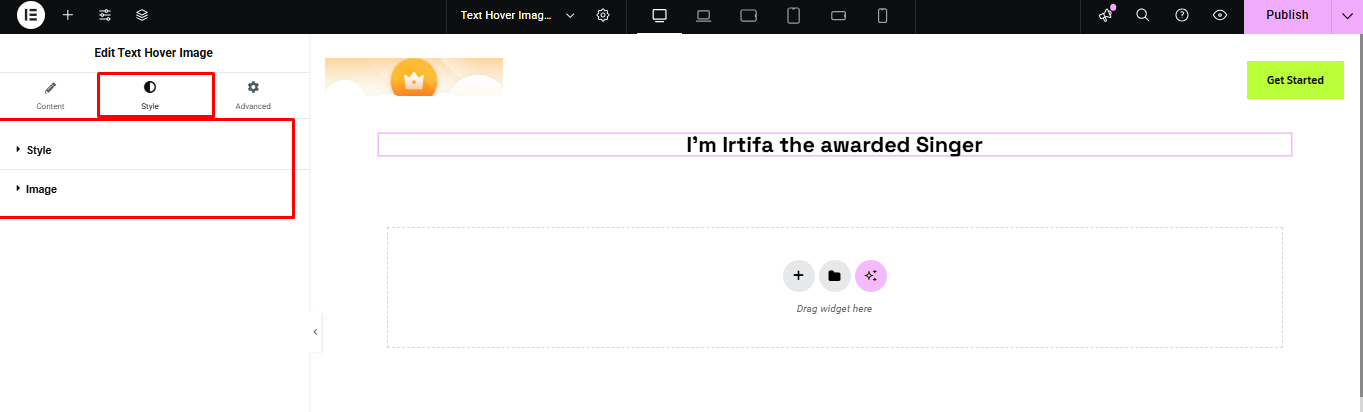
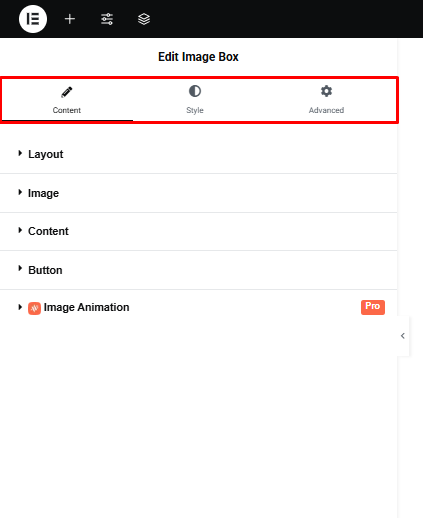
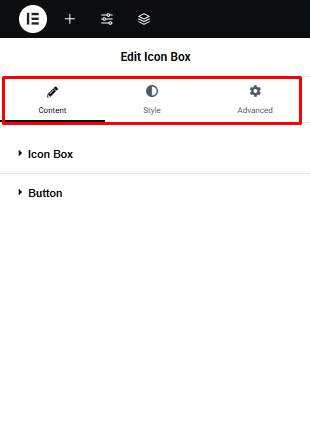
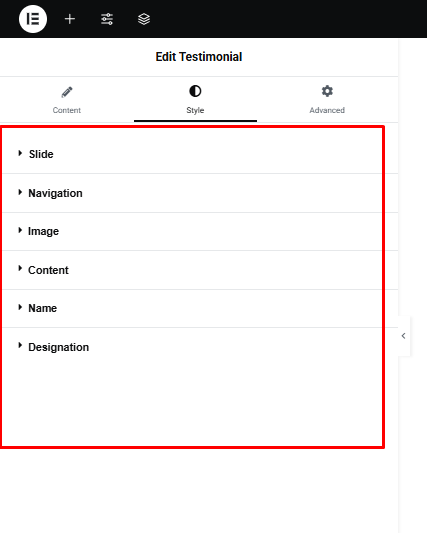
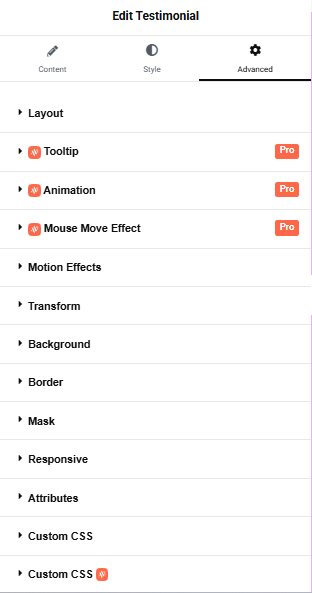
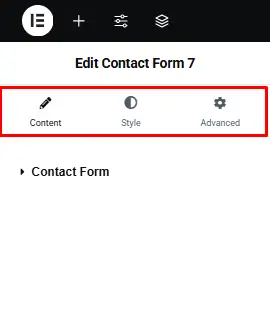
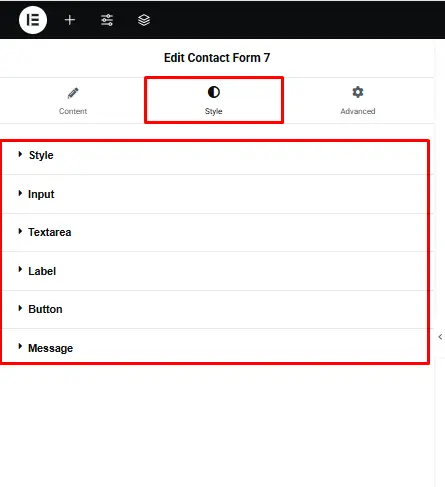
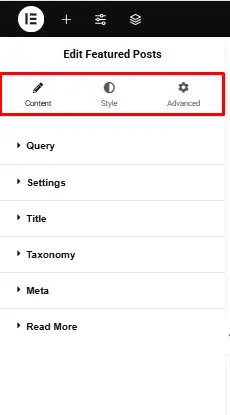
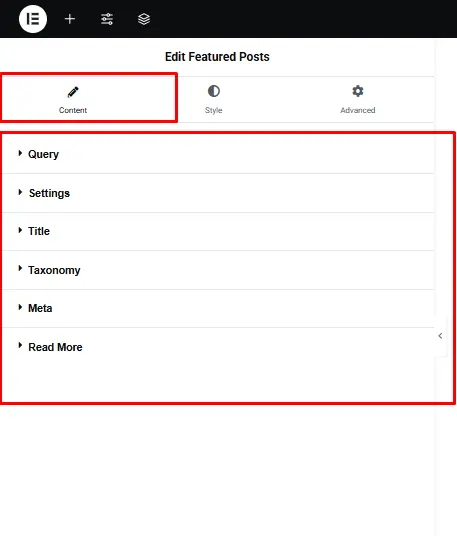
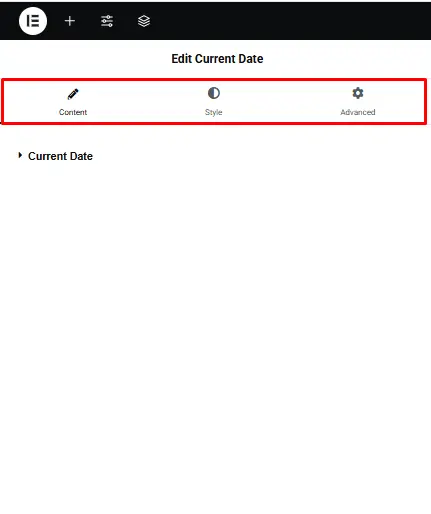
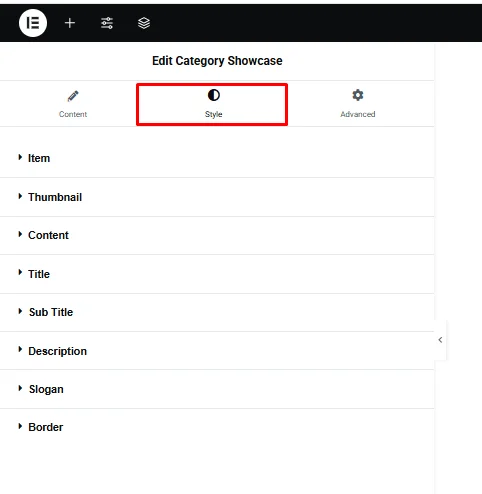
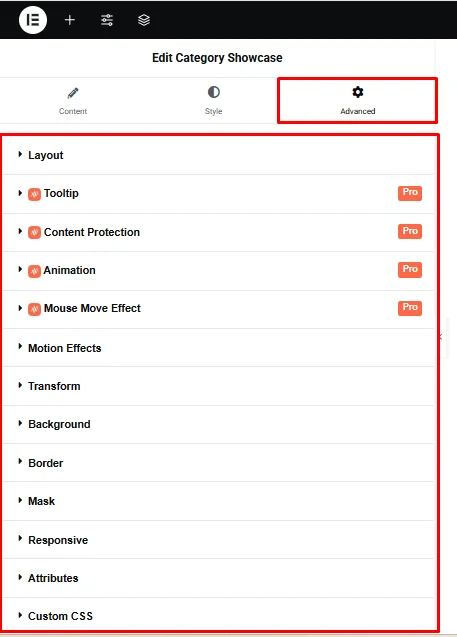
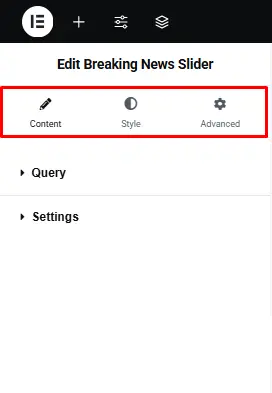
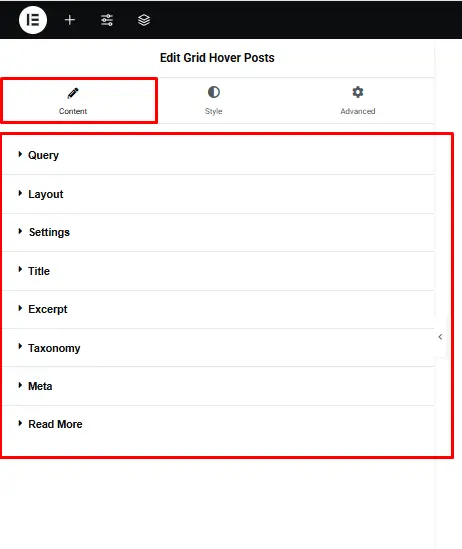
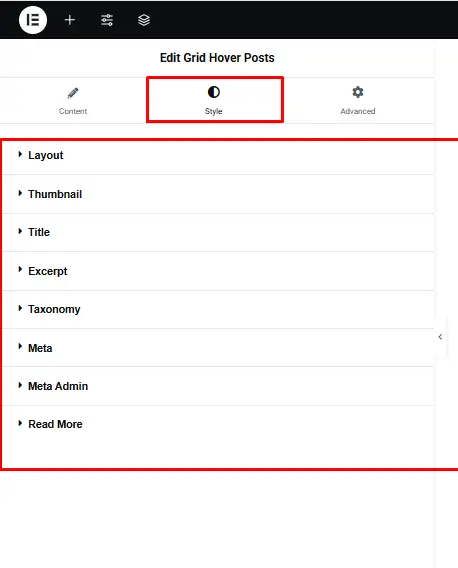
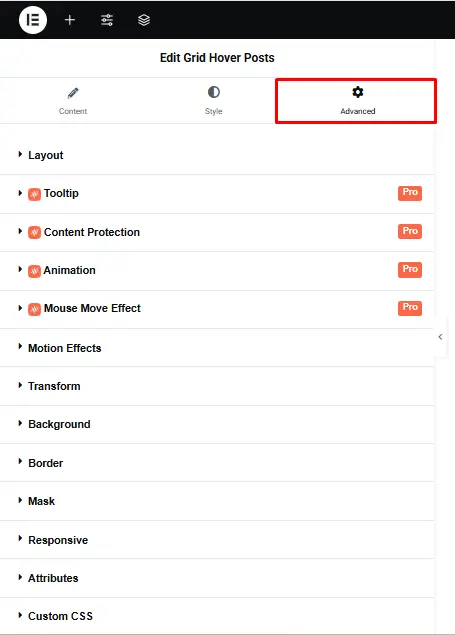
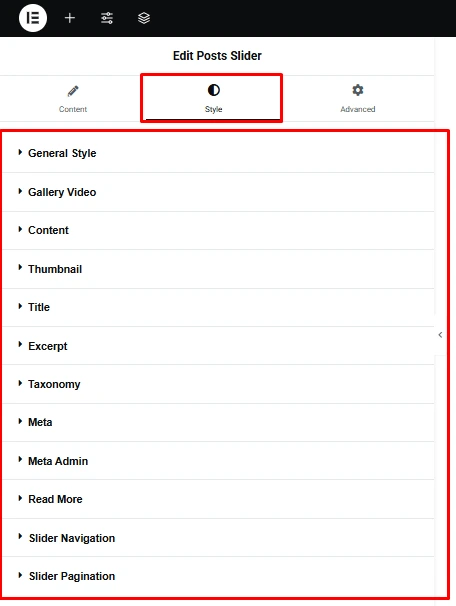
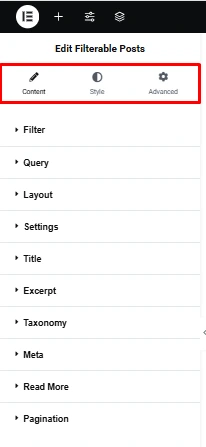
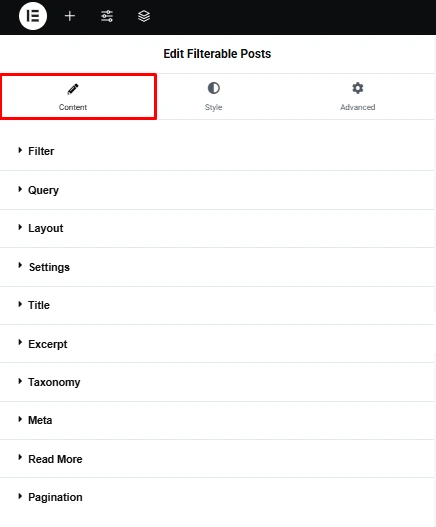
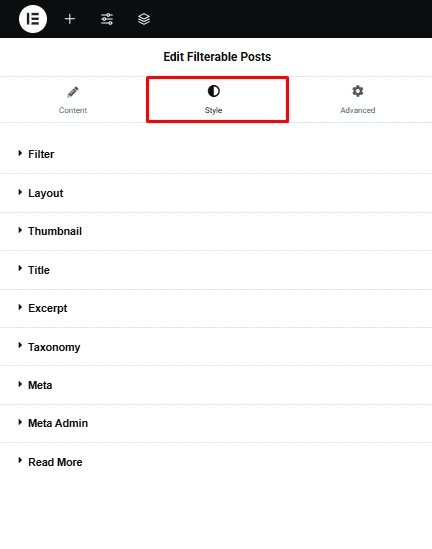
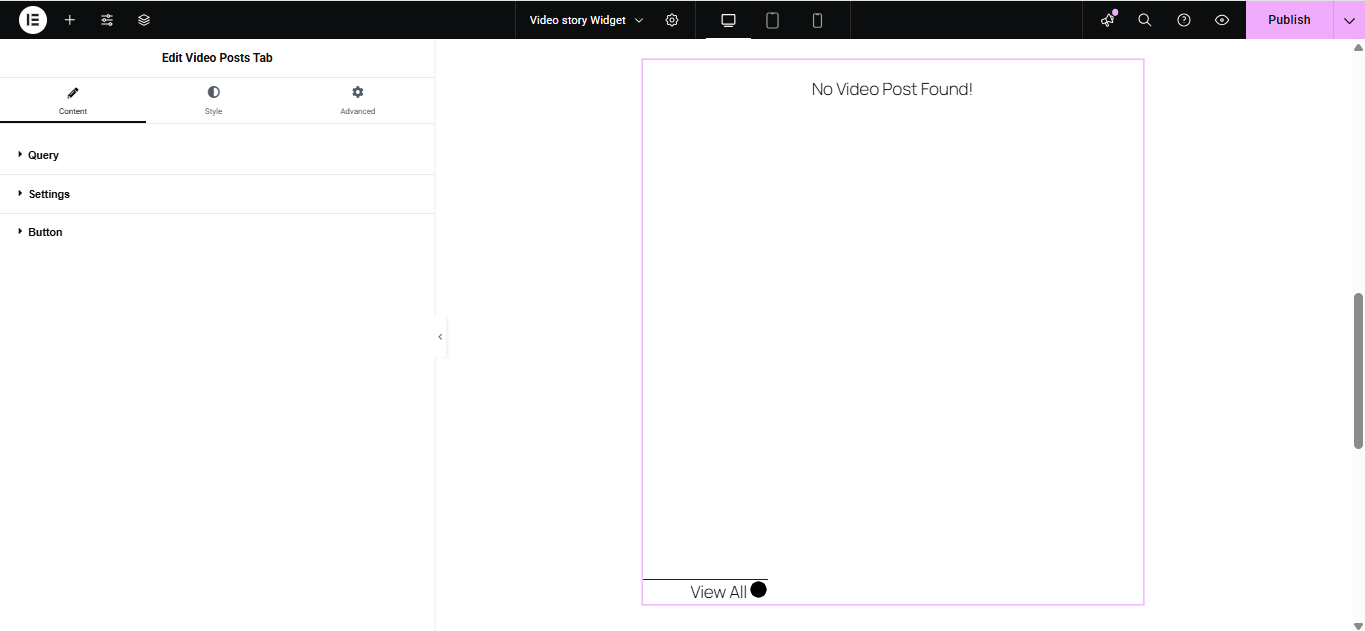
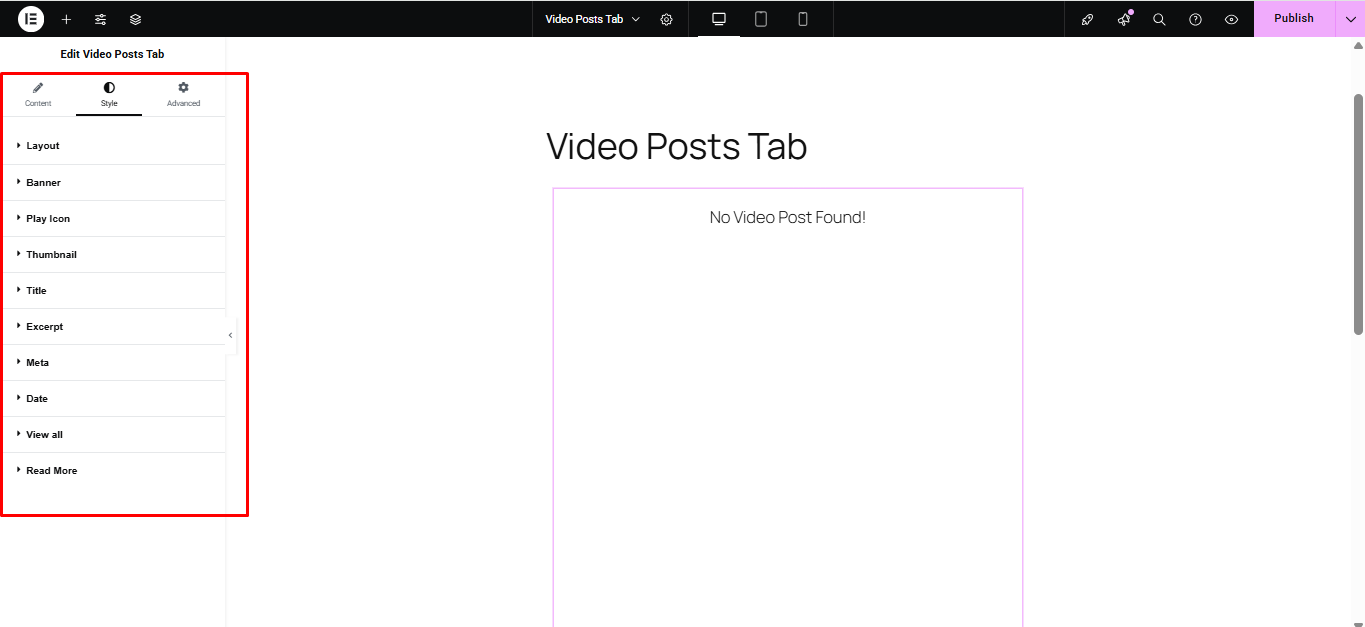
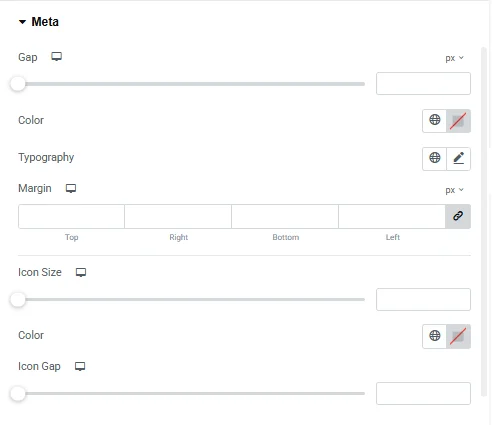
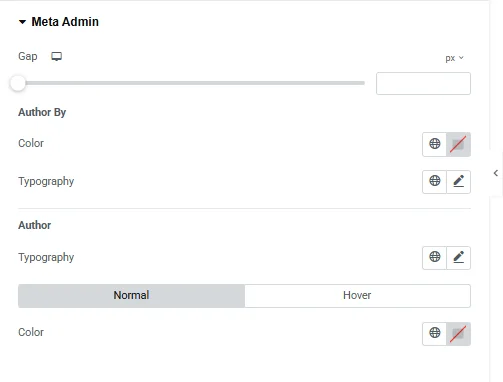
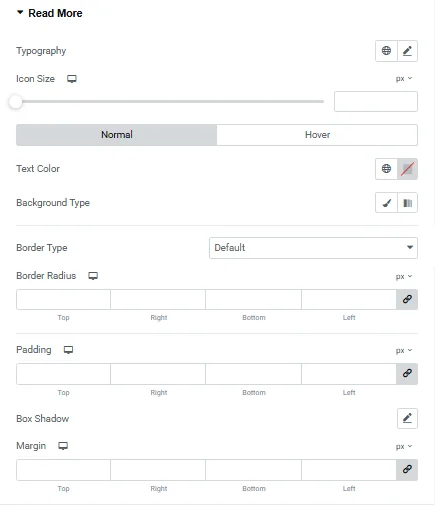
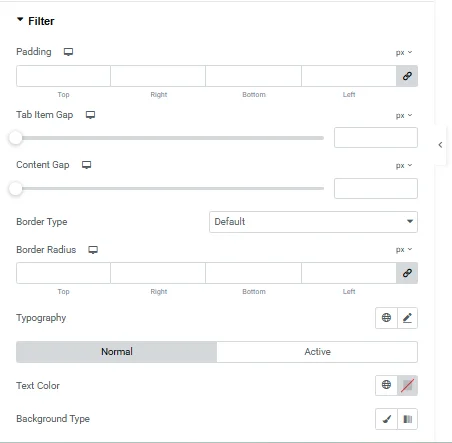
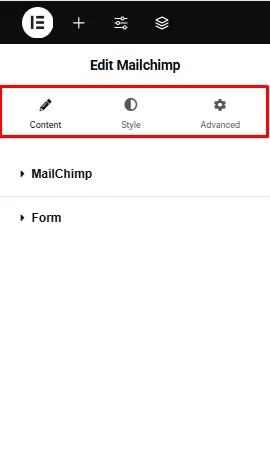
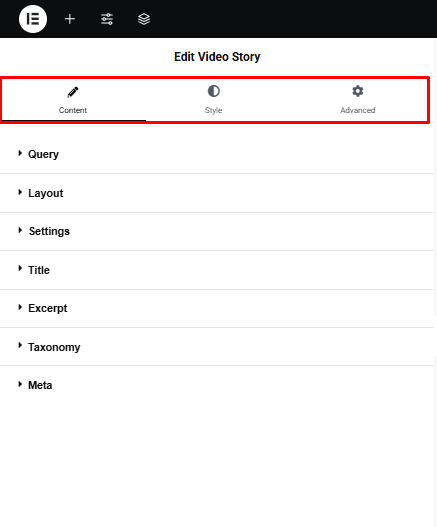
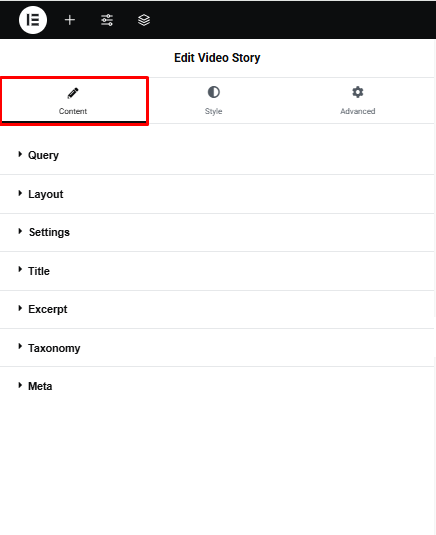
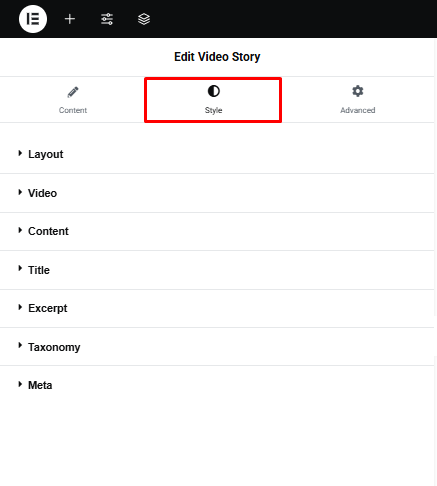
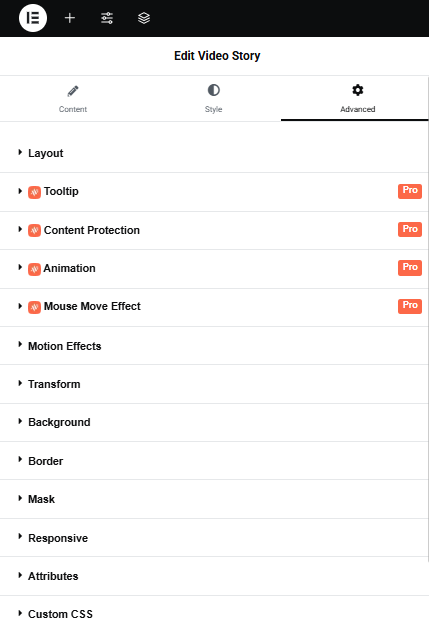
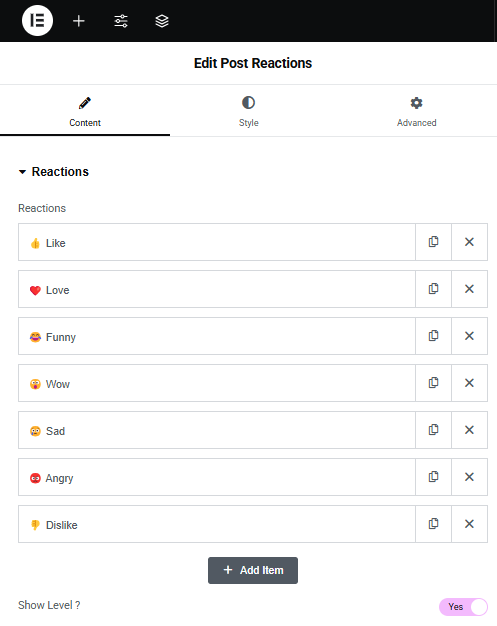
The Social Icons Widget is available in Elementor and can be placed in any section of your page. It includes three main settings tabs: Content, Style, and Advanced—each offering customization options to personalize your social icons display, including icon styles, size, alignment, and link settings.
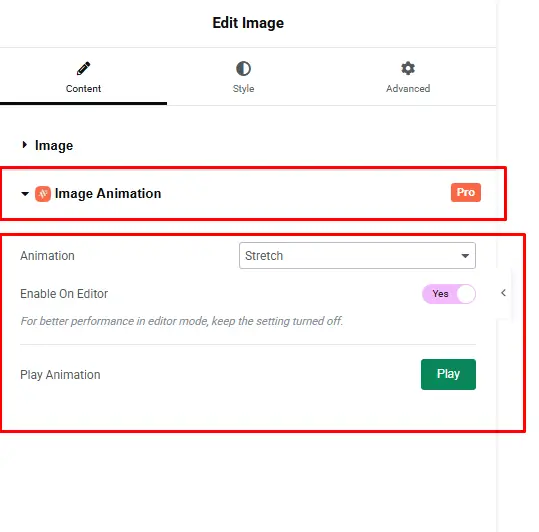
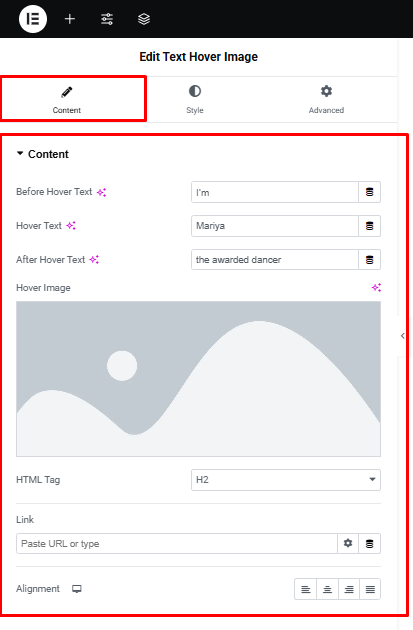
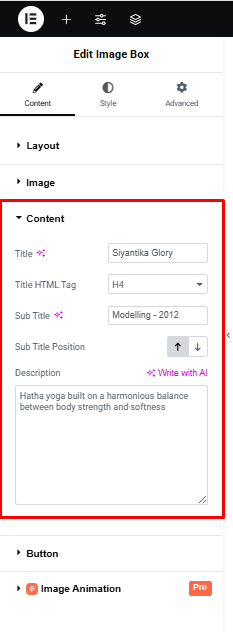
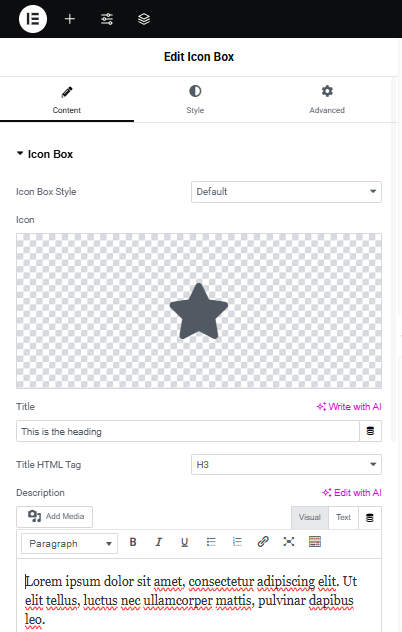
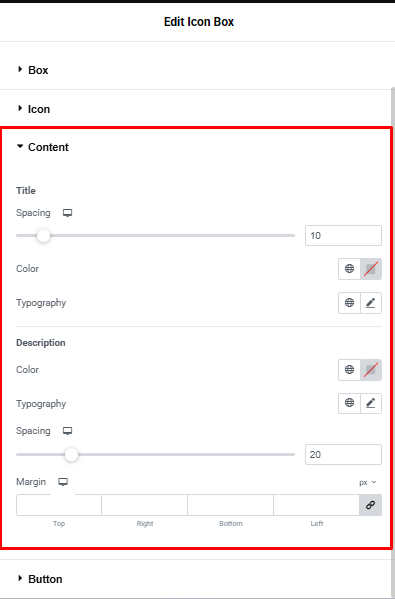
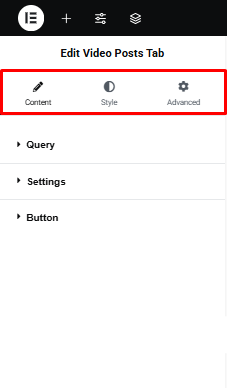
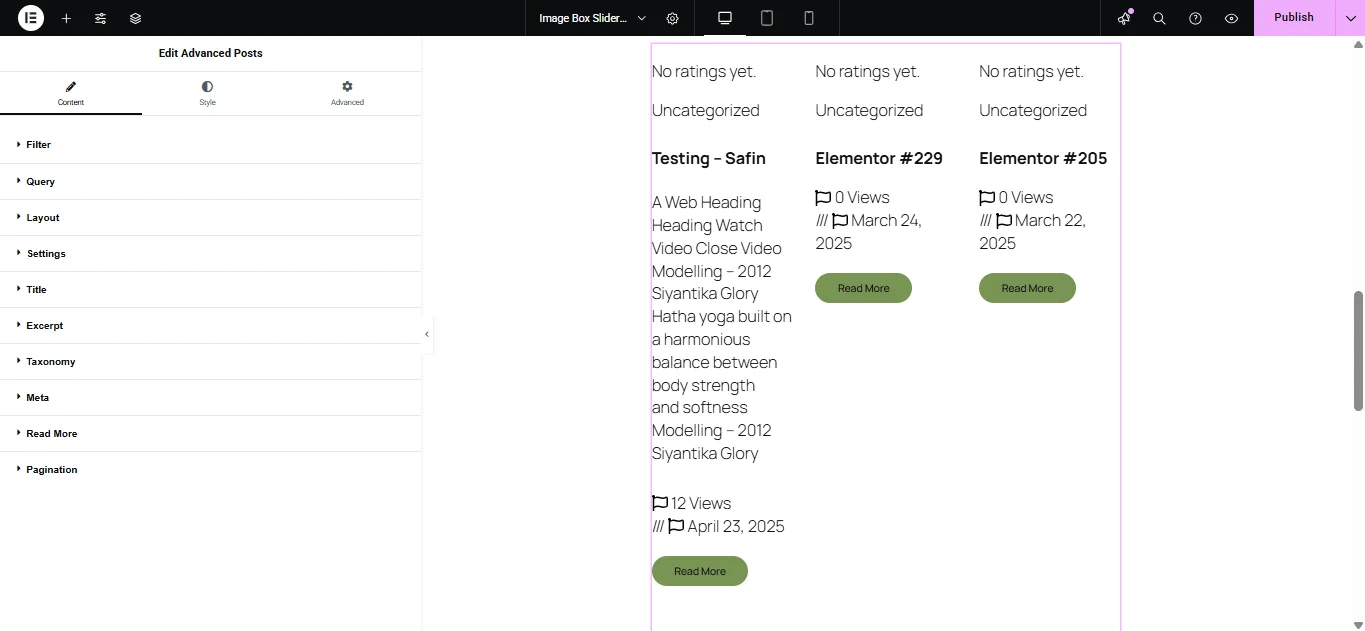
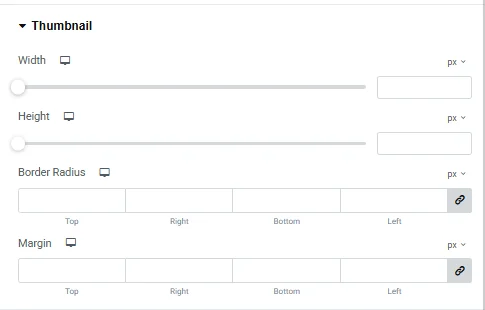
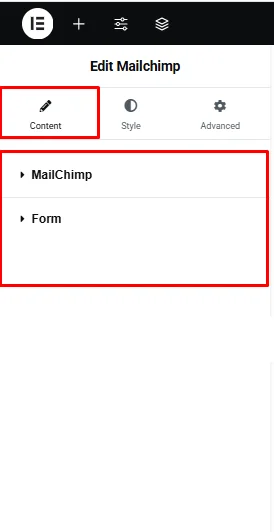
Content Settings
In the Content section, you can add and manage the main text, paragraphs, and other content types for your page.
In the Social Icons widget, you can configure sections for platforms such as Facebook, Twitter, and YouTube.
This customization allows you to tailor the social icons to match your site’s design and ensure seamless connectivity to your social profiles.
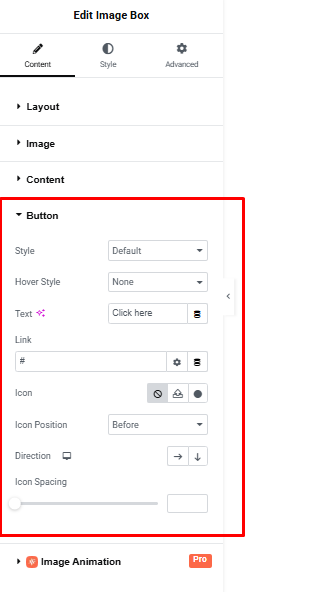
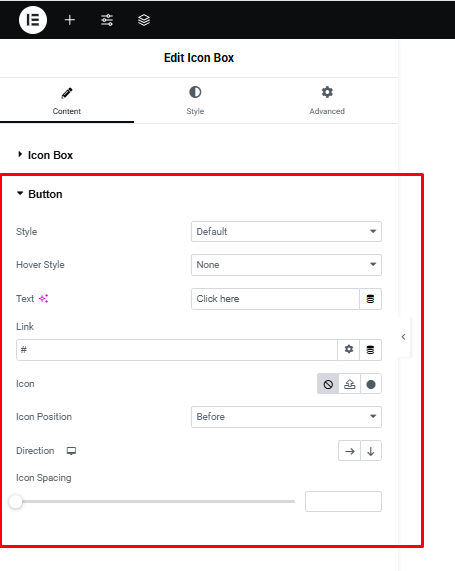
Alignment and Direction
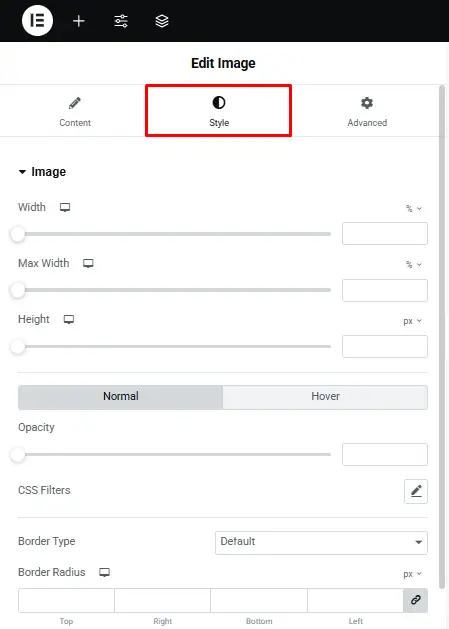
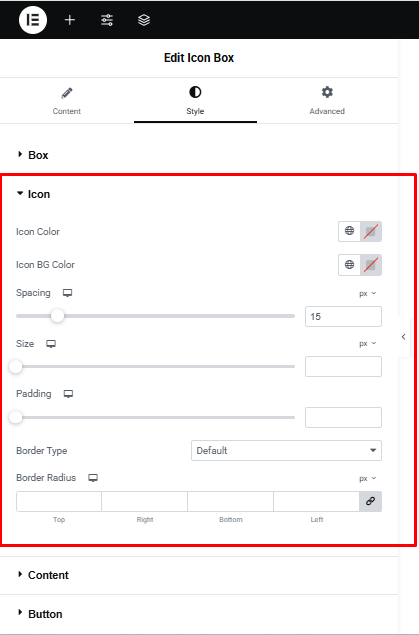
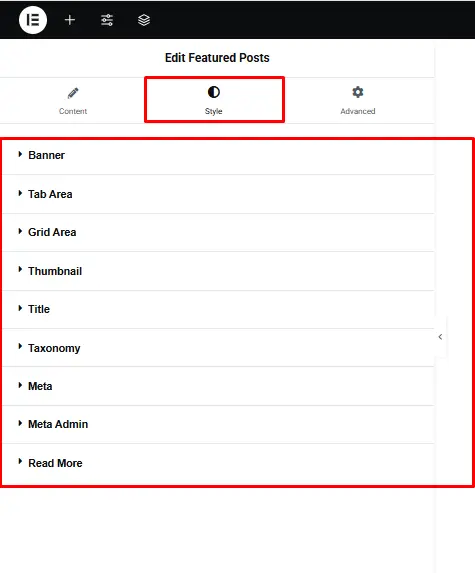
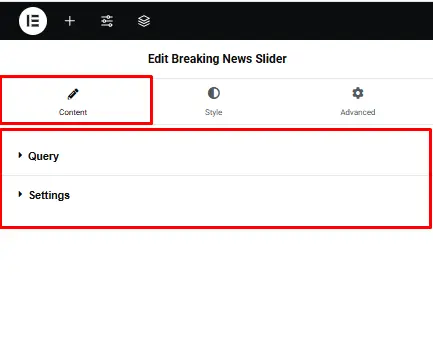
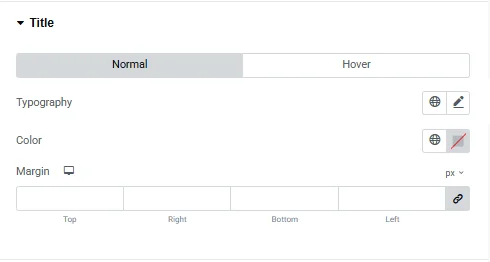
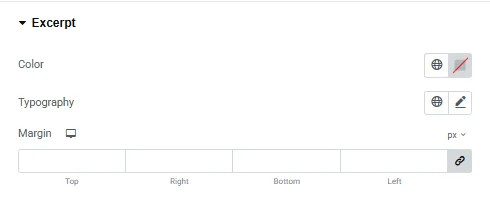
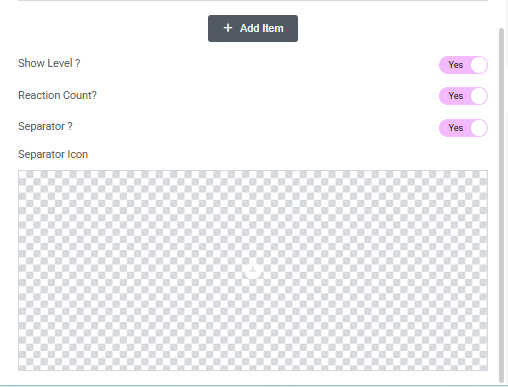
Style Settings
The Style section includes two sections: Icon and Icon Hover.
In the Style section of the Social Icons widget, you can customize the following icon settings:
Icon
These settings allow you to style the icons to match your site’s design and branding.
Icon Hover
In the Icon Hover section, you can customize the following settings:
These options enhance the interactivity of the social icons, providing a dynamic experience for users.
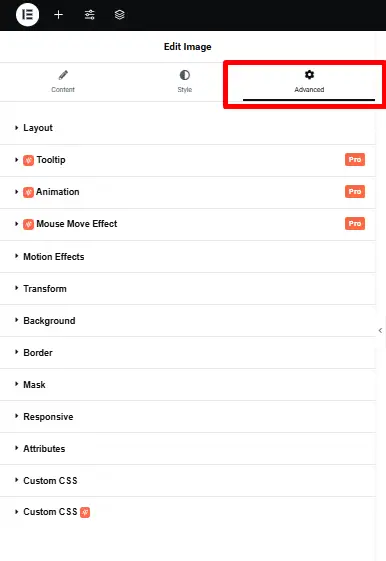
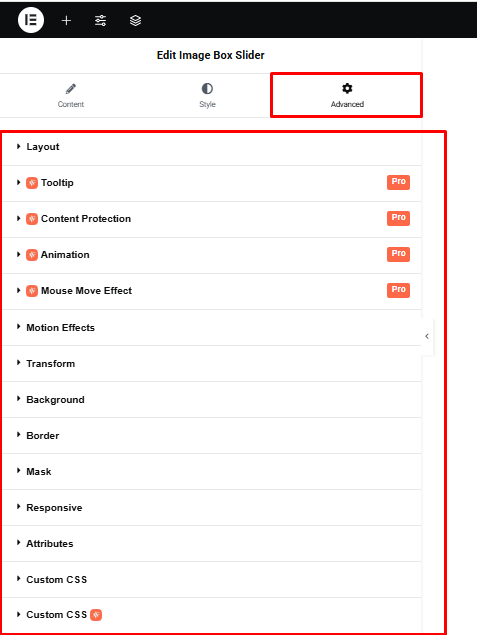
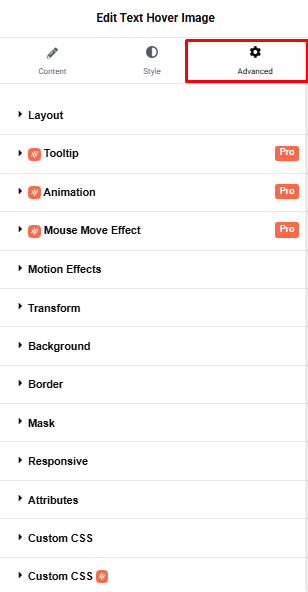
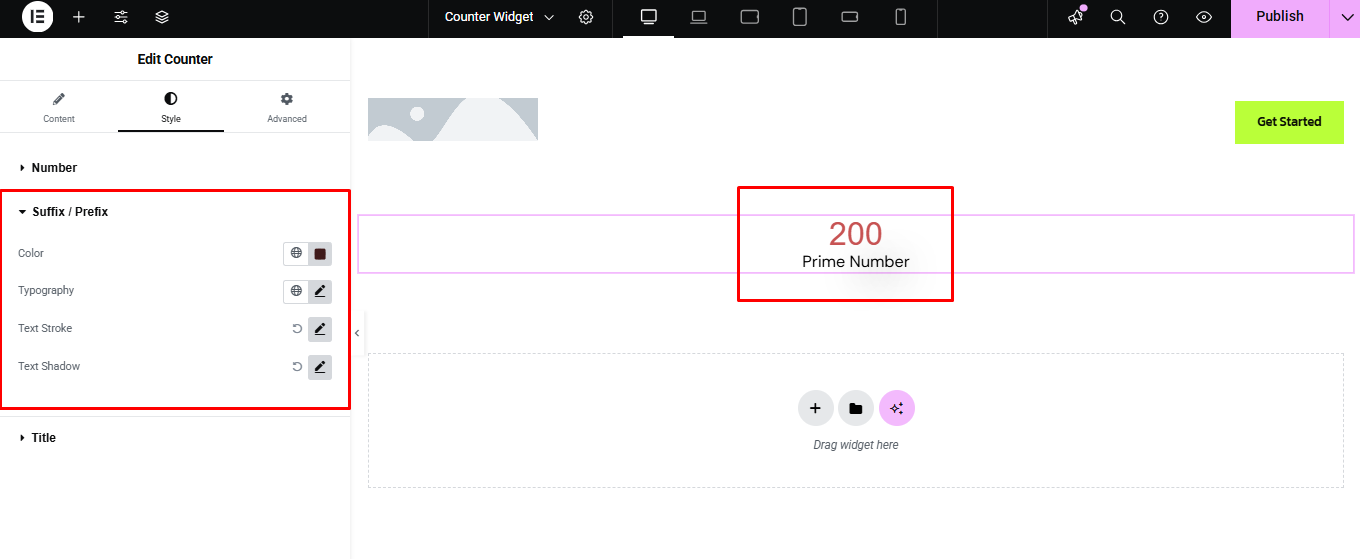
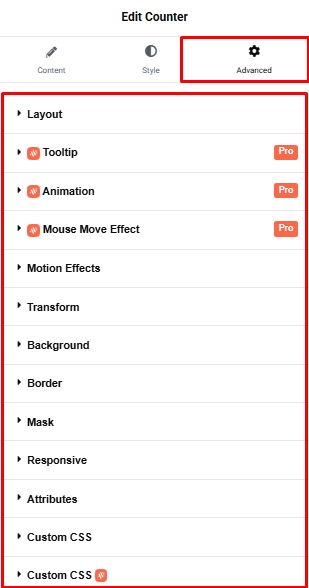
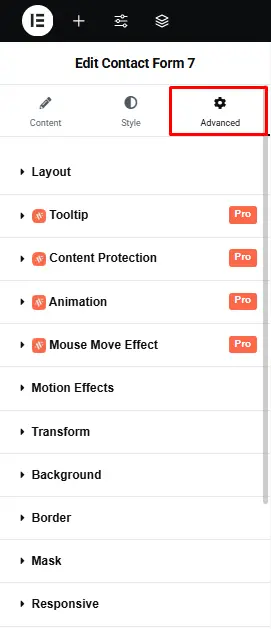
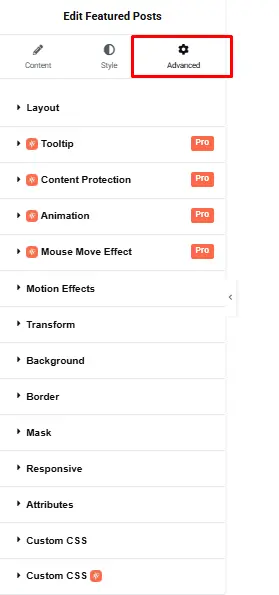
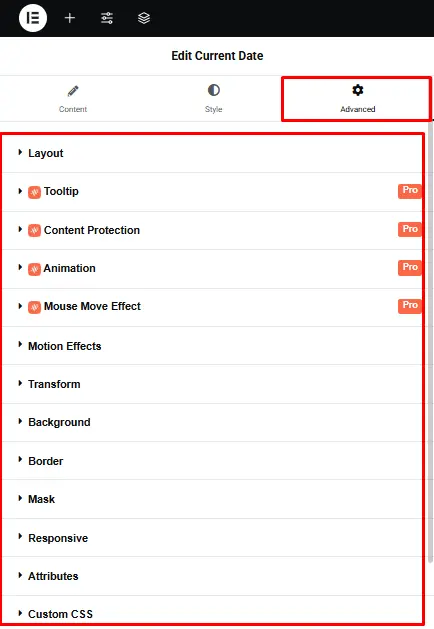
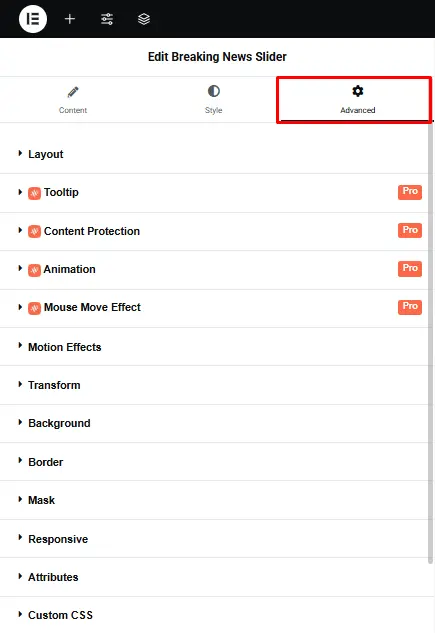
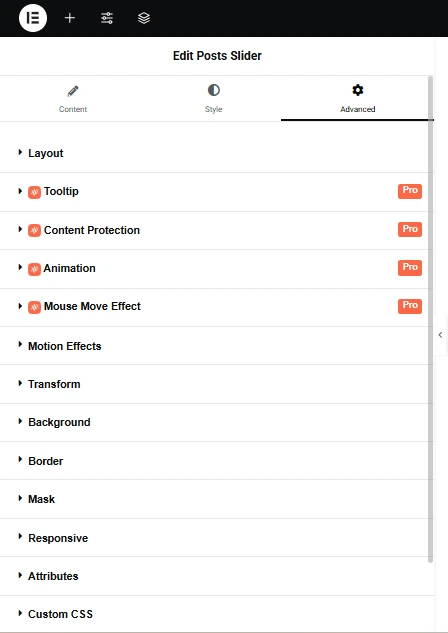
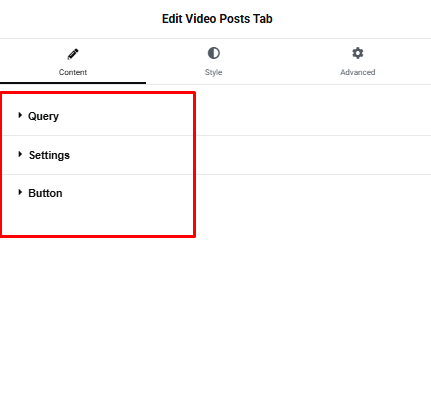
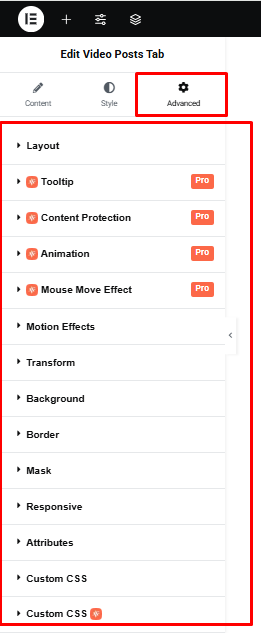
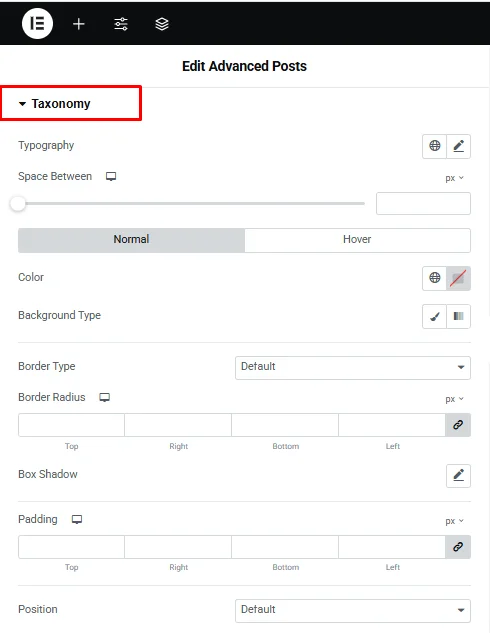
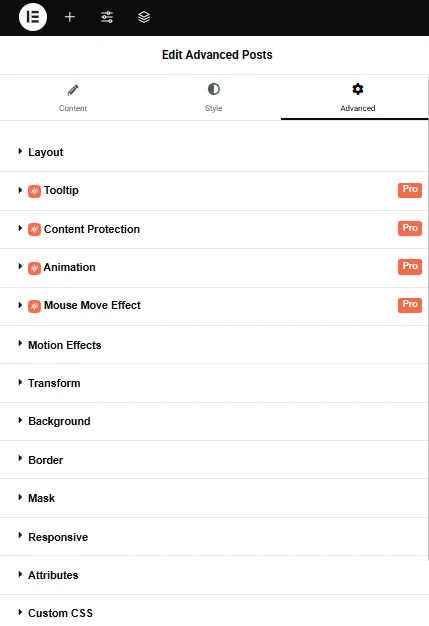
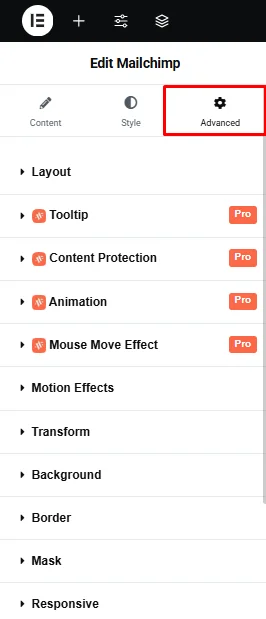
Advanced Settings
In the advanced settings, you’ll find a variety of advanced features designed to enhance your designs. Experiment with these options and experience the difference they make.
Final Outcome
That’s it! You’ve now learned how to configure the Social Icons Widget in Elementor to effectively customize and display images on your website.