
 Login
Login


Worried an Elementor addon might break after upgrading to V4? You can test it safely before touching your live website.
The safest approach is to clone your site to staging, update Elementor and your addons, enable the V4 experience, and test your widgets, templates, responsive layouts, forms, animations, and frontend functionality.
In this guide, you’ll get a 10-step Elementor V4 compatibility checklist to identify broken widgets, styling conflicts, JavaScript errors, and other issues before they reach your visitors.
- Back up your website.
- Create a staging copy.
- Update Elementor, Elementor Pro, and addons.
- Check each addon’s compatibility status.
- Enable Elementor V4 on staging.
- Create a dedicated compatibility test page.
- Test every important widget and template.
- Check desktop, tablet, and mobile layouts.
- Test forms, WooCommerce, popups, animations, and interactions.
- Check browser console errors before upgrading production.
Before You Start: Elementor V4 Testing Requirements
Before beginning the testing process, make sure you have everything necessary to perform a safe and accurate compatibility check with Elementor V4.
Proper preparation will help you identify potential issues more effectively and reduce the risk of unexpected problems during the upgrade process.
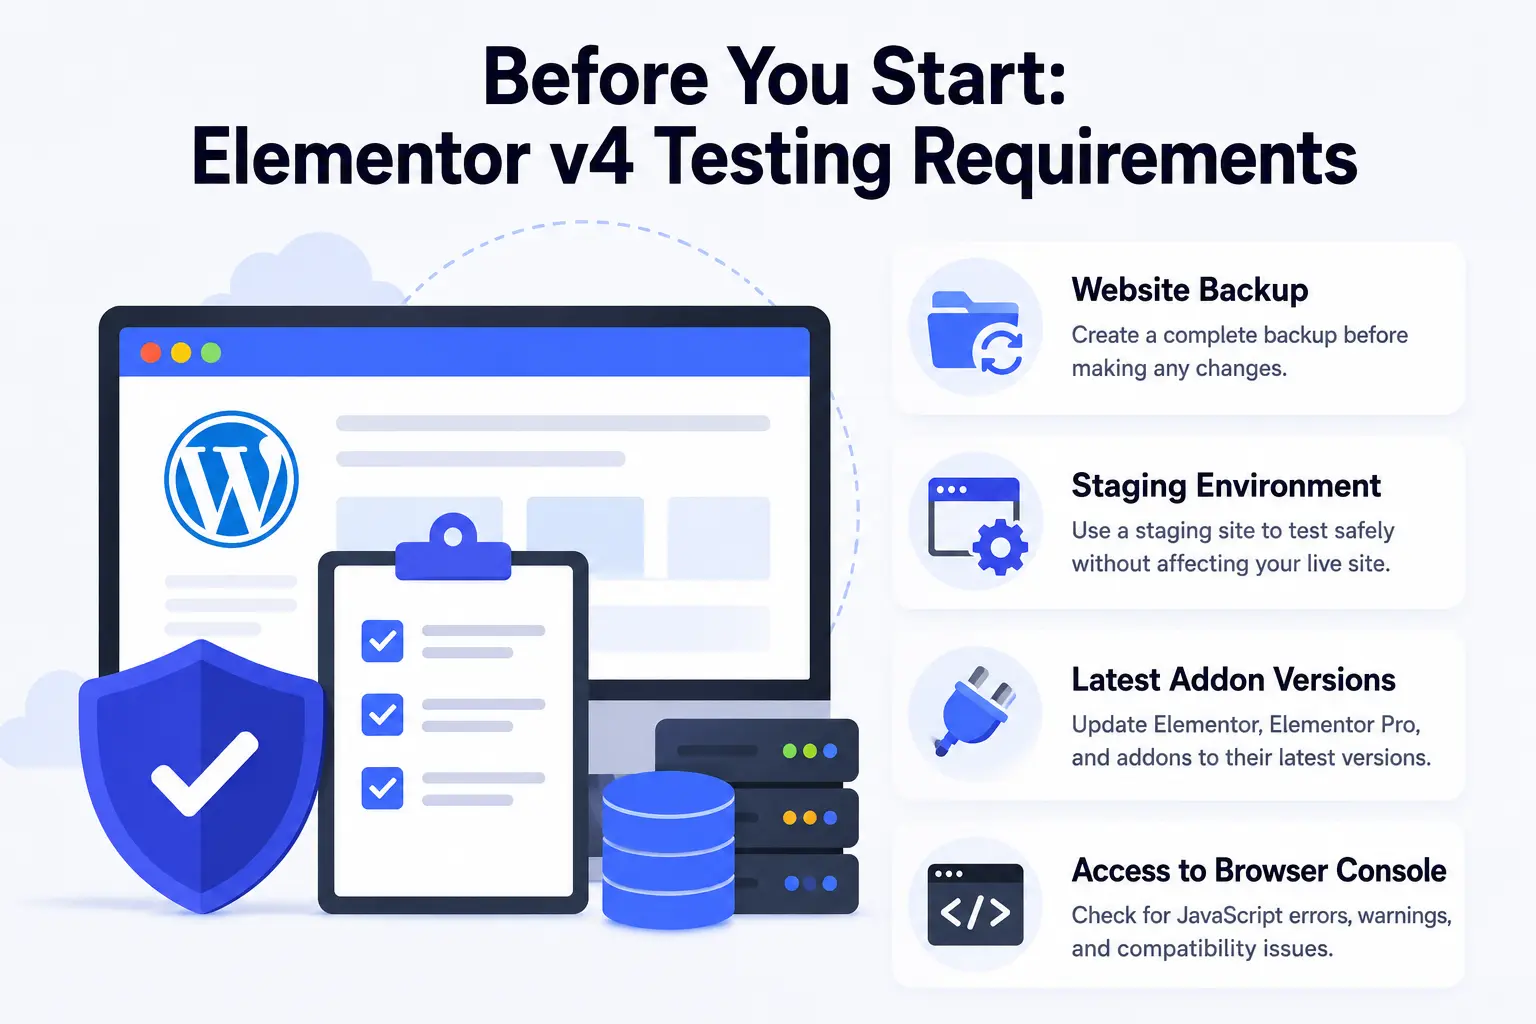
Below are the essentials you’ll need before testing Elementor V4.
Website Backup
Always create a complete backup of your website before making major changes. Even if you plan to test on a staging environment, having a recent backup provides an additional layer of protection in case something goes wrong during the upgrade process.
Your backup should include website files, the WordPress database, media uploads, theme settings, plugin configurations, and Elementor templates.
If your website contains WooCommerce data, forms, or other business-critical functionality, ensure those components are included as well.
A complete backup allows you to quickly restore your website to its previous state if compatibility issues occur or if you need to roll back changes after testing.
Staging Environment
Never test major updates on a live website. Instead, create a staging environment that closely mirrors your production site.
A staging environment is an isolated copy of your website where you can safely test Elementor V4, evaluate addon compatibility, and troubleshoot issues without affecting visitors, customers, or search engine rankings.
Ideally, your staging site should contain the same theme, plugins, custom code, content, and Elementor templates as your live website.
This ensures your test results accurately reflect what will happen when you eventually upgrade your production environment.
Many managed WordPress hosting providers offer one-click staging functionality, making it easy to create a testing environment within minutes.
Latest Addon Versions
Before testing Elementor V4, update Elementor, Elementor Pro, and all Elementor-related addons to their latest available versions.
Major Elementor releases often prompt addon developers to publish compatibility updates, bug fixes, and performance improvements.
Running outdated addon versions can produce inaccurate test results and may cause issues that have already been resolved by the developer.
You should also review the changelogs, release notes, and compatibility announcements provided by addon developers. This can help you identify known limitations, supported features, and any additional steps required when using Elementor V4.
Access to Browser Console
Browser developer tools play an important role in compatibility testing. While some issues are immediately visible on the frontend, others may only appear as JavaScript errors, warnings, or failed resource requests within the browser console.
Checking the console allows you to identify hidden conflicts between Elementor, third-party addons, themes, and custom code before they impact your live website.
You can access the browser console using the following shortcuts:
- Chrome: F12 → Console
- Edge: F12 → Console
- Firefox: F12 → Console
During testing, pay attention to JavaScript errors, deprecated warnings, missing files, failed API requests, and addon-specific error messages.
The browser console will become one of your most valuable tools for diagnosing compatibility issues throughout the testing process.
Is an Elementor Compatibility Tag Enough?
No. An Elementor Compatibility Tag is a useful starting point, but it shouldn’t be your final compatibility test. The tag indicates that an addon has been tested or declared compatible with a particular Elementor version, but your website may have a unique combination of widgets, templates, themes, custom code, and third-party plugins.
For a safer Elementor V4 upgrade, use the tag as step one, then verify the addon on a staging site.
A simple compatibility check:
1. Check the compatibility tag
Confirm the addon supports your Elementor and Elementor Pro versions.
2. Review the developer’s changelog
Look for V4 compatibility updates, known limitations, bug fixes, or required actions.
3. Test on staging
Update Elementor and the addon on a staging copy of your actual website, not your live site.
4. Test what your website actually uses
Check critical widgets, templates, forms, WooCommerce elements, animations, responsive layouts, and dynamic content.
5. Check for hidden errors
Open your browser’s developer console and look for JavaScript errors, warnings, or failed resource requests.
- Think of the compatibility tag as a green light to start testing, not permission to skip testing.
The safest approach is developer confirmation + staging tests + real-world functionality checks. If a critical addon fails any of these checks, hold off on upgrading your production website until the issue is resolved.
Step-by-Step: How to Test Your Elementor Addon Stack Before Upgrading to V4
Follow the step-by-step process below to test your Elementor addons before upgrading to Elementor V4.
These checks will help you identify compatibility issues early. They will also ensure a smooth transition without affecting your live website.
Step 1: Create a Full Website Backup
The first step is creating a complete backup of your website. Even though you’ll be testing on a staging site, having a recent backup provides an additional layer of protection.
Make sure your backup includes the WordPress database, theme files, plugin files, media uploads, and Elementor templates. Store the backup in a secure location before proceeding.
Step 2: Clone Your Website to a Staging Environment
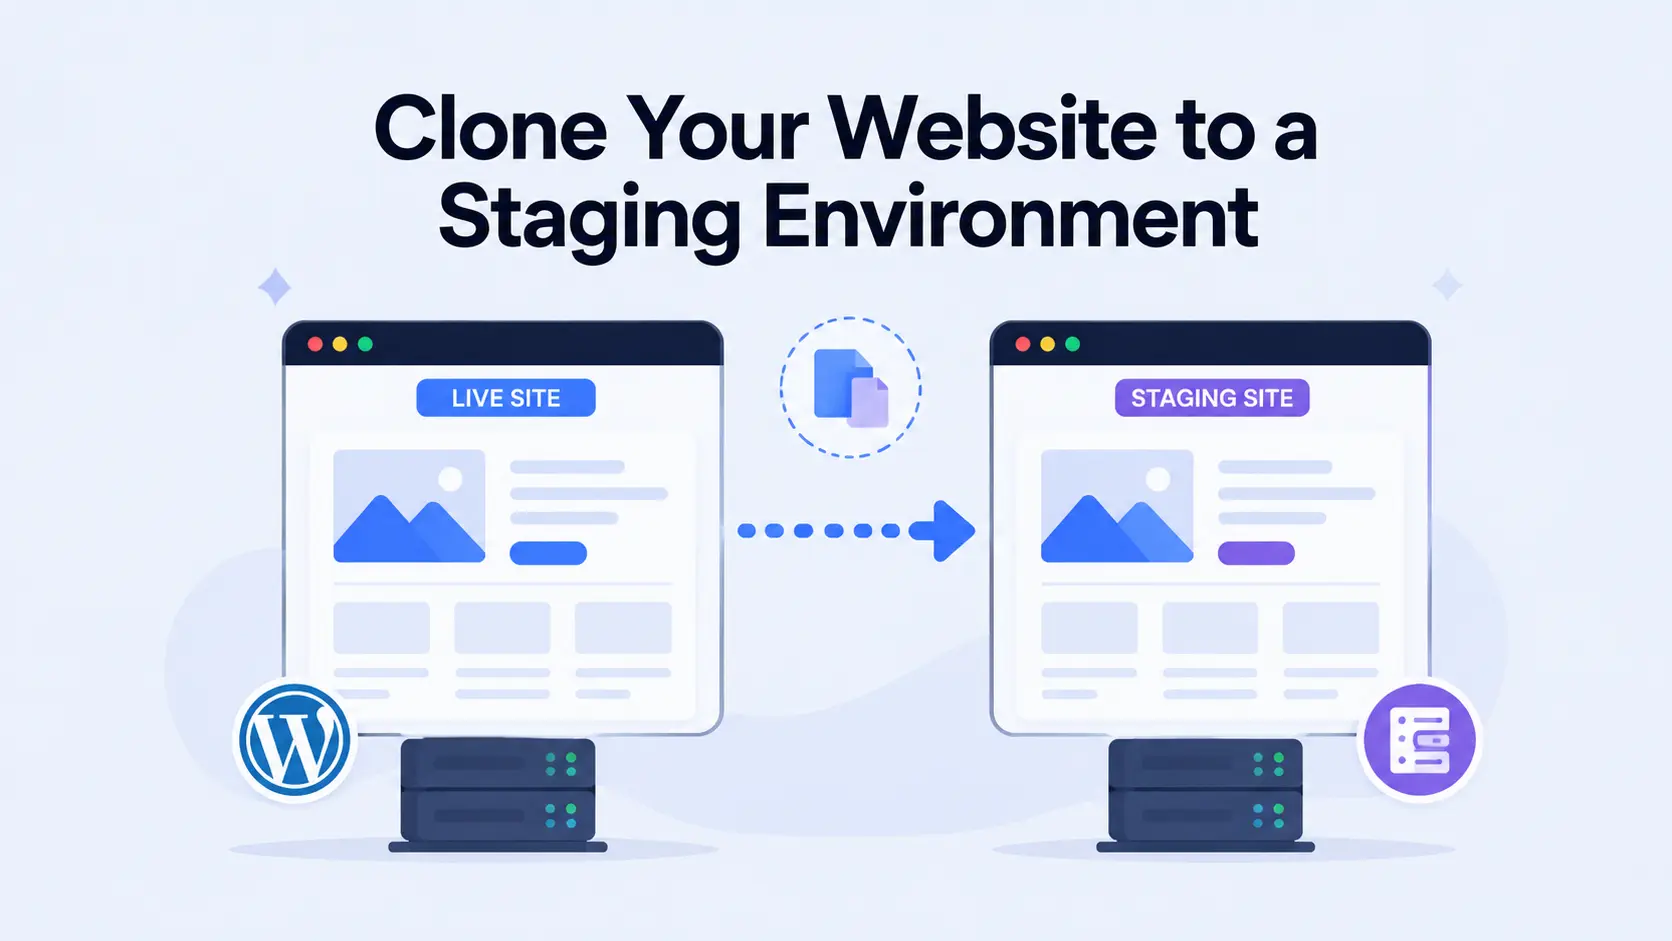
Next, create a staging copy of your website. The staging site should mirror your production environment as closely as possible, including your active theme, Elementor version, installed addons, WooCommerce settings, custom code, and content.
Testing on a staging environment ensures that any issues discovered won’t affect your live visitors.
Step 3: Audit Your Elementor Addons
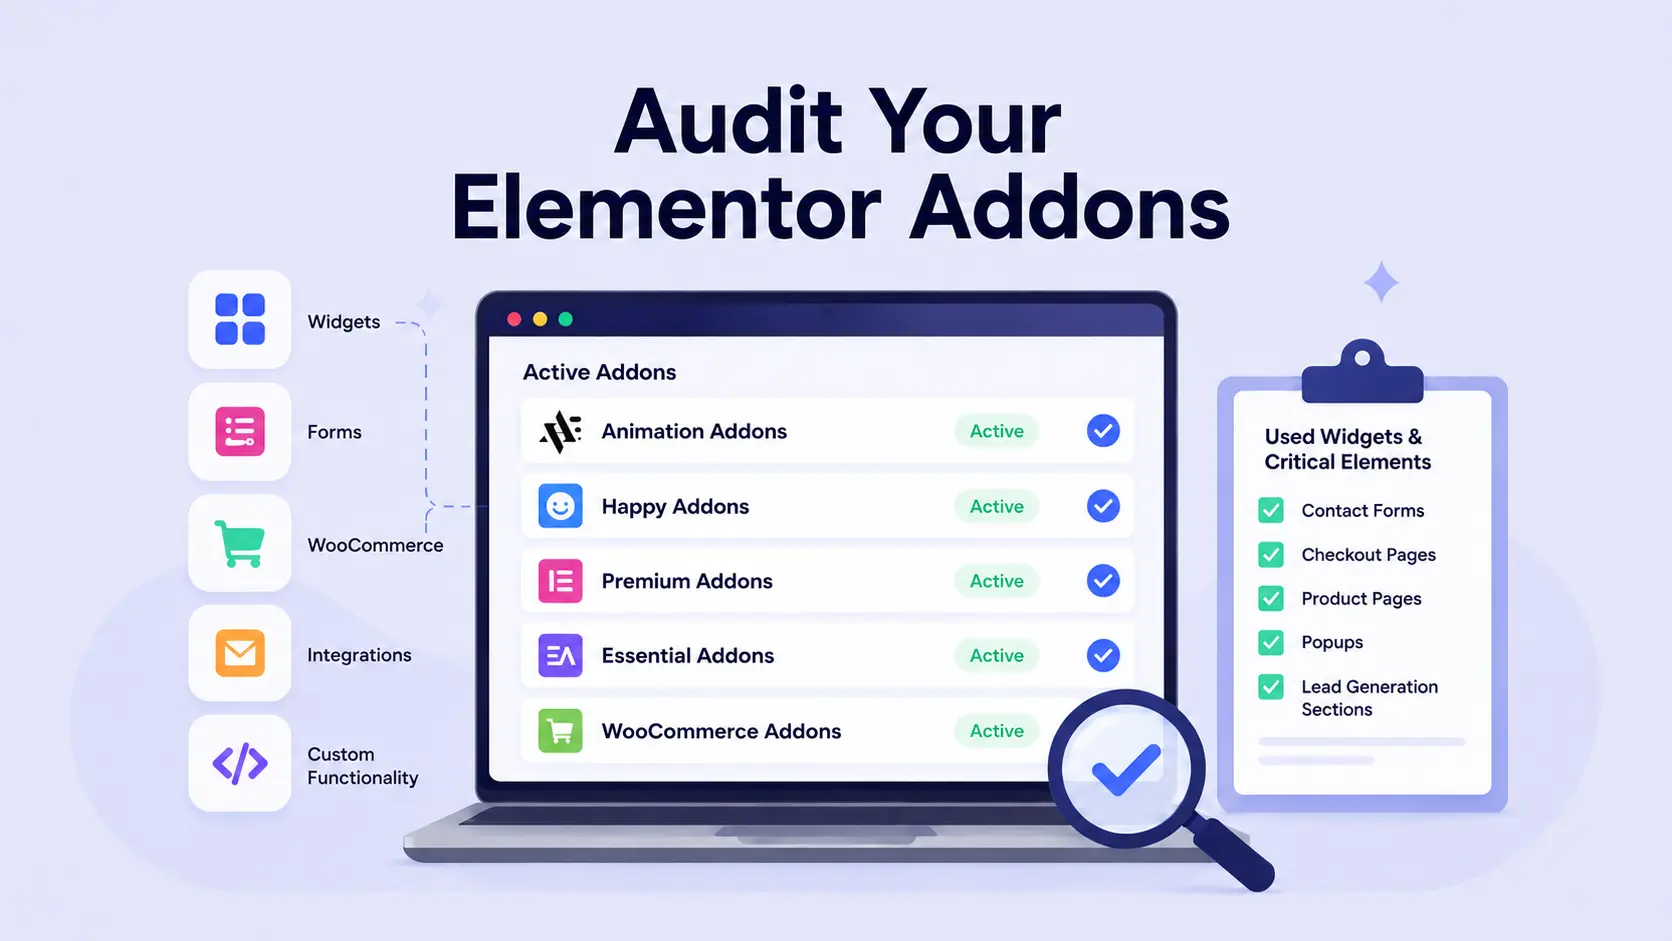
Before upgrading, review all Elementor-related addons currently active on your website. This includes widget addons, animation addons, form addons, WooCommerce extensions, marketing integrations, and any custom Elementor functionality.
Also, identify which widgets are actively used across your website. Pay special attention to business-critical elements such as contact forms, checkout pages, product pages, popups, and lead generation sections.
Step 4: Update Elementor and All Addons to Their Latest Versions
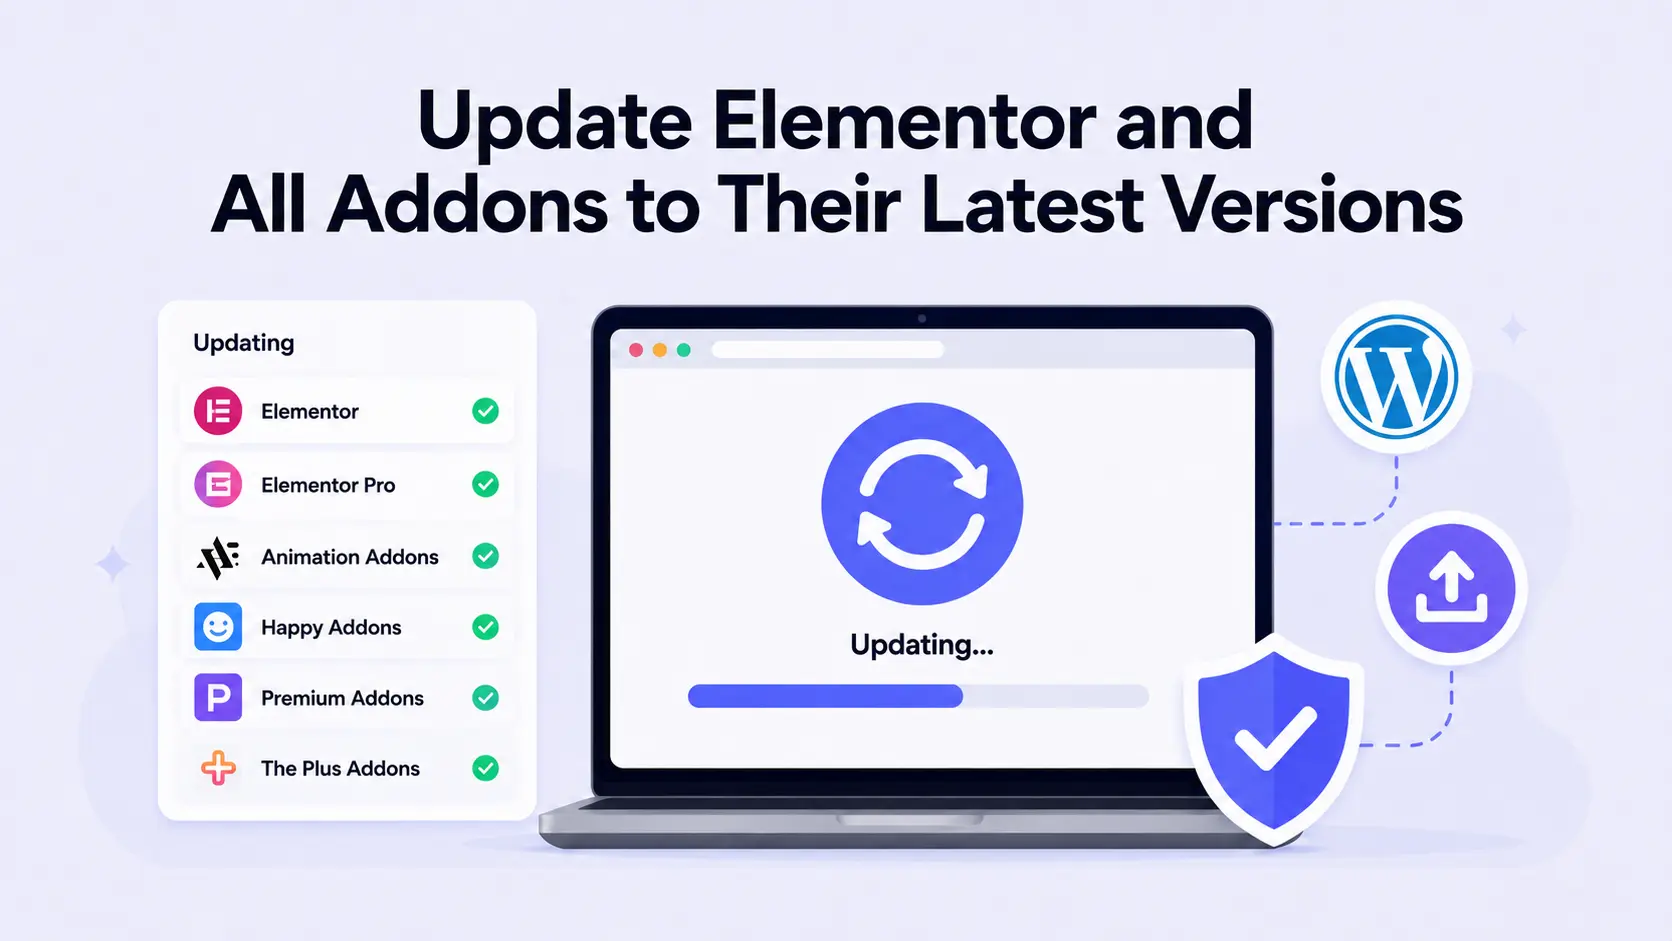
Update Elementor, Elementor Pro, your installed addons, and your active WordPress theme to their latest versions.
Developers often release compatibility updates before major Elementor releases, so running the latest versions helps minimize conflicts.
After updating everything, quickly verify that your staging site continues to function correctly before proceeding with Elementor V4 testing.
Step 5: Activate Elementor V4 Features on Staging
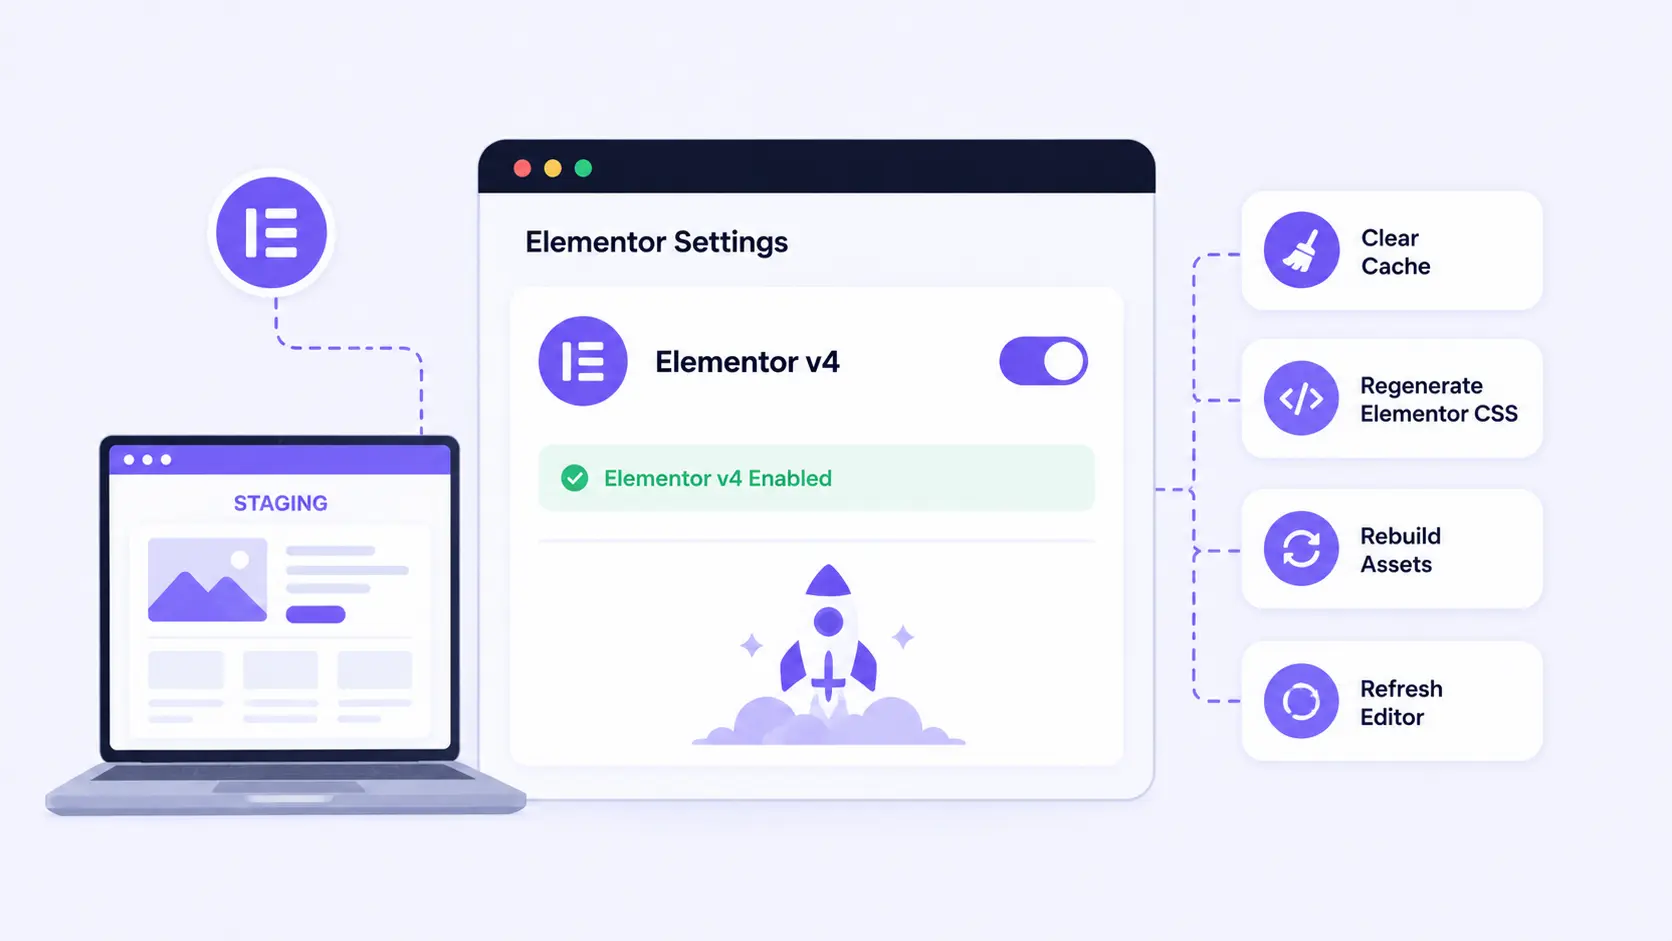
Once your staging environment is fully updated, activate Elementor V4 features according to Elementor’s current upgrade process. Perform all testing on the staging site and avoid making changes to your live website until testing is complete.
After activating Elementor V4, clear your website cache, regenerate Elementor CSS files, rebuild assets if necessary, and refresh the editor to ensure you’re testing the latest configuration.
Step 6: Create a Compatibility Testing Page
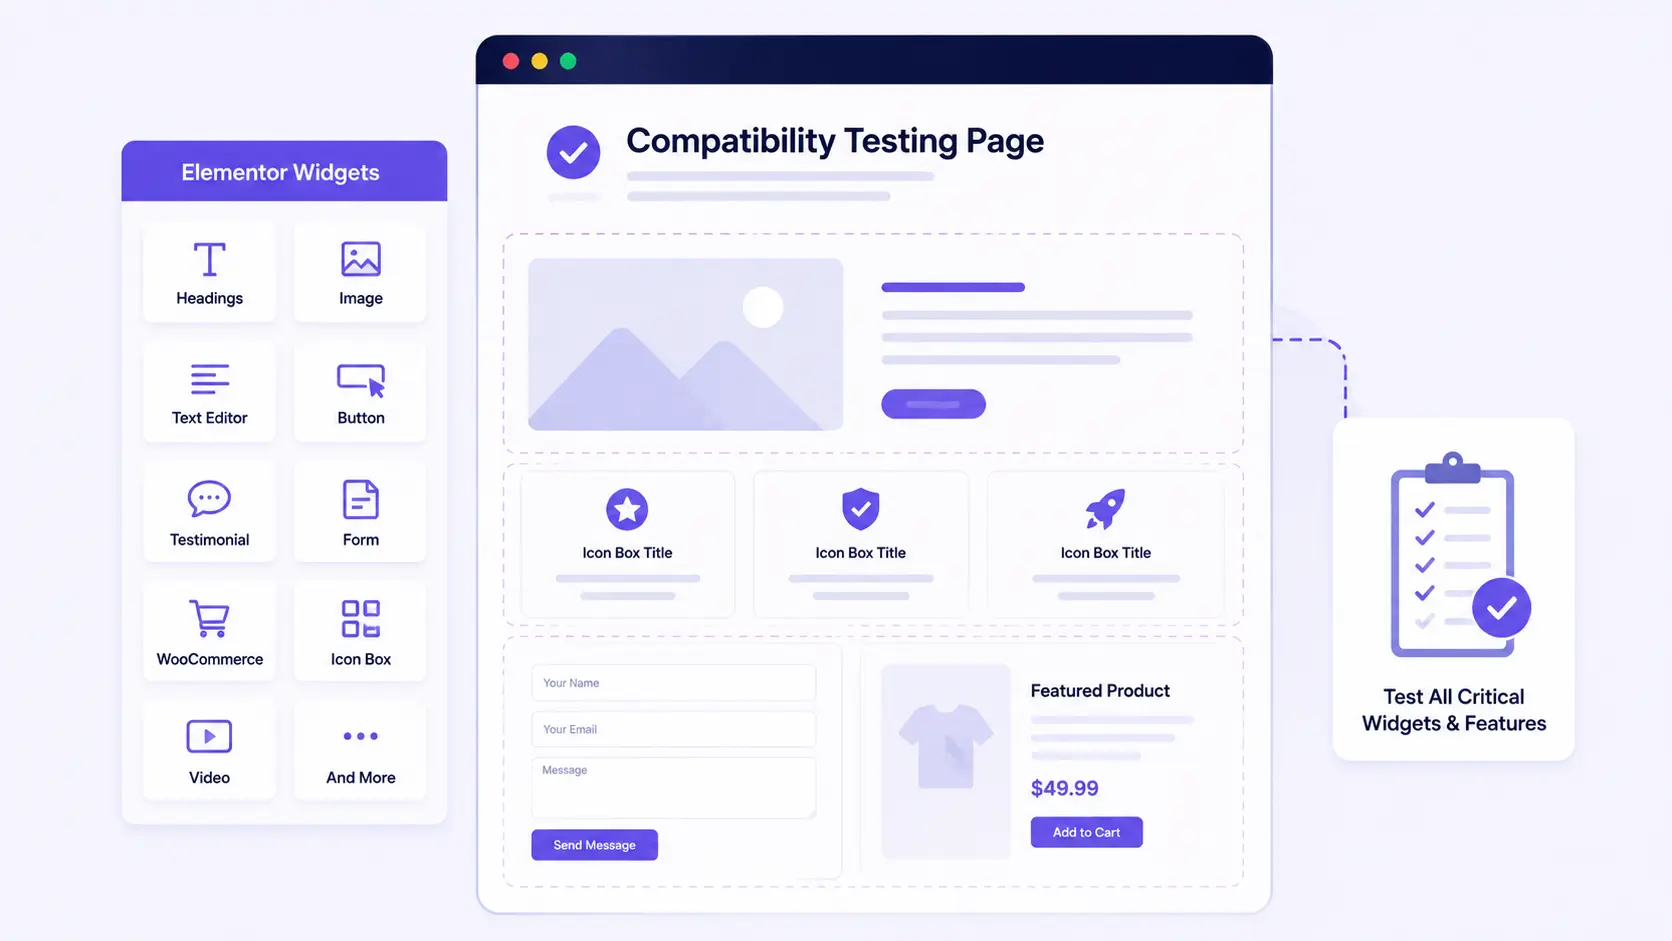
Create a dedicated testing page that contains every important Elementor widget and feature used throughout your website. Include common content elements, forms, WooCommerce widgets, interactive components, and any addon-specific widgets that are critical to your site’s functionality.
Centralizing these elements on a single page makes it easier to identify compatibility issues during testing.
Step 7: Test Every Addon Widget and Template
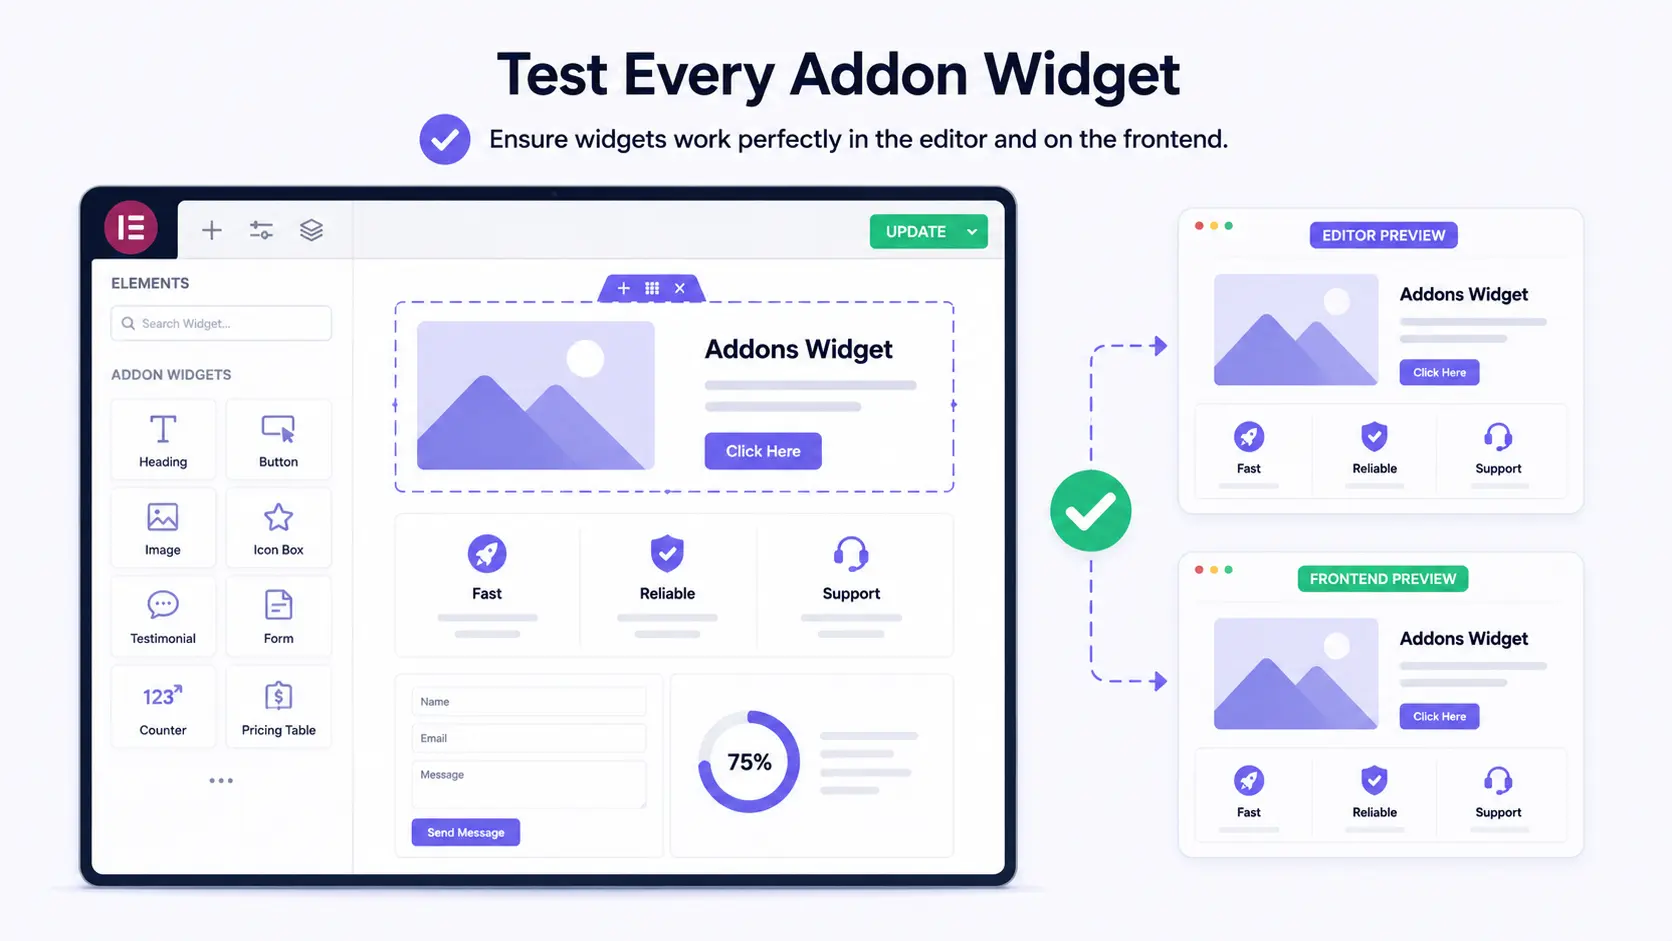
Open the Elementor editor and review each addon widget individually. Confirm that widgets load correctly, settings panels open as expected, controls remain functional, styling options are available, and content displays properly.
Then compare the frontend output with the editor preview to ensure there are no inconsistencies.
If your website uses Elementor Theme Builder, also test headers, footers, single post templates, archive templates, and WooCommerce templates to verify they continue to function correctly.
Step 8: Test Responsive Layouts
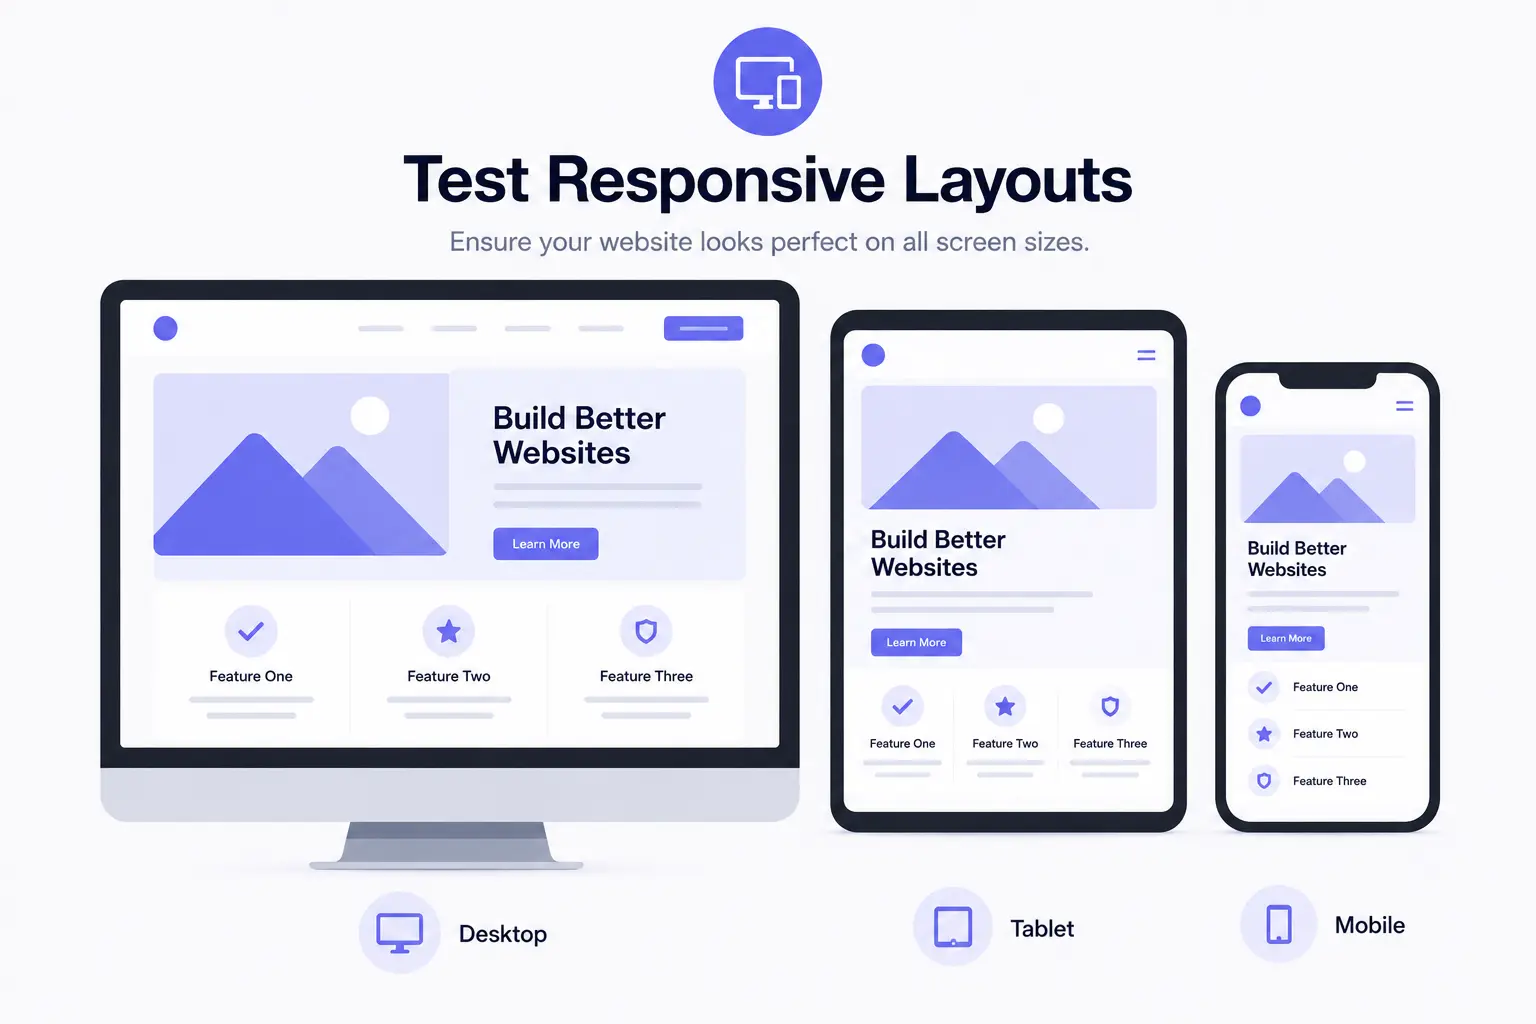
Review your pages across desktop, tablet, and mobile devices. Pay close attention to alignment, spacing, typography, container layouts, and grid structures.
Responsive issues often appear after major updates, so verify that your website maintains a consistent appearance and user experience across all screen sizes.
Step 9: Check Frontend Functionality and User Experience
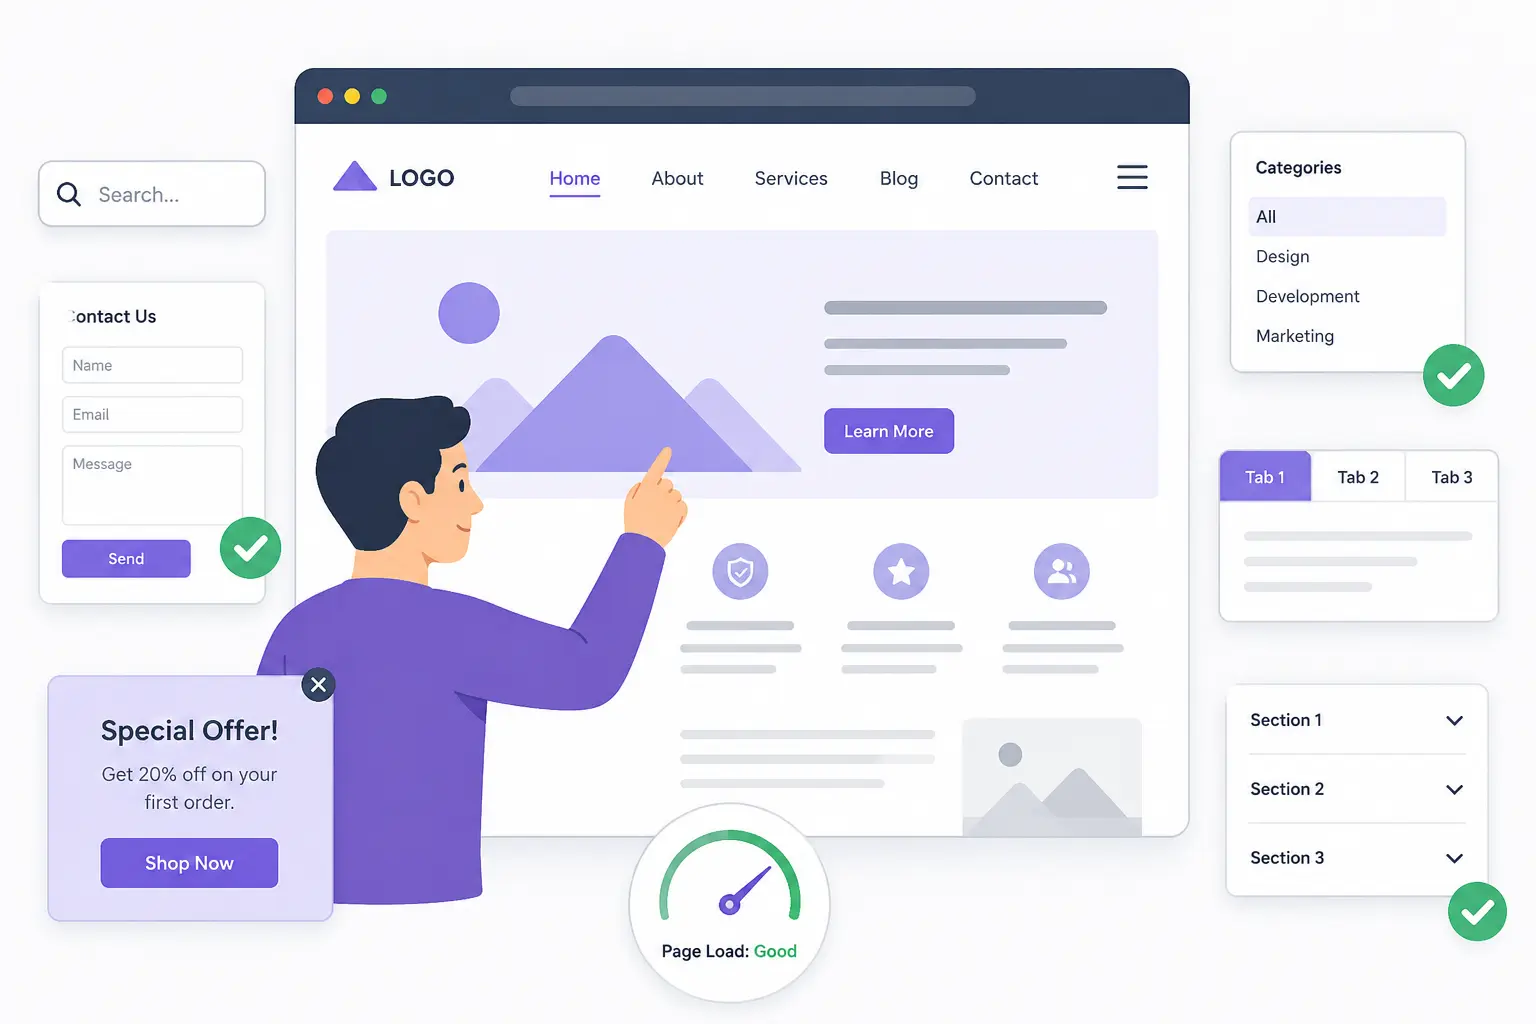
Navigate through your website as a visitor and verify that all frontend functionality works correctly. Test navigation menus and submit forms. Interact with popups and other interactive elements.
Also, check that features such as search, filters, tabs, and accordions function as expected.
Ensure pages load properly and provide a smooth, consistent user experience across the entire website.
Step 10: Check Browser Console Errors
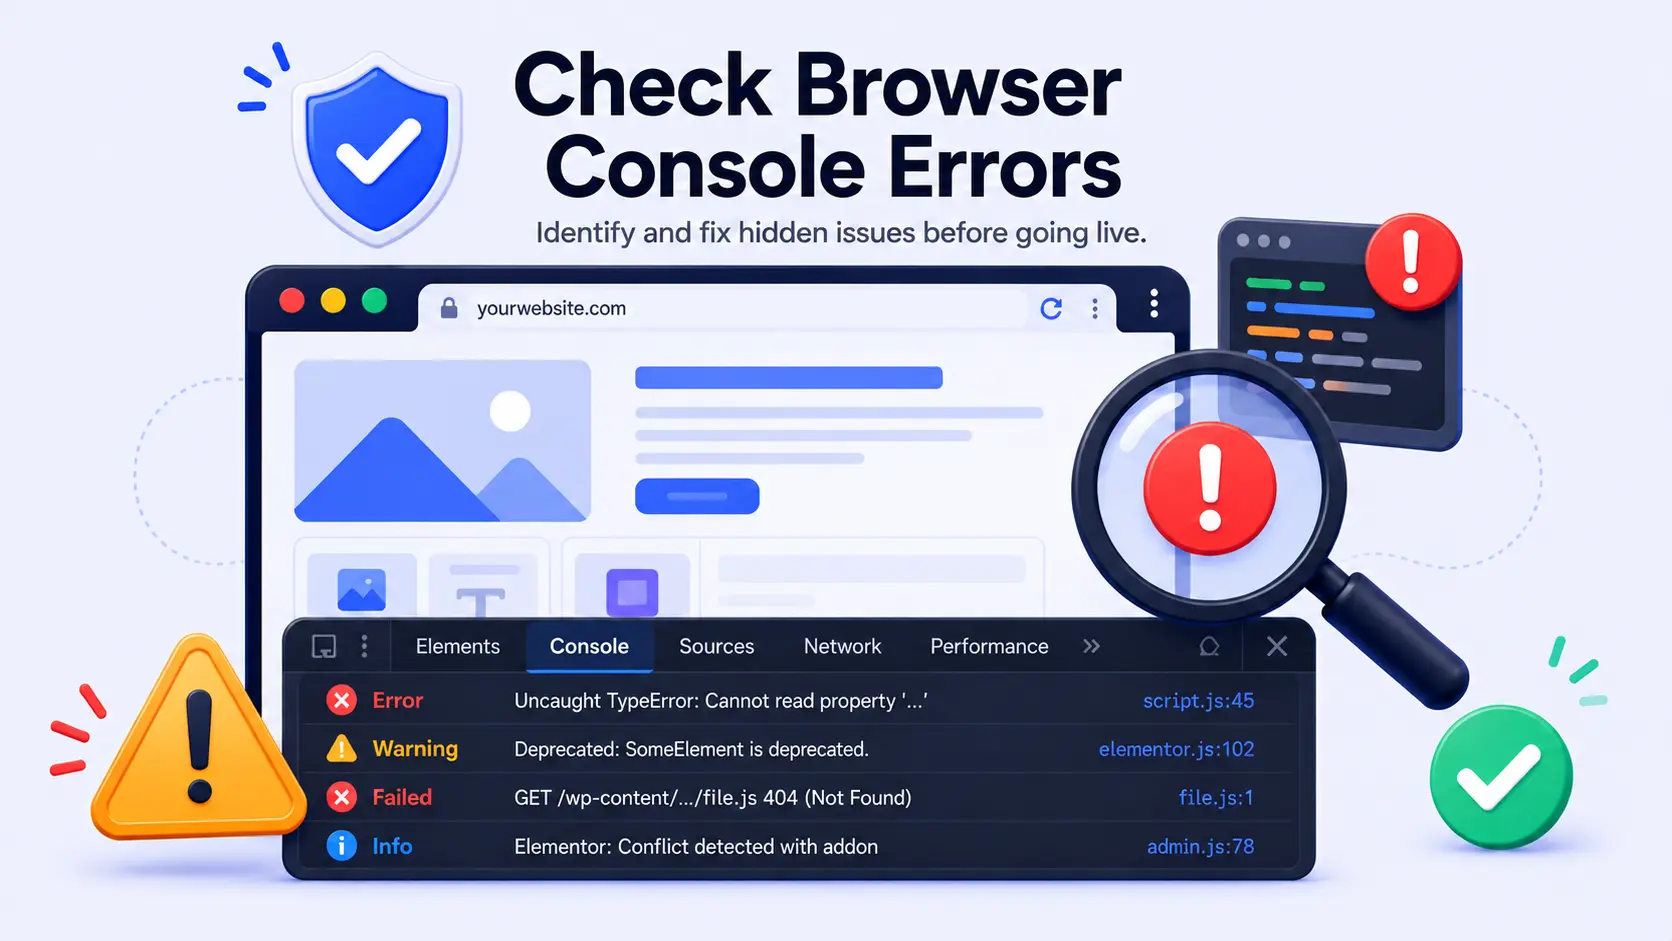
Finally, inspect your browser’s developer console for hidden compatibility issues. Look for JavaScript errors, deprecated warnings, failed resource requests, Elementor-related conflicts, and addon-specific errors.
Some issues may not be immediately visible on the frontend, so resolving console errors before upgrading your live website is an important final step.
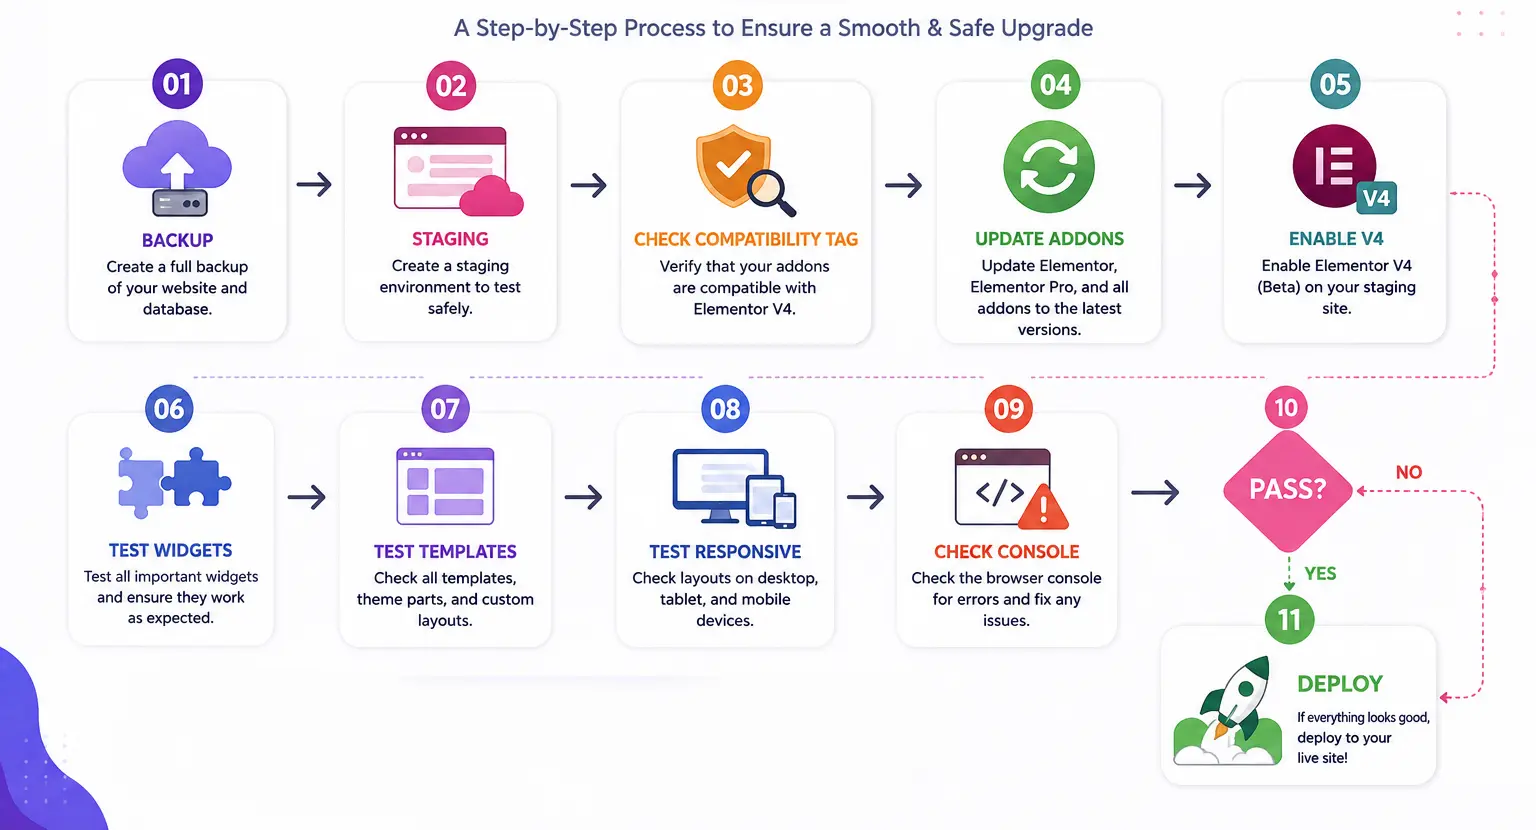
How to Know Your Addon Stack Is Ready for Elementor V4
Before upgrading to Elementor V4, use the checklist below to make sure your addons, widgets, and layouts work as expected.
| Compatibility | Status |
| Widgets load properly in the editor | ✅ |
| Widgets render correctly on the frontend | ✅ |
| Styles remain intact | ✅ |
| Animations work normally | ✅ |
| Responsive layouts remain unchanged | ✅ |
| No console errors appear | ✅ |
| Forms function correctly | ✅ |
| WooCommerce elements work properly | ✅ |
| No visual regressions are detected | ✅ |
What Should I Do If an Addon Is Not Compatible With Elementor V4?
If an addon is not compatible with Elementor V4, avoid upgrading your live website immediately.
First, check whether the developer has released a newer version or published a compatibility update.
Reviewing the addon’s changelog, documentation, and support resources can often provide useful information about Elementor V4 support.
If compatibility issues persist, contact the developer to learn about upcoming fixes or known limitations.
For business-critical widgets such as forms, WooCommerce elements, popups, or dynamic content, it’s usually best to delay the upgrade until a stable solution is available.
If the addon is no longer actively maintained, consider replacing it with a compatible alternative.
Most importantly, continue testing on a staging site and only upgrade your live website once all required addons function correctly without errors or conflicts.
Get Ready for Elementor V4 Before You Upgrade
Elementor 4.0 is now live, bringing its Atomic Editor, Variables, Classes, Components, and new styling architecture to the Elementor ecosystem. If you’re upgrading an existing Elementor website, testing your addon stack before enabling or updating to V4 is still essential to avoid layout, styling, JavaScript, and functionality issues.
Yes, Animation Addons has officially released compatibility and updates for Elementor V4.
That’s why we’ve put together this step-by-step guide to help you validate compatibility, review widget behavior, and identify potential conflicts before making the switch. Follow these essential testing practices to ensure your websites remain stable, fast, and fully functional.
Final Thoughts
If your addons pass the editor, frontend, responsive, functionality, and console checks, your staging site is in good shape for deployment.
If a critical widget or integration fails, don’t upgrade your production site yet. Update the addon, contact the developer, replace the conflicting plugin, or postpone the migration.
The goal isn’t simply to make Elementor V4 load. It’s to make sure your actual website still works exactly as visitors expect.
Want to see which Elementor addons are already compatible with V4?
With Animation Addons, you can create GSAP-powered animations directly in Elementor without relying on custom JavaScript. Explore its animation features, widgets, extensions, and templates to build more interactive websites faster.
Explore with Animation AddonsFAQs
Create a staging copy of your website, update Elementor and your addons there, and test the widgets, templates, layouts, forms, animations, and other critical functionality you use. Elementor also recommends checking third-party addon compatibility and testing updates on staging before applying them to a live site.
Check the addon developer’s documentation, changelog, and official compatibility statement for Elementor V4 support. You should also test the addon in staging, including its widgets and integration with V4 features such as Classes, Variables, and Components.
Existing V3 workflows can continue to work alongside Elementor V4, but individual third-party addons may require updates to ensure full compatibility. Always verify the addon developer’s current compatibility information and test your actual widgets before upgrading a production site.
Yes, you can test Elementor V4 safely on a staging website, which is a separate copy of your live site where updates and changes won’t affect visitors. Elementor recommends using staging specifically to evaluate updates before deploying them to production.
Create a test page containing the widgets and features your website actually uses, then check them in the editor and on the frontend. Test their controls, styling, responsive behavior, dynamic content, interactions, and functionality across desktop, tablet, and mobile views.
Apply an Elementor V4 Class or Variable to an addon widget and verify that the styling updates correctly when you modify the class or variable. Because V4 allows legacy Widgets and new Atomic Elements to work together, testing this interaction can help identify addons that don’t integrate cleanly with the new design-system workflow.
First, check whether the addon has a newer version or an official V4 compatibility update, then test by temporarily disabling other third-party plugins to identify potential conflicts. If the problem is caused by the addon itself, Elementor recommends contacting the addon developer because third-party addon conflicts should be handled by their respective authors.
Yes, if you’re updating both, Elementor currently recommends updating Elementor Pro first because Pro is an addon to the core Elementor plugin. However, Elementor’s troubleshooting documentation also emphasizes keeping both versions compatible and up to date, so follow the current update guidance for your installed versions.
A staging site isn’t technically mandatory, but it is strongly recommended before making major updates to a live website. It gives you a safe environment to test addons, widgets, layouts, and functionality without exposing visitors to unexpected problems.
Test every animation trigger you actually use, including scroll effects, entrance animations, hover interactions, text animations, pinned elements, and other interactive sequences, on both desktop and mobile. Also check the browser console for JavaScript errors and compare the page before and after the upgrade to catch animations that appear visually correct but fail during interaction.

Leave a Reply