


 Cupon Code Applied
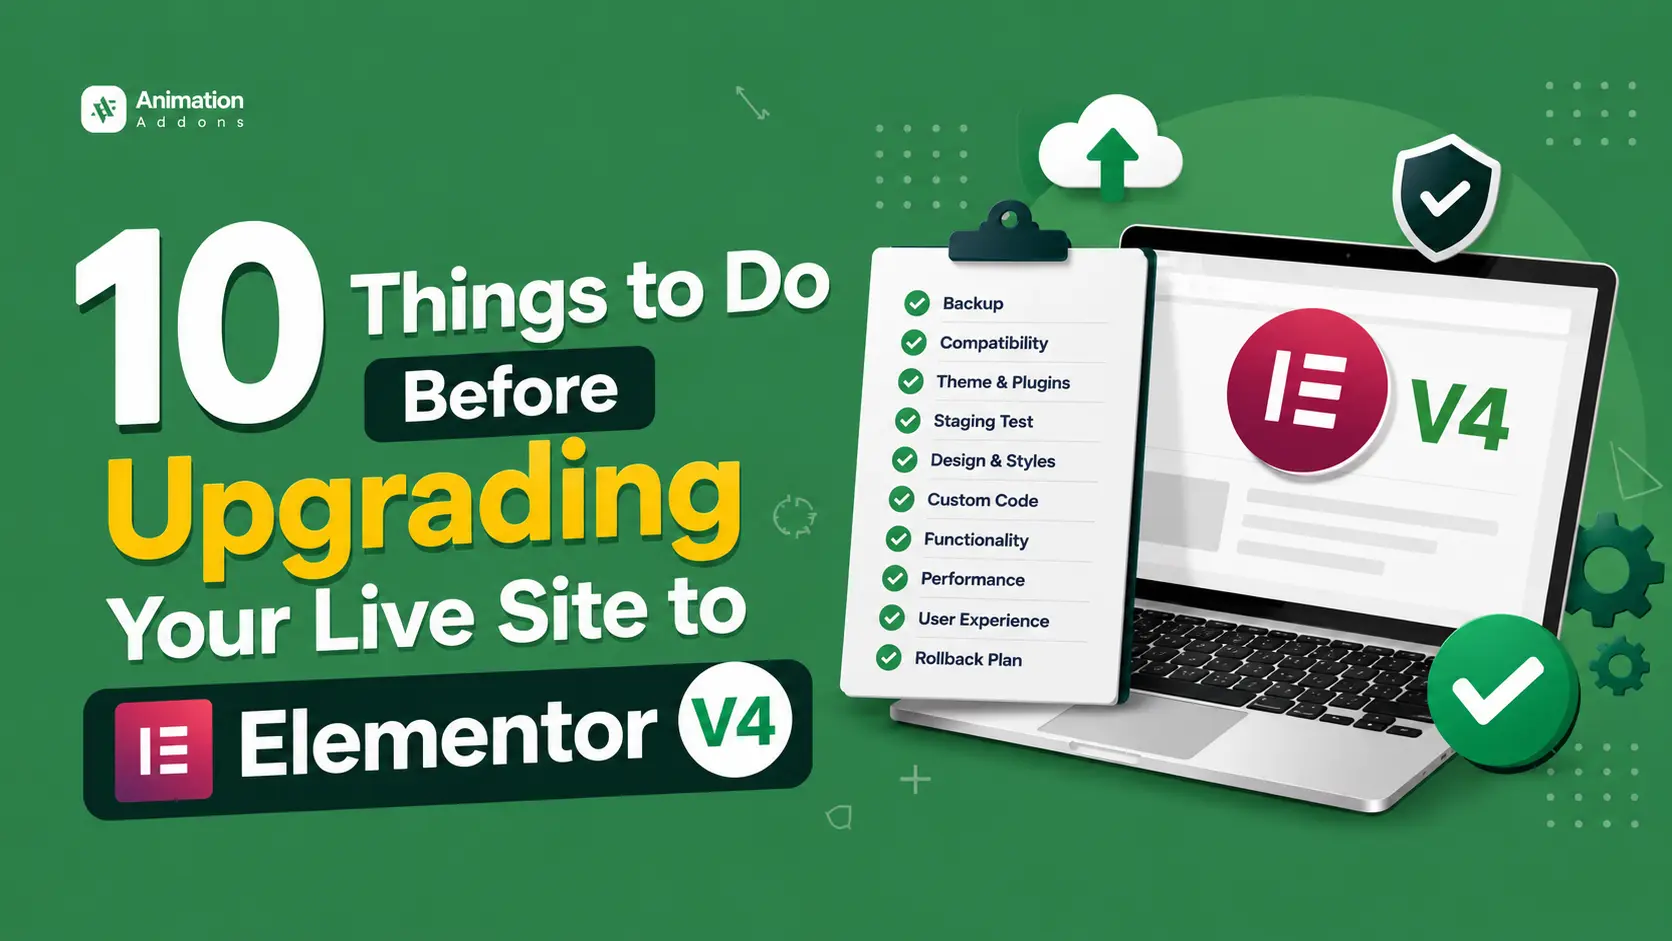
Elementor V4 is one of the most significant updates the page builder has introduced in recent years. With a completely redesigned architecture, the new version aims to make website creation faster, more scalable, and easier to manage.
While these improvements, upgrading a live website without proper preparation can lead to unexpected issues such as layout breaks, plugin conflicts, or functionality problems.
Taking a few precautionary steps beforehand can help ensure a smooth transition while protecting your site’s design, performance, and user experience.
In this Elementor V4 upgrade checklist, we’ll walk through 10 essential things you should do before updating your live site. It will minimize risks and confidently take advantage of everything Elementor V4 has to offer.
What’s New in Elementor V4?
Elementor V4 introduces a major shift in how websites are designed and managed. Instead of relying heavily on individual widget styling, the new version focuses on a modern design system built around reusable Classes and Variables.
This allows users to apply consistent styles across multiple elements and update them from a single location, making website maintenance much more efficient.
Another significant improvement is the adoption of an atomic architecture, which generates cleaner code and reduces unnecessary DOM elements. As a result, websites can benefit from better performance, faster loading times, and improved scalability.
10 Things to Do Before Updating Your Live Site
Upgrading to Elementor V4 without proper preparation can lead to compatibility issues, styling inconsistencies, or unexpected functionality problems. Follow these 10 essential steps to ensure a smooth, safe, and successful upgrade for your live website.
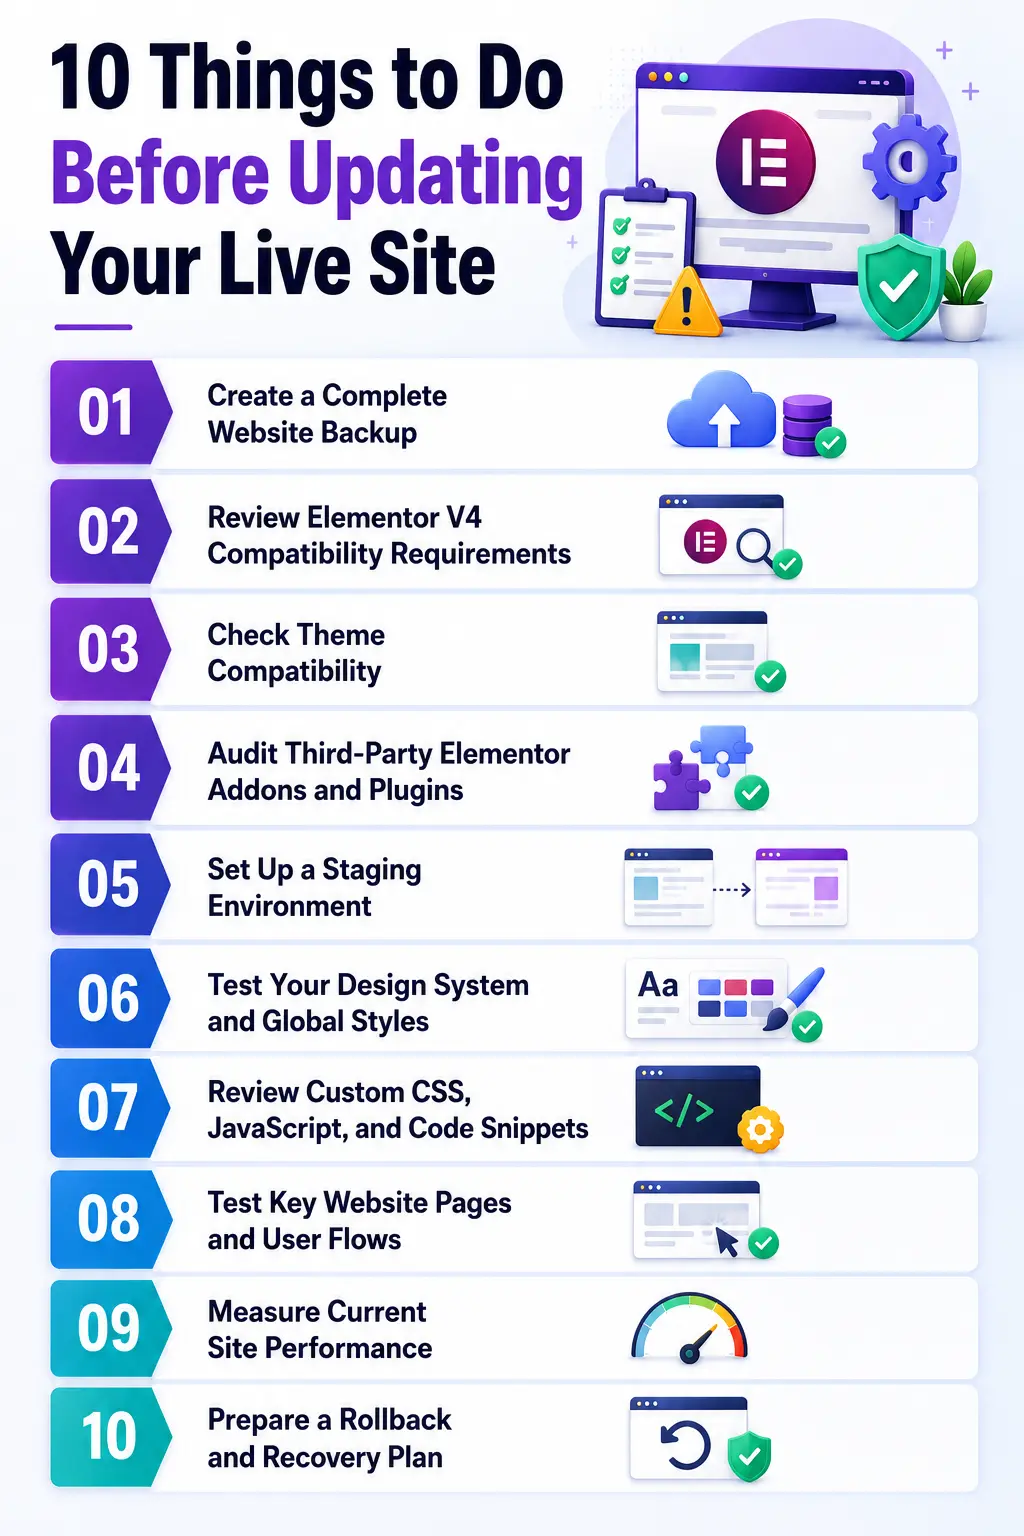
1. Create a Complete Website Backup
Before making any major changes to your website, creating a complete backup should be your top priority. A reliable backup ensures that you can quickly restore your website if anything goes wrong during or after the update.
Back Up Both Files and Database
A full backup ensures that you can quickly restore your site if anything goes wrong during the update process. Your backup should include:
- WordPress core files
- Themes and child themes
- Installed plugins
- Media uploads (images, videos, documents)
- Custom CSS, JavaScript, and code snippets
- Database content, including posts, pages, settings, users, and plugin configurations
You can use a dedicated backup plugin or your hosting control panel to generate and download a copy of your website.
Verify That Your Backup Works
A backup is useful only if it can be restored successfully when needed. Before updating Elementor, take a few minutes to verify that your recovery process is working properly.
Consider the following checks:
- Confirm that the backup completed without errors.
- Ensure both website files and the database are included.
- Download a copy of the backup to a secure location.
- Test the restoration process on a staging site if possible.
- Verify that your hosting provider offers a simple rollback option.
If you encounter compatibility issues, broken layouts, or unexpected errors, you’ll be able to restore your website quickly and minimize downtime.
2. Review Elementor V4 Compatibility Requirements
Since Elementor V4 introduces a new design architecture, running it on an outdated WordPress environment can lead to functionality issues, styling problems, or plugin conflicts. Taking a few minutes to review your site’s technical setup can help ensure a smooth upgrade.
Check Your WordPress and PHP Versions
Before upgrading to Elementor V4, make sure your website is running supported versions of WordPress and PHP.
Take a moment to review the following:
- Verify that your WordPress installation meets Elementor’s recommended requirements.
- Check that your PHP version is up to date and supported.
- Update WordPress core to the latest stable release if needed.
- Ensure all essential plugins are compatible with your current PHP version.
- Review your site’s health status from the WordPress Site Health tool.
You can typically find your WordPress and PHP version information within your hosting dashboard or the WordPress admin area.
Review Hosting Environment and Server Resources
Before upgrading, review your hosting setup and confirm that it provides adequate resources for Elementor.
Important areas to check include:
- PHP memory limit settings
- Maximum execution time
- Available server resources (CPU and RAM)
- Database performance and storage availability
- Server-side caching configurations
- CDN and optimization settings
- Security or firewall rules that may affect Elementor functionality
If your hosting provider offers performance optimization tools, review their settings before and after the upgrade.
3. Check Theme Compatibility
While Elementor is designed to work with most modern WordPress themes, the introduction of a new design system, reusable classes, and updated styling architecture in V4 may affect how certain themes interact with the page builder.
Verify Your Theme Supports Elementor V4
If you’re using a popular Elementor-friendly theme such as Hello Elementor, Astra, Kadence, GeneratePress, or Blocksy, check whether the theme developer has officially confirmed support for Elementor V4.
Most reputable theme providers publish compatibility announcements, changelogs, or documentation updates when major Elementor releases become available.
Updating your theme to the latest version before upgrading Elementor can prevent compatibility-related issues.
Review Custom Theme Modifications
Websites that use heavily customized themes or child themes require extra attention. Custom CSS, template overrides, and theme-specific functionality may not behave exactly as expected under Elementor V4’s new architecture.
Before updating your live site, test key pages, headers, footers, archive templates, and dynamic content areas in a staging environment. This allows you to identify and fix any conflicts without affecting visitors.
4. Audit Third-Party Elementor Addons and Plugins
Third-party Elementor addons and WordPress plugins can significantly become one of the biggest sources of compatibility issues during a major upgrade. Conducting a thorough plugin audit before upgrading can help you avoid broken widgets and unexpected website errors.
Check Elementor Addon Compatibility
Start by reviewing all Elementor-related addons installed on your website. Popular addon collections often release compatibility updates alongside major Elementor releases.
Visit the developer’s website, changelog, or documentation to confirm that the addon officially supports Elementor V4.
If an addon has not been updated recently or lacks compatibility information, consider testing it in a staging environment before upgrading your live site.
Review Essential WordPress Plugins
Beyond Elementor addons, evaluate all active WordPress plugins, especially those responsible for forms, eCommerce, memberships, caching, SEO, and dynamic content.
Outdated plugins may conflict with Elementor V4’s new structure and cause functionality issues.
Update plugins to their latest stable versions and remove any unused or abandoned plugins that no longer receive support.
5. Set Up a Staging Environment
One of the safest ways to prepare for an Elementor V4 upgrade is to test everything in a staging environment before making changes to your live website. It allows you to experiment, update plugins, and test new features without affecting real visitors.
Why a Staging Site Is Essential
A staging site is one of the most valuable tools you can have when preparing for a major update like Elementor V4. Instead of applying changes directly to your live website, a staging environment allows you to test everything on a duplicate version of your site first.
Benefits of using a staging site include:
- Testing Elementor V4 without affecting live visitors
- Identifying theme and plugin compatibility issues
- Reviewing design and layout changes safely
- Troubleshooting errors before deployment
- Preventing downtime and broken functionality
- Reducing risks for eCommerce and lead-generation websites
Test Critical Pages and Features
Once Elementor V4 is installed on your staging site, perform a thorough review of your website’s most important pages and functionality. Don’t assume that a successful update means everything is working perfectly.
Be sure to test:
- Homepage and landing pages
- Headers and footers
- Contact and lead-generation forms
- Popups and interactive elements
- WooCommerce product, cart, and checkout pages
- Blog templates and archive pages
- Responsive layouts across desktop, tablet, and mobile devices
- Animations, dynamic content, and third-party integrations
Once everything has been verified and performs as expected, you can proceed with the Elementor V4 update confidently and with minimal risk.
6. Test Your Design System and Global Styles
Elementor V4 introduces a more advanced design system centered around reusable Classes and Variables. Before updating your live site, it’s important to thoroughly test your design system to ensure that colors, typography, spacing, and reusable styles continue to display correctly.
Review Global Colors, Typography, and Styling
It’s important to review your global design settings after upgrading. Even small changes to global styles can affect dozens of pages and elements across your site.
Things to review include:
- Global color palettes and brand colors
- Typography presets for headings and body text
- Button styles and hover effects
- Section and container spacing
- Margins and padding values
- Link styles and text formatting
- Global styles applied to forms and call-to-action elements
Validate Classes, Variables, and Reusable Components
One of the biggest changes in Elementor V4 is the introduction of reusable Classes and Variables, which make design management more scalable and efficient. If you’re upgrading an existing website, you’ll want to ensure these styling tools are working as expected.
Key elements to test include:
- Buttons and button groups
- Cards and content boxes
- Contact and lead-generation forms
- Navigation menus
- Call-to-action sections
- Testimonials and pricing tables
- Reusable templates and design blocks
7. Review Custom CSS, JavaScript, and Code Snippets
Many Elementor websites rely on custom CSS, JavaScript, and code snippets to achieve unique designs, advanced functionality, or third-party integrations. While Elementor V4 brings significant improvements, these changes may affect how custom code interacts with your website.
Audit Custom CSS and Styling Rules
A thorough CSS audit can help you identify potential conflicts and prevent unexpected design issues after the update.
Areas worth reviewing include:
- Custom CSS added through Elementor widgets and sections
- Theme and child theme CSS files
- CSS added through custom code plugins
- Styling rules targeting Elementor-specific classes
- Responsive CSS for tablet and mobile layouts
- Custom animations and hover effects
Testing these styles in a staging environment allows you to identify broken selectors or visual inconsistencies before updating your live site.
Check JavaScript and Custom Code Snippets
Take time to review and test all active custom code, especially if your website depends on advanced functionality.
Pay special attention to:
- Custom animations and interactions
- Popup triggers and behavior
- Contact form enhancements
- Dynamic content scripts
- Tracking and analytics integrations
- Third-party API connections
- Custom WooCommerce functionality
- Header and navigation scripts
By auditing your CSS, JavaScript, and custom code before upgrading, you can significantly reduce compatibility issues and ensure that all custom features continue to work as intended in Elementor V4.
8. Test Key Website Pages and User Flows
Testing critical pages and user flows before updating your live site helps ensure that visitors can still navigate, interact, and convert without encountering issues.
Review High-Traffic and Business-Critical Pages
Start by checking pages that receive the most traffic or play a key role in your business.
This typically includes the homepage, landing pages, service pages, blog templates, contact pages, and any custom Elementor templates.
Look for layout shifts, missing elements, broken styling, spacing inconsistencies, or responsive design issues. Even small visual changes can impact user experience and brand credibility.
Test Forms, Checkout Processes, and Conversions
Next, walk through your most important user flows as if you were a visitor. Submit contact forms, test newsletter signup forms, complete checkout processes, log into user accounts, and verify any booking or membership functionality.
Pay close attention to integrations with email marketing platforms, payment gateways, CRM systems, and automation tools.
These connections are often critical to business operations and should be thoroughly tested after upgrading in a staging environment.
9. Measure Current Site Performance
Before upgrading to Elementor V4, it’s a good idea to establish a performance baseline for your website. However, without measuring your site’s current performance, it can be difficult to determine.
Record Key Performance Metrics
Use trusted performance testing tools to gather data from your most important pages, such as your homepage, landing pages, and high-traffic content.
Key metrics to record include:
- Page load time
- Largest Contentful Paint (LCP)
- First Contentful Paint (FCP)
- Total Blocking Time (TBT)
- Cumulative Layout Shift (CLS)
- Time to Interactive (TTI)
- Overall performance score
Popular tools for collecting this data include:
- Google PageSpeed Insights
- GTmetrix
- WebPageTest
- Lighthouse
Saving these benchmarks before upgrading will make it much easier to identify any performance-related changes later.
Benchmark Core Web Vitals and User Experience
Before installing Elementor V4, document your current Core Web Vitals scores and make note of any existing issues that may already be affecting your site.
Focus on evaluating:
- Largest Contentful Paint (LCP)
- Interaction responsiveness
- Cumulative Layout Shift (CLS)
- Mobile performance
- Desktop performance
- User experience on key pages
After completing the Elementor V4 upgrade, run the same tests using the same tools and conditions. Compare the results against your original benchmarks to see how the update has affected your website.
10. Prepare a Rollback and Recovery Plan
A well-prepared recovery strategy allows you to quickly restore your website and minimize downtime if something doesn’t go as expected.
Understand Your Rollback Options
Before upgrading, familiarize yourself with the rollback options available for your website. Many hosting providers offer one-click backup restoration, while some WordPress backup plugins allow you to restore your site directly from the dashboard.
You should also know how to revert Elementor to a previous version if necessary. Understanding these recovery methods before upgrading can save valuable time during an emergency.
Create an Emergency Recovery Checklist
Prepare a simple recovery checklist that outlines the steps you would take if problems occur. This may include restoring a recent backup, reverting plugin updates, clearing cache systems, disabling conflicting plugins, and verifying site functionality after restoration.
It’s also helpful to document important website settings, custom code snippets, and plugin configurations before upgrading. Having this information readily available can speed up troubleshooting and recovery efforts.
What to Check Immediately After Updating to Elementor V4
Successfully updating to Elementor V4 is only the first step. Once the update is complete, it’s important to verify that your website looks and functions as expected. A few minutes of testing can prevent minor problems from turning into larger user experience or business concerns.
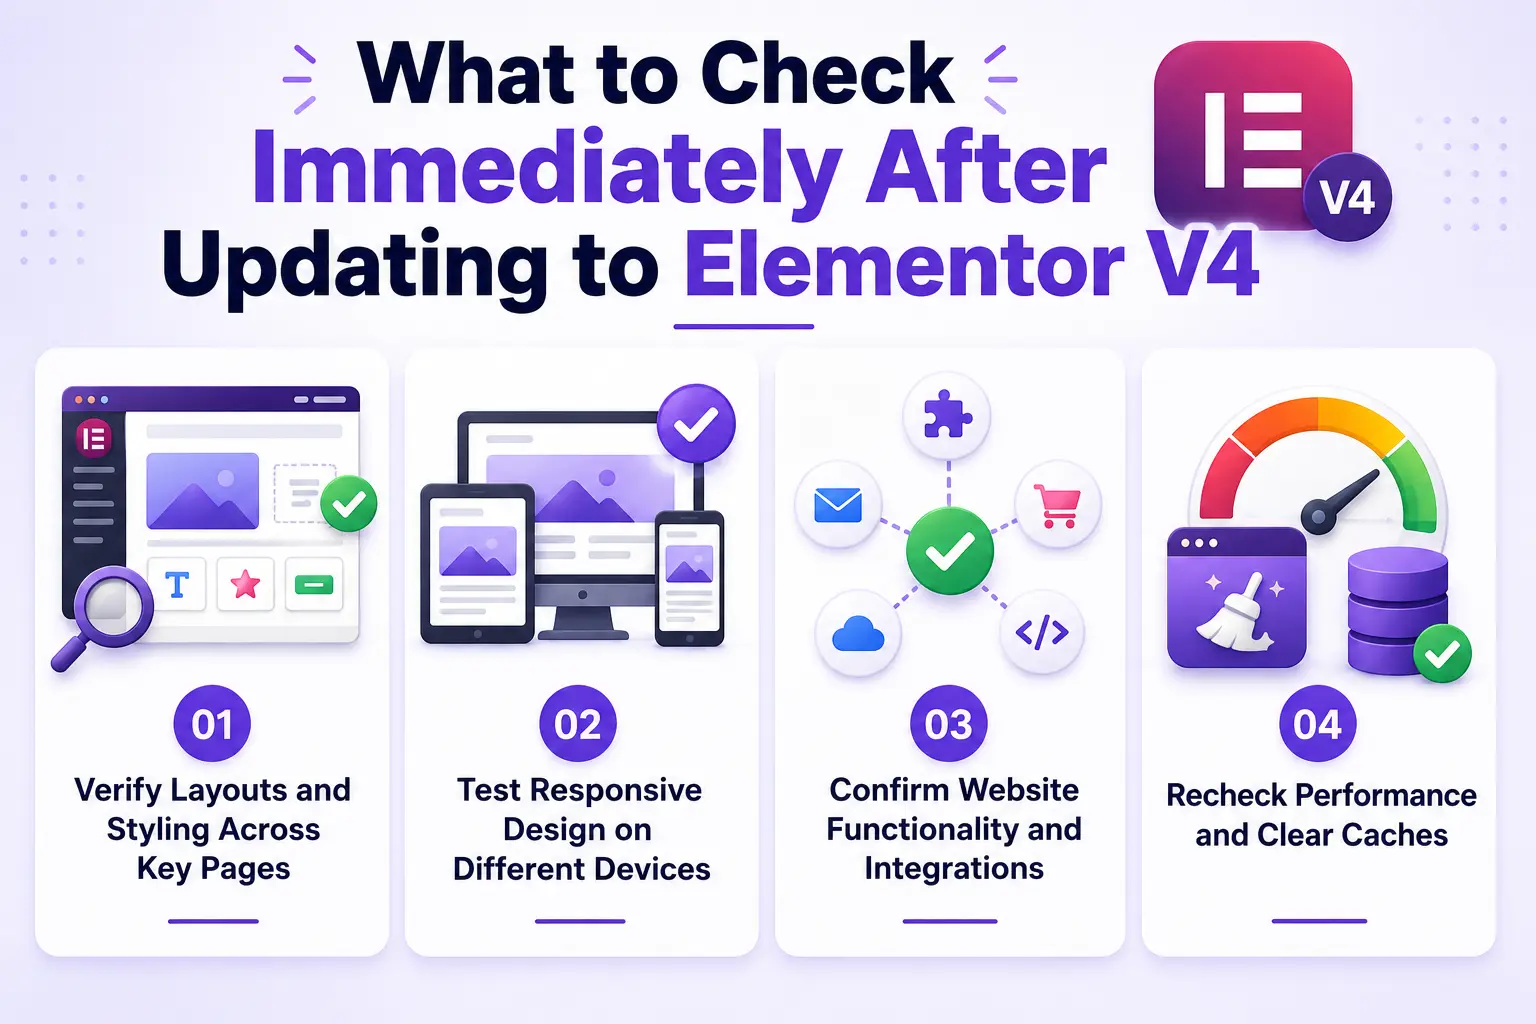
Verify Layouts and Styling Across Key Pages
Start by reviewing your most important pages, including the homepage, landing pages, service pages, blog posts, and custom templates. Check for any broken layouts, missing elements, spacing inconsistencies, or typography issues.
Since Elementor V4 introduces a new design system with Classes and Variables, pay special attention to globally styled elements such as buttons, forms, headings, and call-to-action sections.
Confirm that colors, fonts, and spacing remain consistent throughout the site.
Test Responsive Design on Different Devices
After confirming desktop layouts, review your website on tablets and mobile devices. Responsive settings can occasionally behave differently after a major update, especially if custom CSS or third-party addons are involved.
Check navigation menus, image scaling, section spacing, form layouts, and interactive elements across various screen sizes. Ensuring a seamless experience on all devices is essential for both user satisfaction and conversion rates.
Confirm Website Functionality and Integrations
Next, test all critical functionality. Submit contact forms, complete checkout processes, verify membership or login areas, and ensure popups, booking systems, and dynamic content continue to work properly.
If your site integrates with external services such as CRMs, email marketing platforms, analytics tools, or payment gateways, verify that data is being transmitted correctly.
Recheck Performance and Clear Caches
Finally, clear all website, server, and CDN caches before running performance tests. Compare your new PageSpeed and Core Web Vitals scores against the benchmarks you recorded before upgrading.
This final review ensures that Elementor V4 is functioning correctly and allows you to confidently move forward with your newly upgraded website.
Common Elementor V4 Upgrade Problems and How to Fix Them
Understanding the most common upgrade issues beforehand can help you respond quickly and minimize disruptions.
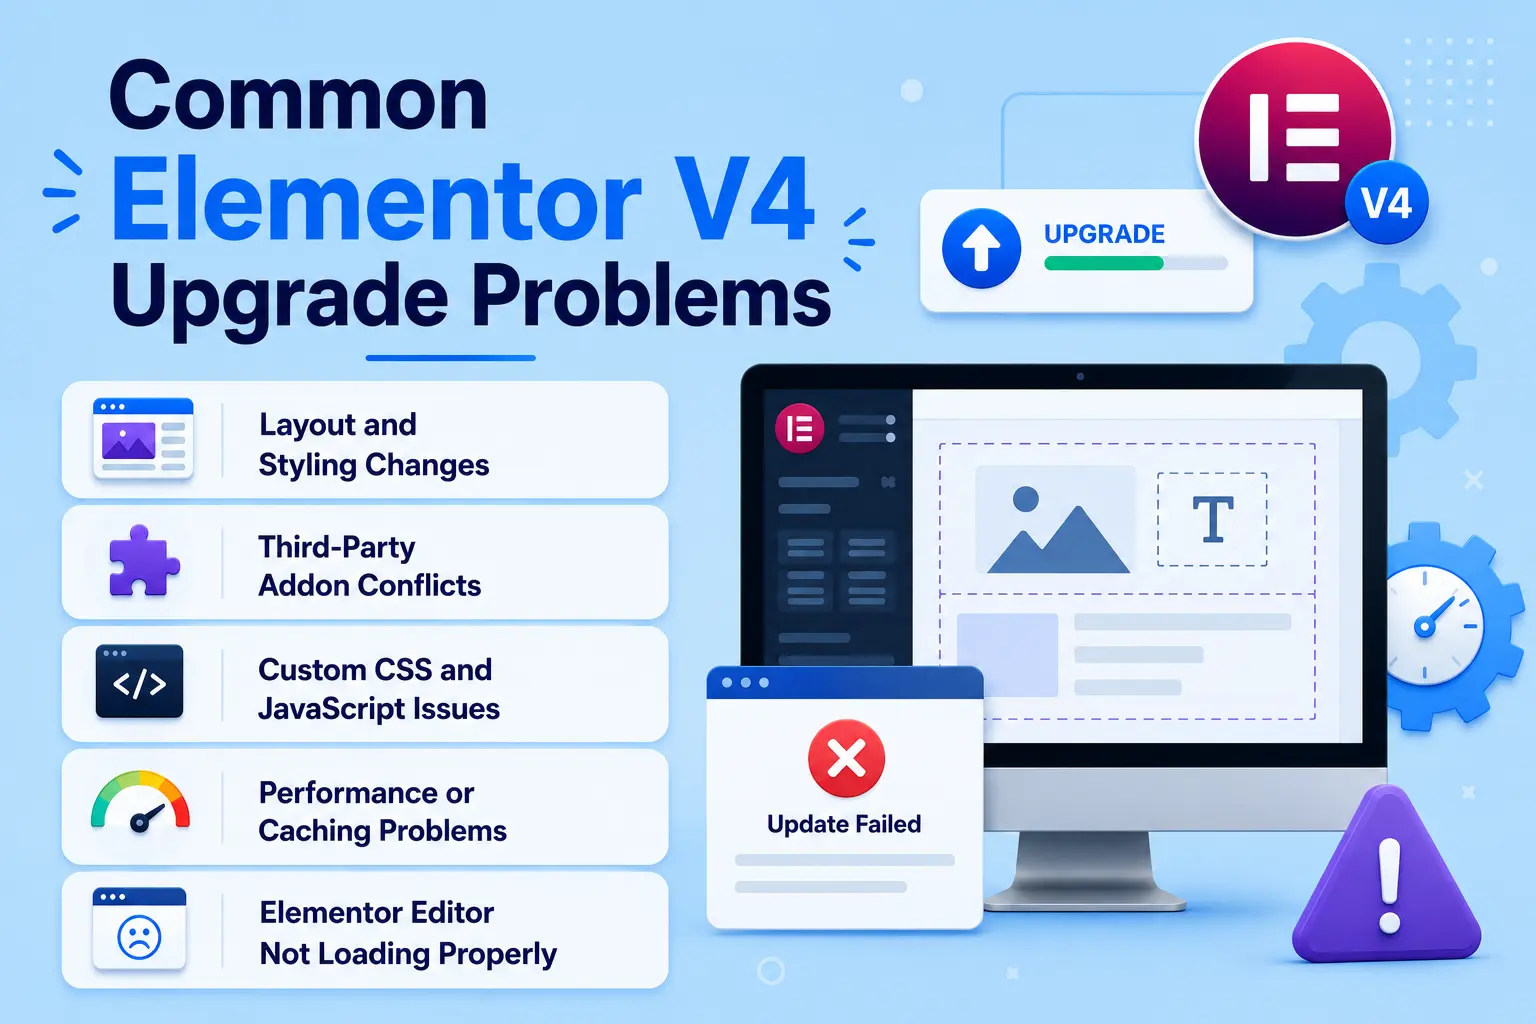
Layout and Styling Changes
One of the most common issues after upgrading is unexpected layout or styling changes. Since Elementor V4 introduces a new design system with Classes and Variables, some elements may display differently than before.
How to fix it:
- Regenerate Elementor CSS files.
- Clear all website, server, and CDN caches.
- Review global styles, reusable classes, and typography settings.
- Test affected pages in Elementor Editor and update styles where necessary.
Third-Party Addon Conflicts
Some Elementor addons may not yet be fully optimized for Elementor V4. This can result in broken widgets, missing functionality, or editor errors.
How to fix it:
- Update all Elementor addons to their latest versions.
- Temporarily disable addons to identify the conflicting plugin.
- Contact the addon developer for compatibility updates or support.
Custom CSS and JavaScript Issues
Websites that rely on custom code may encounter problems if selectors, widget structures, or front-end behavior have changed.
How to fix it:
- Review custom CSS rules and update outdated selectors.
- Test JavaScript functionality on critical pages.
- Use browser developer tools to identify script or styling errors.
Performance or Caching Problems
In some cases, websites may initially appear slower or display outdated content after the upgrade due to cached files.
How to fix it:
- Purge all caching layers, including browser, plugin, server, and CDN caches.
- Re-run performance optimization tools.
- Regenerate CSS and data from Elementor’s Tools section.
Elementor Editor Not Loading Properly
Occasionally, the Elementor Editor may become slow or fail to load after a major update.
How to fix it:
- Increase PHP memory limits if needed.
- Disable conflicting plugins and reactivate them one by one.
- Verify that your hosting environment meets Elementor’s recommended requirements.
By addressing these common issues methodically, most websites can successfully transition to Elementor V4 without needing a full rollback.
Conclusion
Elementor V4 represents a major step forward in website design and management, offering a more powerful design system, reusable styling workflows, and performance-focused improvements.
However, because it introduces significant architectural changes, upgrading without proper preparation can lead to unnecessary complications.
With the right preparation, you can confidently upgrade to Elementor V4 and take full advantage of its new features while keeping your live website stable, secure, and performing at its best.
FAQs
Is Elementor V4 compatible with existing Elementor websites?
Yes, Elementor V4 is built to work with existing websites, but some themes, addons, and custom code may require adjustments. Testing on a staging site is recommended.
Should I update to Elementor V4 immediately after it’s released?
Not always. First, verify compatibility with your theme, plugins, and custom code, then test the update in a staging environment.
Can I roll back to a previous version if Elementor V4 causes issues?
Yes. You can restore a website backup or use Elementor’s rollback option (if available) to return to a previous stable version.
Will Elementor V4 improve website performance?
Elementor V4 includes architectural improvements that can boost performance, but results will depend on your hosting, theme, plugins, and site setup.
What is the safest way to upgrade to Elementor V4?
Create a full backup, test the update on a staging site, check compatibility, and have a rollback plan ready before updating your live website.

Leave a Reply