


 Cupon Code Applied

Have you ever wanted an entire section, image card, or content block on your WordPress site to be clickable — not just a button or a text link inside it? That is exactly what a wrapper link does. Instead of wrapping every single element in a separate anchor tag, you make the whole container act as one big, clean link.
The problem is, Elementor does not offer this natively. If you try to do it manually, you are either stuck with messy workarounds or writing custom HTML and JavaScript which is not something every WordPress user wants to deal with.
That is where Animation Addons comes in. Its Wrapper Link extension lets you turn any Elementor section, container, or column into a clickable link in just a few steps, no code, no extra plugins, no stress. In this guide, you will learn exactly how to set it up and where to use it effectively.
What Is a Wrapper Link and Why Does It Matter?
A wrapper link makes an entire block of content clickable and redirects users to a URL when they click anywhere on that block. Think of a team member card on your About page — ideally, clicking anywhere on that card (the photo, name, role, or whitespace around it) should take the visitor to that person’s profile or social media page.
Without a wrapper link, you would need to manually add individual links to every element inside that card. It is tedious, error-prone, and hard to maintain.
With a wrapper link, you assign one URL to the entire container. The whole block becomes the link. It is cleaner for users and faster for you to set up.
Common use cases for wrapper links:
- Team member cards linking to individual profiles or LinkedIn pages
- Service or feature cards redirecting to dedicated pages
- Portfolio thumbnails linking to case studies
- Promotional banners sending users to offer pages
- Blog post preview sections linking to the full article
What You Need Before You Start
Before setting up the Wrapper Link extension, make sure you have the following ready:
- WordPress installed and running
- Elementor (free version works fine) installed and activated
- Animation Addons for Elementor installed and activated on your site
If you have not installed Animation Addons yet, you can get it for free from the WordPress plugin directory. The Wrapper Link extension is available in the free version, so there is no cost barrier to getting started.
How to Activate the Wrapper Link Extension
Before using Wrapper Link inside the Elementor editor, you need to enable it from the Animation Addons settings panel. This is a one-time step.
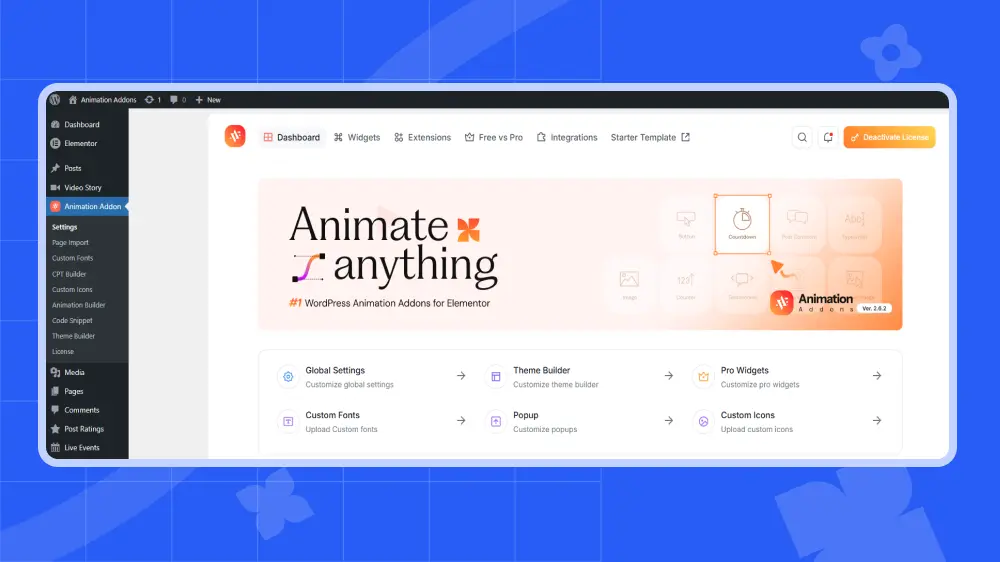
Step 1: Go to your WordPress Dashboard
Log into your WordPress admin panel and find Animation Addons in the left sidebar menu. Click on it.
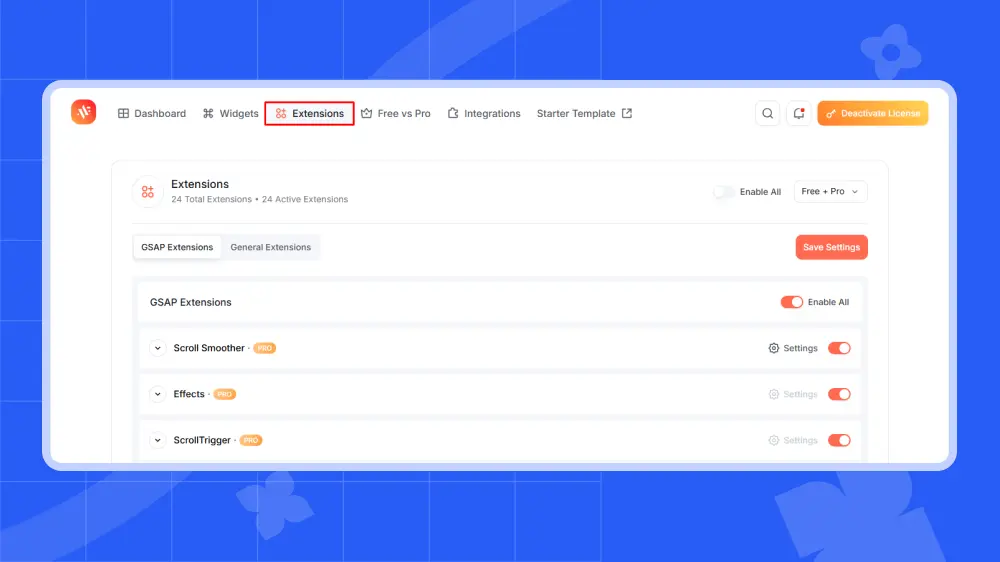
Step 2: Open the Extensions Tab
Inside the Animation Addons settings, click on the Extensions tab at the top of the page.
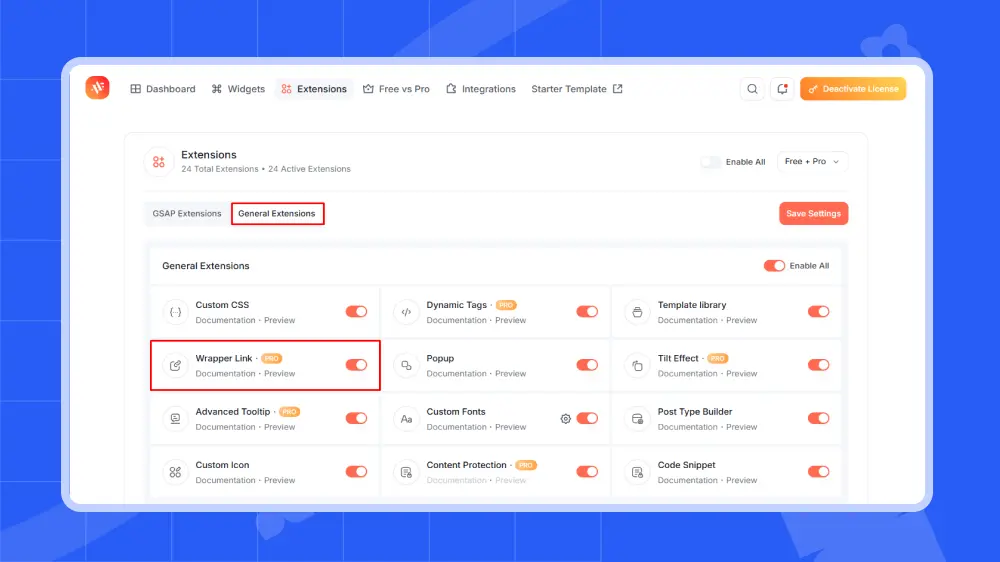
Step 3: Enable Wrapper Link
You will see a list of all available extensions. Look for General Extensions and find Wrapper Link. Toggle it on. Click Save Settings to confirm.
That is it. The Wrapper Link extension is now active and ready to use inside Elementor.
Step-by-Step: How to Add a Wrapper Link in Elementor
Once the extension is activated, adding a wrapper link to any element takes less than a minute.
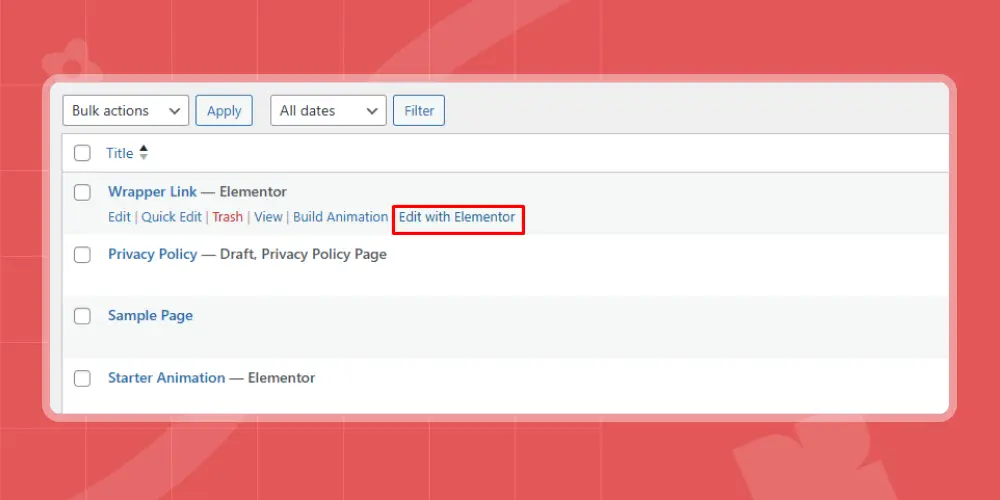
Step 1: Choose Your Target Element and Enable Wrapper Link
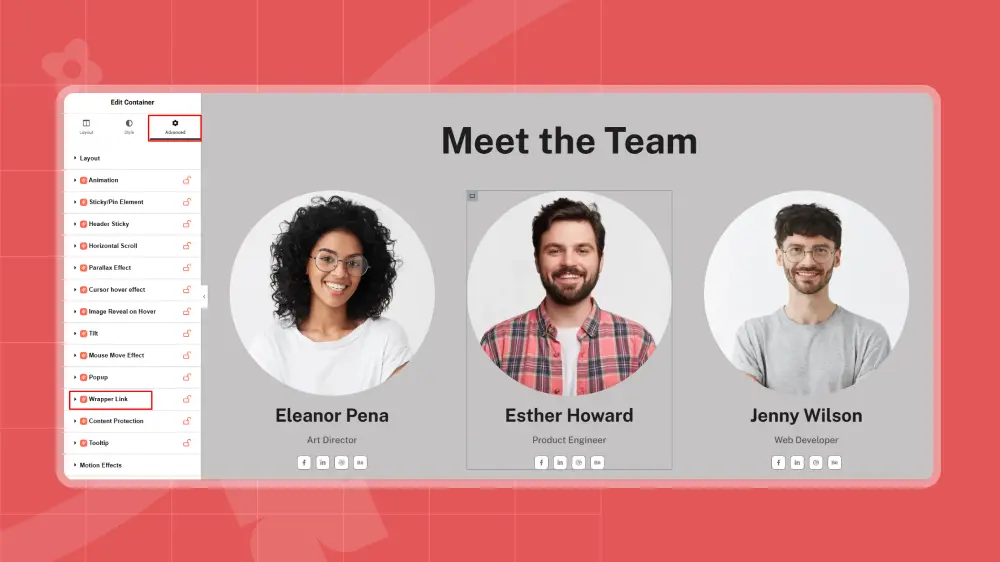
Open any page in Elementor by clicking Edit with Elementor. Click on the container, section, or column you want to make clickable.
In the left panel, go to the Advanced tab. Scroll down and click on Wrapper Link to expand it.
💡
Pro Tip:
You can apply a wrapper link to multiple elements at once. Simply select all the containers you want to link, enable Wrapper Link for each, and assign the relevant URLs individually.
Step 2: Add Your Target URL
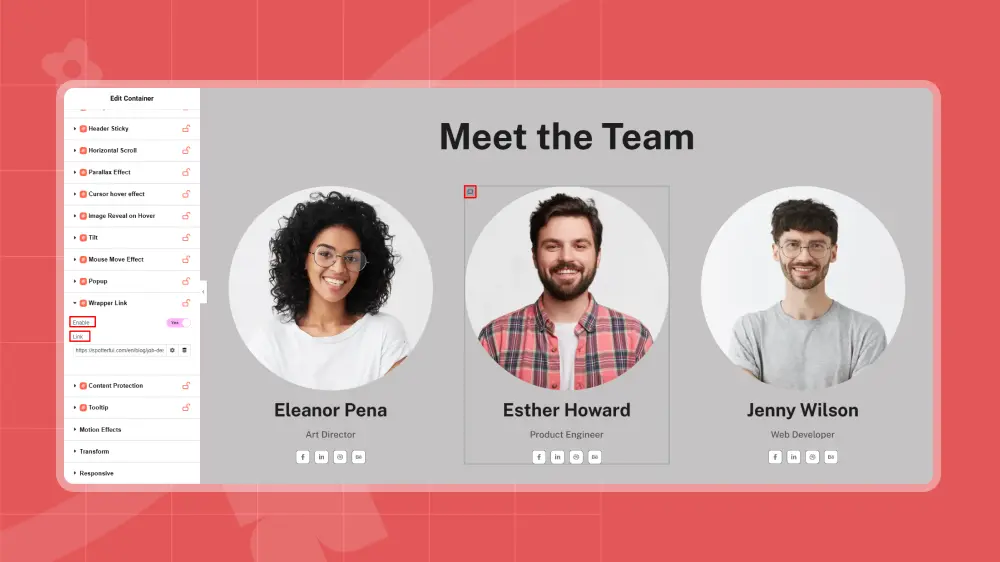
Toggle the Enable switch to Yes. The Wrapper Link option is now active for that element. Once Wrapper Link is enabled, a Link field will appear directly below the toggle. Paste the URL where you want the user to be redirected when they click on that element.
This can be:
- An internal page on your site
- An external website (e.g., your client’s portfolio)
- A social media profile (e.g., your Instagram page)
- A product or checkout page
For example, if you have a team member section and want each card to link to their Instagram profile, you would paste each team member’s Instagram URL into the respective card’s Wrapper Link field.
Step 3: Preview and Confirm
Once you have added your URL, click Preview Changes (or publish the page) to see the result in action. Click anywhere on the element you set as the wrapper link, the entire block will now redirect you to the URL you entered.
That is all there is to it. Three steps, no code, and your element is now a fully functional clickable link.
Where to Use Wrapper Links for Maximum Impact
The Wrapper Link feature is surprisingly versatile. Here are a few high-impact places to use it on a real WordPress site.
Team or About pages: Make each team member card clickable so visitors can visit their LinkedIn or bio page without hunting for a link button.
Services or feature sections: Turn each service card into a direct link to its dedicated landing page. This improves both UX and conversion by reducing the number of clicks needed.
Portfolio grids: Link each project thumbnail directly to the case study or live project page. Clean, fast, and intuitive.
Promotional banners: Turn a full-width banner section into a link to your sale page or a special offer. Every click on that banner like text, image, or empty space that goes to the right destination.
Blog post cards: If you have a custom blog layout built in Elementor, you can make the entire post preview card clickable, not just the title or “Read More” button.
Want to build richer, more interactive Elementor layouts: Animation Addons includes 25+ powerful extensions alongside Wrapper Link including scroll-based animations, cursor effects, sticky elements, and more. Explore all features and see what else you can add to your site without writing code.
Tips and Common Mistakes to Avoid
To get the most out of wrapper links, follow these best practices and common mistakes to reduce effectiveness.
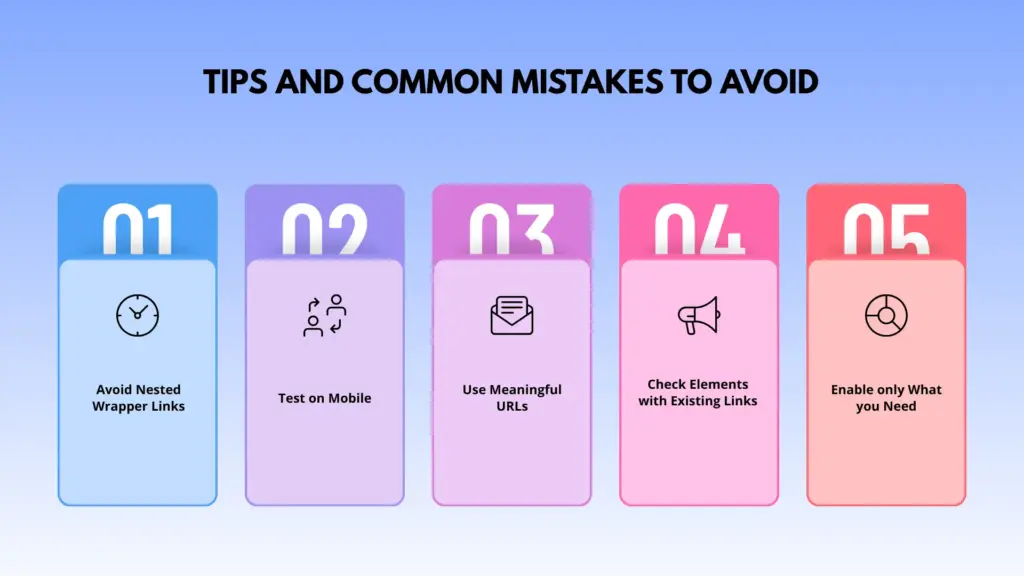
Avoid Nested Wrapper Links
If a parent container already has a wrapper link, adding another one inside a child element may cause unpredictable behavior. Keep your link hierarchy clean.
Test on Mobile
Clickable areas on mobile should be large enough to tap easily. Since a wrapper link makes the entire block tappable, it actually improves mobile usability but always tests before publishing.
Use Meaningful URLs
A wrapper link is only useful if it takes users somewhere relevant. Avoid linking to a homepage or generic page when a specific, relevant destination exists.
Check Elements with Existing Links
If a button or text link inside your container already has a URL, the wrapper link may conflict with it. Test all interactive elements within the container after adding a wrapper link.
Enable only What you Need
You do not have to make every section a wrapper link. Use it strategically for cards, banners, and blocks where a full-area click makes UX sense.
Final Thoughts
Adding a wrapper link in WordPress used to require custom code or clunky workarounds. With Animation Addons, it is a straightforward toggle. Just activate the extension, select your element, paste the URL, and you are done.
The result is a cleaner, more intuitive experience for your visitors, and a faster workflow for you. Whether you are building a portfolio, a business site, or a client project, wrapper links are a small detail that makes a noticeable difference in how polished and professional the site feels.
Ready to try it for yourself? Install Animation Addons for free and start using the Wrapper Link extension today. And if you want to take things further, explore the full extension library from image animations to advanced tooltip, everything is built to work inside Elementor without a single line of code.

Leave a Reply