You have built a beautiful website, but something feels missing. The layout is clean, the colors pop, yet the page looks flat. That is where animated SVG WordPress and Lottie animation WordPress come in.
With just a few clicks in WordPress and Elementor, you can make animated websites using SVG icons, shapes, and visuals move naturally as users scroll.
In this guide, you will learn how to add Lottie animation in WordPress and SVG animation in WordPress. You can use no-code tools like Animation Addons or coding methods such as GSAP animation WordPress or CSS animations.
By the end, you will know how to add smooth motion, improve speed, and keep your design consistent on every device.
Different Ways to Add SVG and Lottie Animation in WordPress
There are many ways to use SVG animation, WordPress, and Lottie animations Elementor. Let’s explore both no-code and developer-friendly options.
- WordPress Plugin
- Custom Code
1. WordPress Plugin (No code)
In WordPress, there are many ways to add SVG and Lottie animations. Today, we will focus on just two plugins: Animation Addons and Elementor Pro. Let’s start with Animation Addons.
Animation Addons
Animation Addons is a complete WordPress plugin made for Elementor users. It offers a wide range of animation tools, including over 100 widgets, 25 extensions, and thousands of ready-to-use templates, pages, and sections.
It also comes with a built-in animation builder that lets you create your own effects. With all these features, you can design fully animated websites quickly and without any coding.
Add SVG Animation
Here’s a step-by-step guide to adding SVG animation WordPress using Animation Addons:
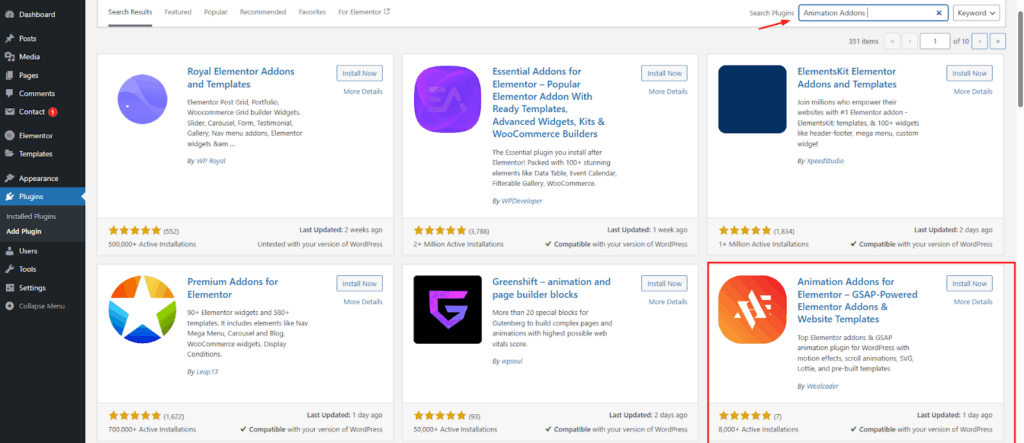
Step 1: First and foremost, ensure that you have installed the Animation Addons plugin on your WordPress website.
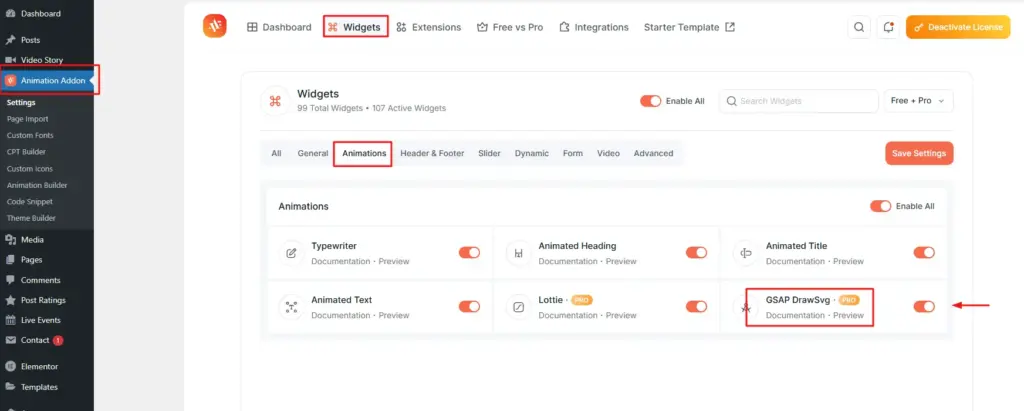
Step 2: After that, open Animation Addons, go to Widgets, and under the Animation section, click on GSAP DrawSVG.
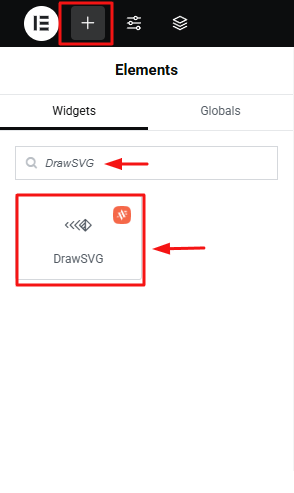
Step 3: Once the setup is complete, go to the Elementor editing panel. Then click the ‘+’ icon and type “DrawSVG” in the search bar to find it.
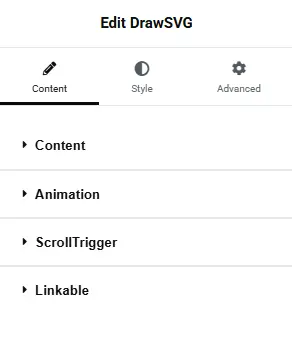
Step 4: After clicking, you will find four options to customize your SVG animation such as Content, Animation, Scrolltrigger and Linkable. Let’s start with ‘Content’.
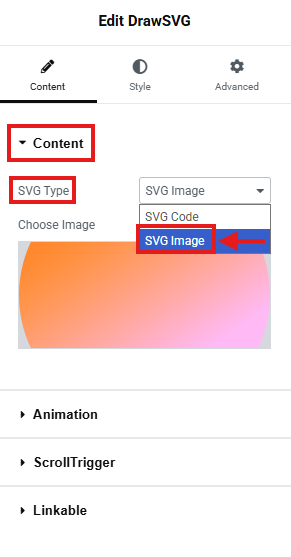
Step 5: In the content section, you will find two types of SVG: SVG Code and SVG Image. SVG Code lets you paste the raw SVG markup for full control over path animations.
On the other hand, SVG Image allows you to use an uploaded SVG file and animate it without touching any code.
For example, here SVG Image is selected, but you can choose either option based on your preference. Notably, an SVG image has animation enabled by default.
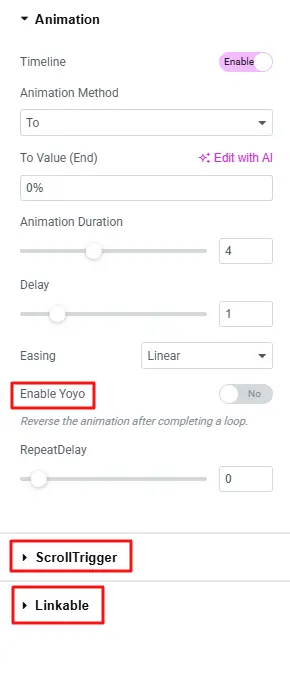
Next, click on ‘Animation’, to access ‘Animation Method’. This setting basically controls the style of the draw effect, such as whether the stroke is drawn from start to end, in reverse, from the center outward, or using a custom direction.
To do this, you have three options: From To, From, and To. You can choose any option based on your preferred animation style.
For example, here ‘To’ is selected.

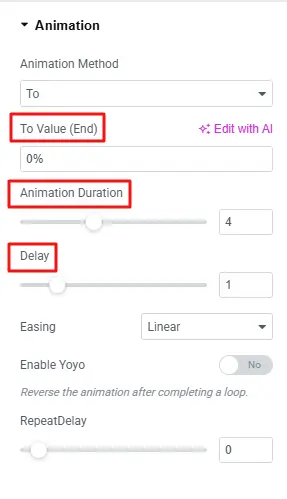
Step 6: Now set the ‘To Value (End)’ according to your choice. It controls how much of the SVG path will be drawn when the animation finishes. For example, here ‘To Value (End)’ is set to 0%, but you can set any value you like.
Similarly, adjust the other settings, such as Animation Duration, which is set to 4 here, and Delay set to 1.
Remember, you can customize each setting based on your preference.
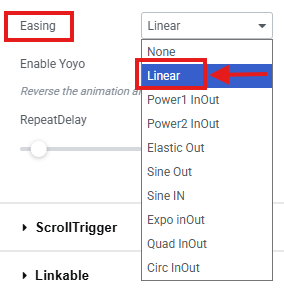
Step 7: The Easing option defines how the SVG moves. It controls the speed and motion style. This makes the animation feel smooth and natural, not flat or robotic.
You will find various options to choose from. For example, here “Linear” is selected, but you can choose any option you like.
Afterward, keep the other settings as they are, such as Enable Yoyo, ScrollTrigger, and Linkable. However, you can adjust them later based on your preference to explore SVG animation.
Step 8: Finally, click the Publish button, then preview your animation. Here is the final output of the SVG animation:
Add Lottie Animation
Adding Lottie animation for Elementor is just as simple:
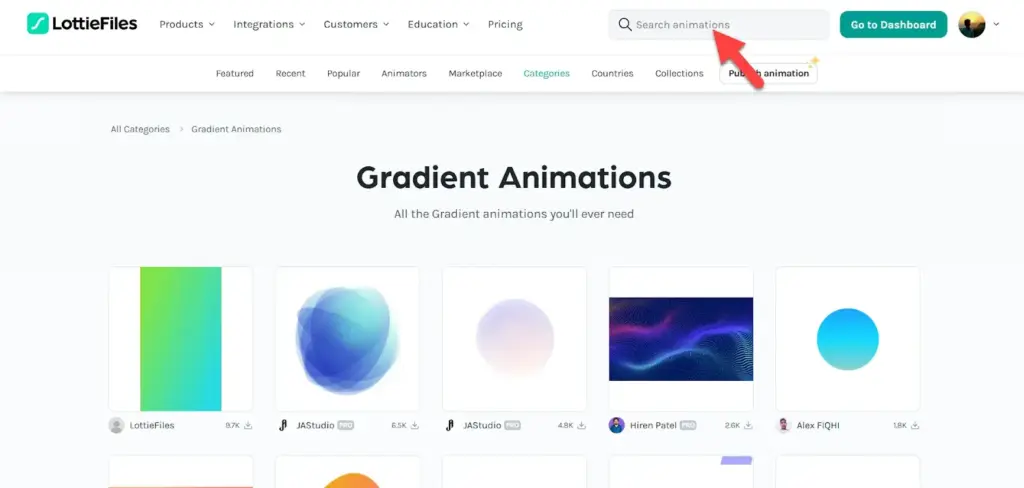
Step 1: Similarly, enable Lottie animation as you enable SVG in Animation Addons. Then, visit LottieFiles or another animation website and start exploring.
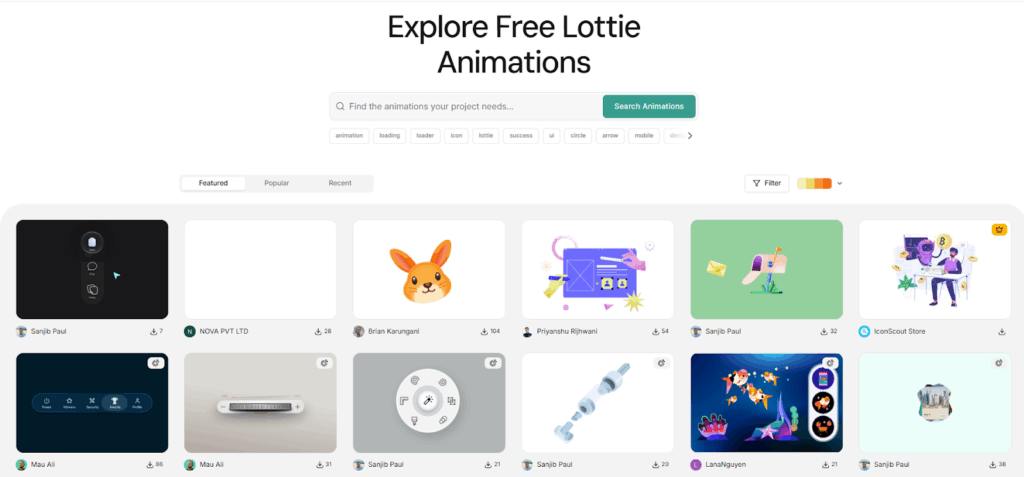
Next, choose a Lottie animation that you like.
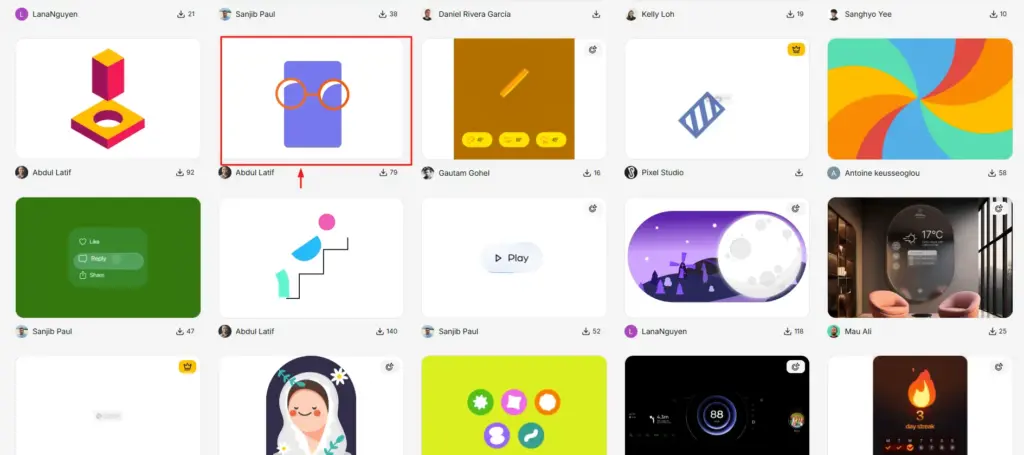
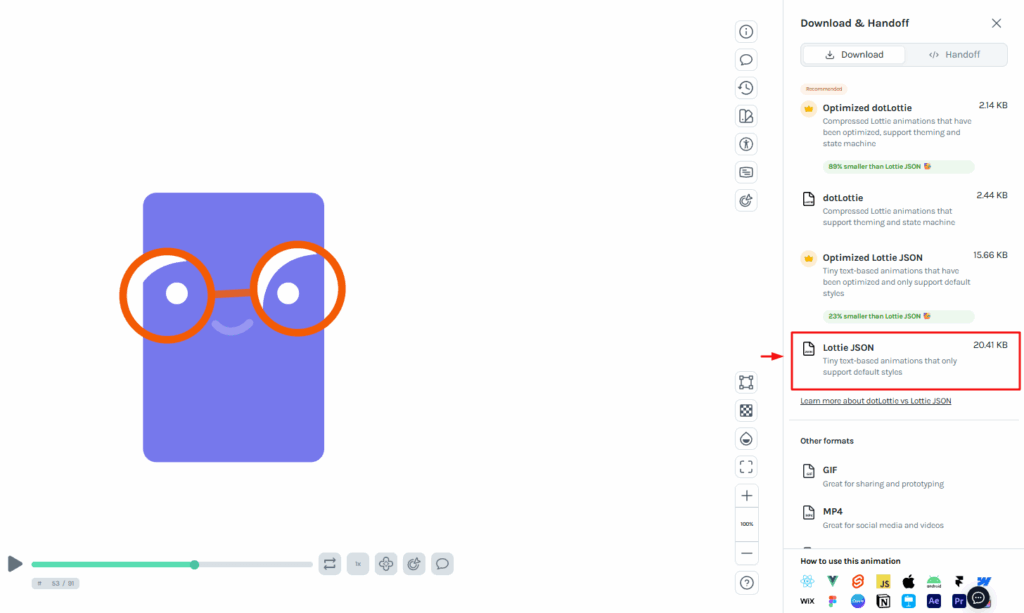
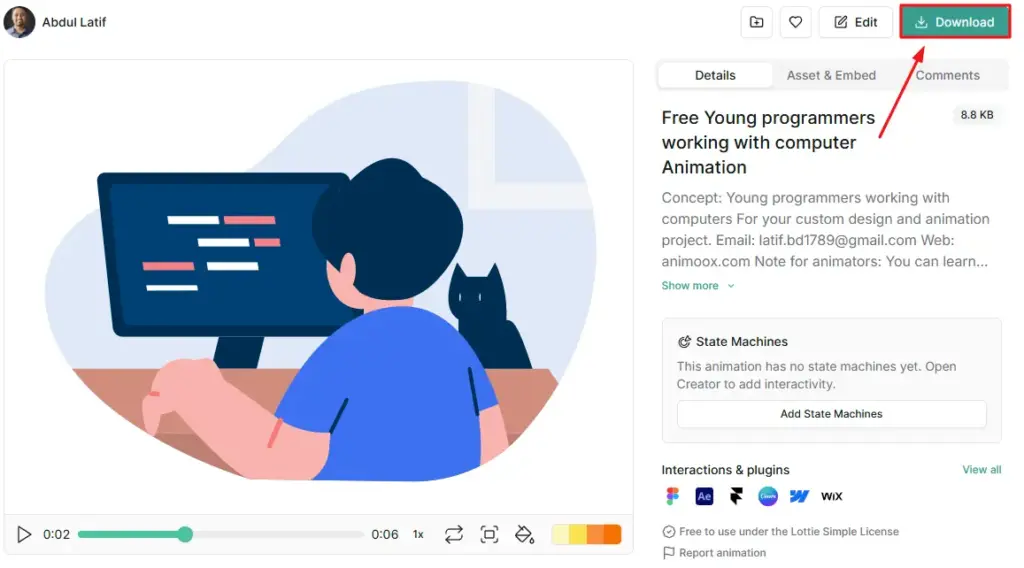
Step 2: Now, click on the Lottie JSON file button to download it and save it to your computer.
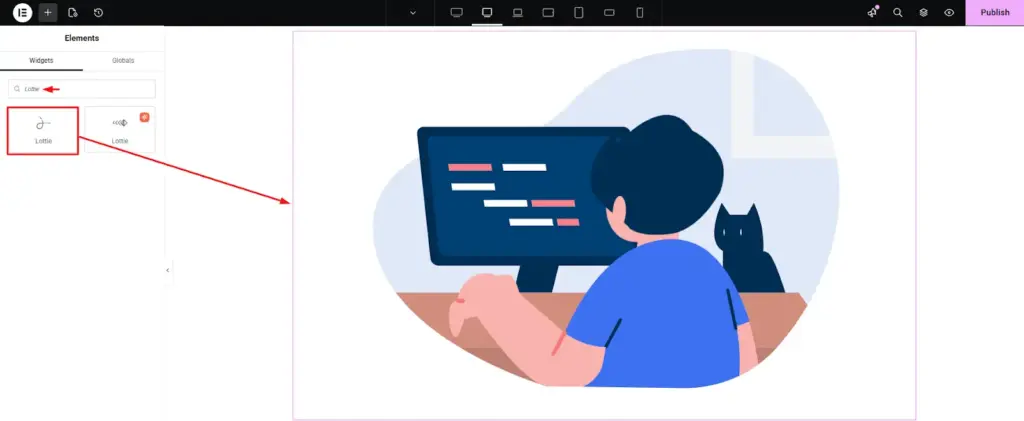
Step 3: Then, go back to the Animation Addons editor panel in Elementor. Click the ‘+’ icon and type “Lottie” in the search bar to find the widget.
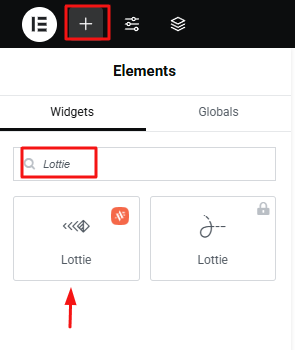
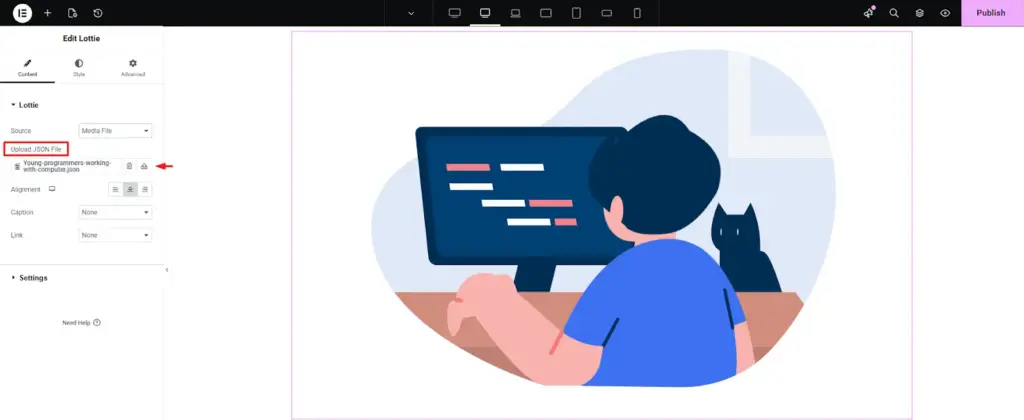
Step 4: Once you click on Lottie, you will see all the settings for it. Under Source, you can choose either Media File or External URL based on your preference.
For example, here Media File is selected.
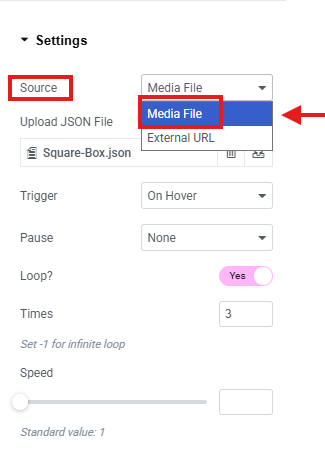
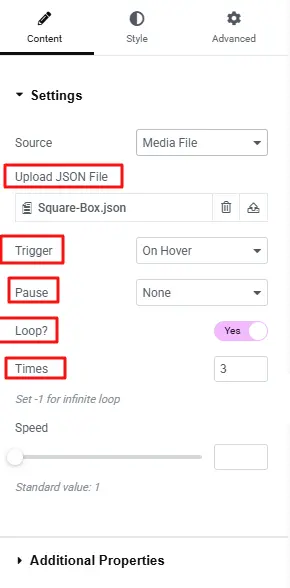
Step 5: Now, upload your Lottie JSON file to the ‘Upload JSON File’.
- Then, set the Trigger to On Hover.
- Set Pause to None.
- Enable Loop and set Loop Times to 3.
- Leave the other settings as they are.
Note: You can customize each setting based on your preference, such as Trigger, Pause, Loop, Loop Times, and more.
Here is the final output of Lottie Animation
Elementor Pro
Let’s check out how you can add WordPress Lottie animation directly with Elementor Pro. Go to LottieFiles or any other animation website. Explore the available animations and choose one you like. Then, download its JSON file. These files are small in size and work perfectly on websites.
Here’s how you can easily get your Lottie animation file:
Step 1: Go to the LottieFiles website and make an account to get started.
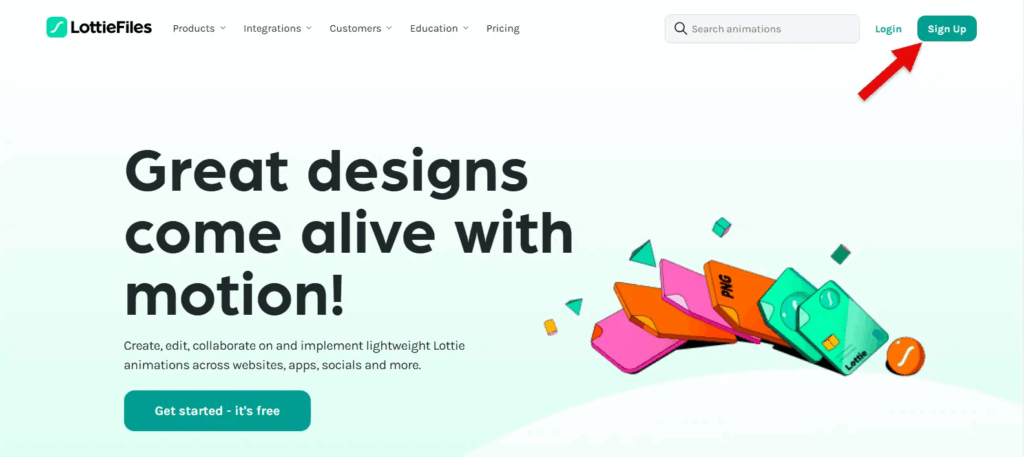
Step 2: After you make your account, use the search bar to find the Lottie animation you want.
Step 3: Click on the Lottie animation you like, then press the Download button to save it to your computer. Now choose the file format, like JSON, and finish downloading the animation.
Step 4: After downloading the JSON file, open Elementor and drag the Lottie widget onto your page.
Step 5: To make the animation available on your site, upload the JSON file to your server. You can use your hosting file manager or an FTP tool like FileZilla. Place the file in an easy-to-find folder, for example, yourdomain.com/lottie/filename.json.
As shown in the image below, you can also upload the file using the ‘Upload JSON File’ box.
Finally, you are ready to customize your animation based on your liking.
2. Custom Code (Developer Approach)
For developers, writing your own animation code provides full control and customization. There are two main methods:
GSAP
GSAP is a professional-grade JavaScript library for creating high-performance, smooth, and complex animations. It’s the same engine behind Animation Addons.
Implementation in WordPress:
- Add the GSAP library to your theme or plugin using wp_enqueue_script.
- Target elements such as SVGs or Lottie containers using selectors like .svg-path or .lottie-container.
- Use gsap.to(), gsap.from(), or gsap.timeline() to create sequential or chained animations.
Example:
gsap.to(".lottie-container", { duration: 2, x: 100, opacity: 1, ease: "power2.out" });
This animates a Lottie container, moving it horizontally while fading it in smoothly.
CSS Animations/Transitions
CSS animations and transitions are suitable for smaller, simple effects like hover animations or fade-ins. They are lightweight and can be added directly to your theme or via a code snippet plugin.
Example:
					.svg-path {

  transition: stroke-dashoffset 1s ease-in-out;

}

.svg-path:hover {

  stroke-dashoffset: 0;

}
This code animates an SVG path on hover, creating a smooth “draw” effect.
Best Practices for SVG & Lottie in WordPress
Using animations the right way helps you maintain site speed, SEO, and accessibility. Poorly optimized animations can slow down your website, frustrate users, and even hurt your search engine rankings.
To get the most out of animations without sacrificing performance, follow these best practices:
Optimize SVG and Lottie File Size
Large animation files can significantly increase page load times. To prevent this, always optimize your SVG and Lottie files before adding them to your website. Tools like SVGOMG can clean up unnecessary code from SVGs, while LottieFiles Optimizer compresses Lottie JSON files without losing quality.
Smaller file sizes mean faster loading, smoother animations, and improved SEO.
Load Animations Only When Visible
Animations that run immediately on page load can consume resources unnecessarily. Implement lazy loading or scroll-triggered animations so that they play only when the user reaches them.
This reduces initial load time, saves bandwidth, and ensures that animations don’t block important content from appearing quickly. Plugins like Animation Addons make it easy to set up scroll-based triggers without writing code.
Keep Performance and SEO in Check
Even optimized animations can affect site performance if not implemented properly. Always compress files, minimize HTTP requests, and avoid scripts that block the rendering path.
Good animation plugins like Animation Addons are built for speed. They optimize performance automatically. This helps your animations run smoothly and keeps your page speed and SEO safe.
Avoid Overuse of Motion
Animations can make your website fun to use, but too many can be confusing. Too much movement can also make it hard for some people to focus or feel comfortable while browsing.
Use animations strategically to guide attention, highlight important content, or create a sense of interactivity, but always maintain balance and simplicity.
Additional Tips for Best Results:
- Use vector-based animations like SVG and Lottie instead of GIFs for better quality and smaller file sizes.
- Test your animations on multiple devices to ensure smooth performance on mobile and low-end devices.
- Combine animations with static content carefully; motion should enhance, not replace, key information.
- Keep the number of concurrent animations low on a single page to avoid browser rendering lag.
By following these practices, you can create engaging, interactive websites that load quickly, rank well in search engines, and remain accessible for all users engagements.
Wrapping Up
Adding an SVG animation plugin for WordPress and Lottie animations for Elementor keeps your site engaging and fast. It brings motion to your pages without slowing them down. You can use no-code tools like Animation Addons or Elementor, or create your own animations with GSAP or CSS for full control.
Keep performance in mind. Make sure file sizes are small and trigger animations only when they are visible. Avoid using too much motion because it can distract visitors.
Follow these tips and your website will feel smooth, interactive, and professional. With the right animations, every interaction will be more lively and enjoyable.
Leave a Reply