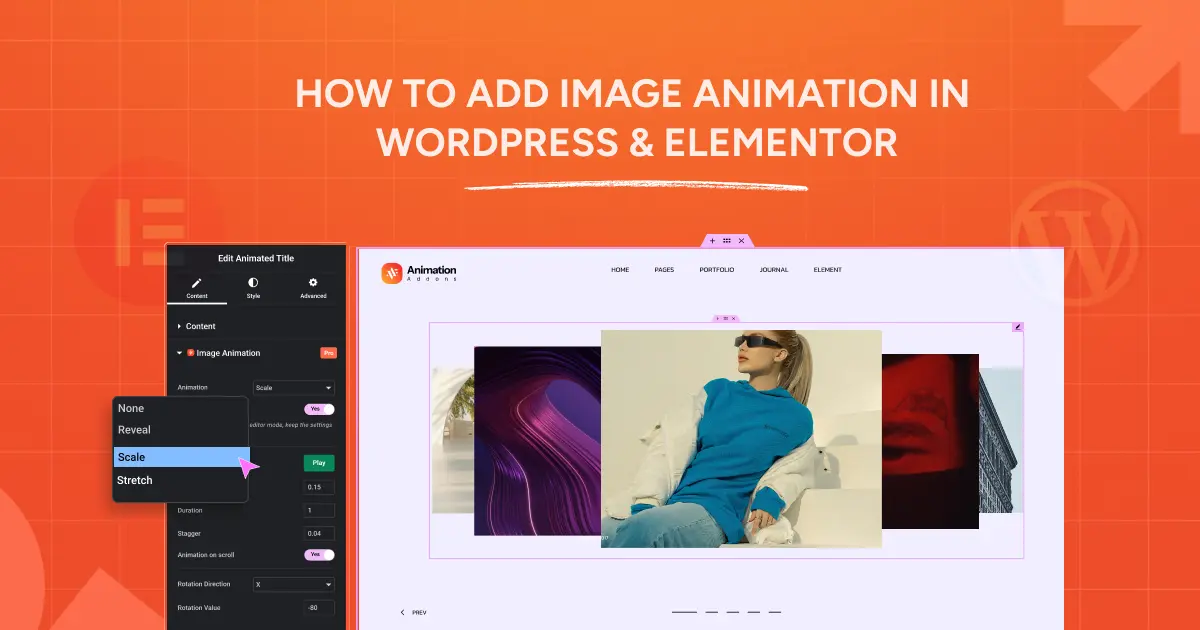
Websites without movement can look plain and sometimes make people lose interest. Adding image animation in WordPress is an easy way to fix that. With smooth motion and simple effects, your pictures can grab attention, show what is important, and make your site more fun to explore.
In this guide, we’ll show you how to add WordPress animated images using Animation Addons, Elementor Pro, custom CSS, or the GSAP library. By the end, your site will look more polished and interesting for every visitor.
Types of Image Animation
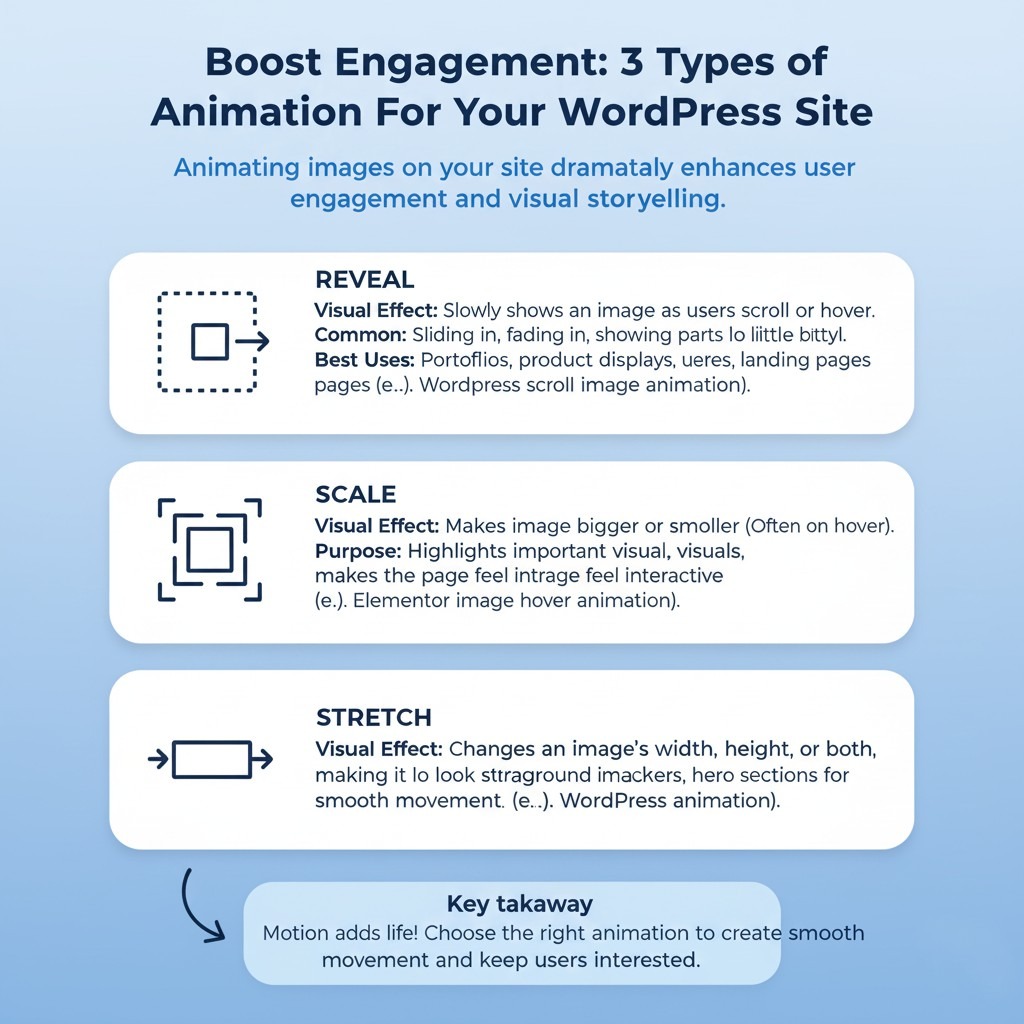
Animating images on your WordPress site can dramatically enhance user engagement and visual storytelling. Here are the most popular types of image animation and how to use them effectively:
Reveal
Reveal animation slowly shows an image when users scroll or hover over it. It grabs attention and makes viewers curious. Common effects include sliding in from the sides, fading in, or showing parts of the image little by little.
This type of WordPress scroll image animation is often used in portfolios, product displays, and landing pages to make them look lively and professional.
Scale
Scale animation makes an image bigger or smaller, often when someone hovers over it or when the page loads. This effect highlights important visuals, like product pictures, buttons, or featured blog images.
Making an image a little bigger on hover can make the page feel more interactive and keep users interested — a great example of Elementor image hover animation.
Stretch
Stretch animation changes an image’s width, height, or both, making it look stretched or squished. This adds motion and energy to your website, making it feel more lively and modern. Stretch effects work well on banners, hero sections, or background images for WordPress animation. They add smooth movement that looks nice without taking attention away from the content
Now that you understand the types of Image animations, let’s see how to create image animations in WordPress.
Various Ways to Add Image Animation in WordPress
There are several ways to add animated images to a WordPress website, such as:
- WordPress Plugin
- Custom CSS
- GSAP Library
Each method helps you create beautiful and responsive image animation in WordPress. Let’s start with the plugin method.
WordPress Plugin
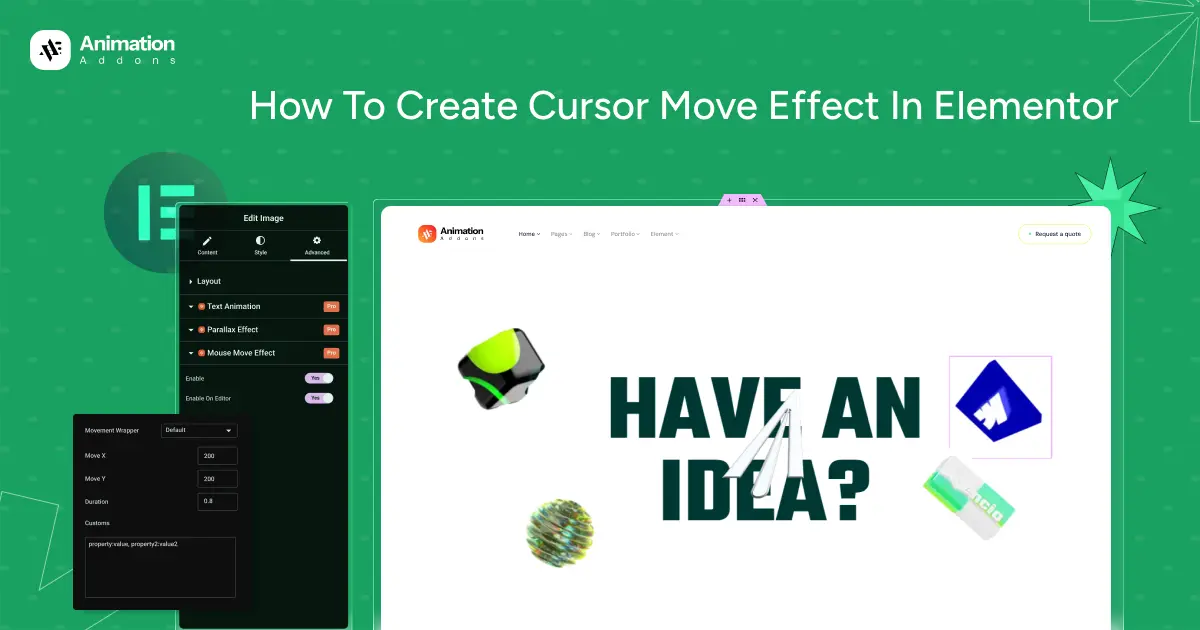
In WordPress, you will find various plugins to add image animation. But here we will focus only on two plugins: Animation Addons and Elementor Pro. With these two tools, you can easily animate images in WordPress without touching any code.
Let’s take a look at how you can add image animation to your site step by step.
Animation Addons
Animation Addons is an all-in-one image animation WordPress plugin. It gives Elementor a full set of animation tools. It comes with 100+ widgets, 25+ extensions, a library of starter templates featuring 200+ full websites, 2,000+ ready-made pages, and over 10,000 prebuilt sections.
You’ll also find a custom animation builder that lets you create your own effects. With this rich collection of tools and templates, designing animated websites becomes faster and more effortless.
Now, let’s follow a step-by-step guide to add image animation in WordPress with Animation Addons.
Requirements
- Elementor (Page Builder)
- Animations Addons (Our Plugin)
Tip: Make sure Animation Addons is installed and activated on your WordPress site before you start.
How To Activate Image Animation
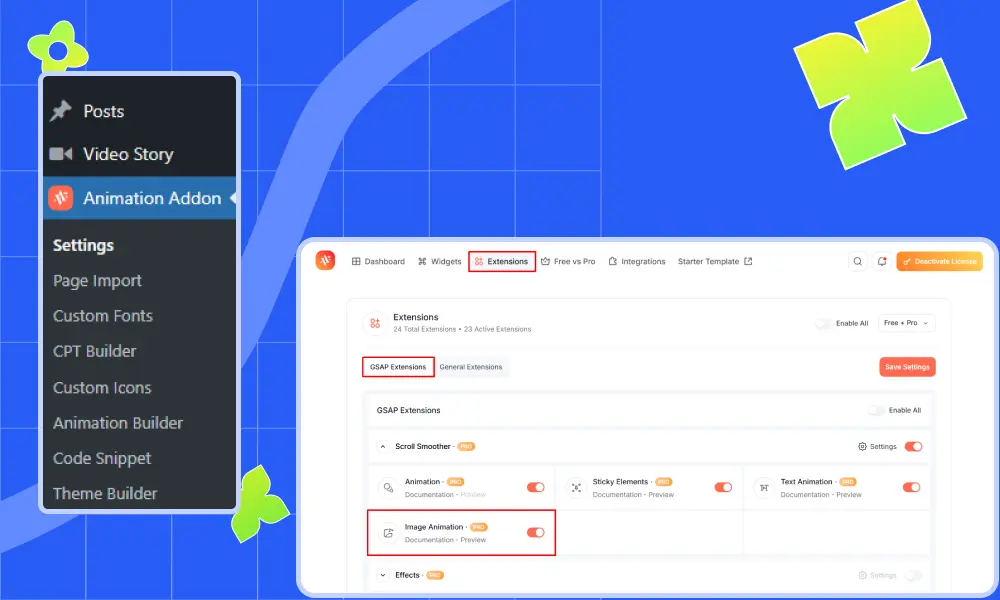
- Go to your WordPress Dashboard.
- Click on Animation Addons.
- Head to the Extension tab.
- Under ScrollSmoother, toggle on Image Animation.
- Image Animation is now enabled, you will find the option available in page builder.
- 1. Reveal Animation
To begin, select the element where you want to apply the image animation on your site. Once you select the element, you’ll see four options: None, Reveal, Scale, and Stretch. Let’s explore one by one.
Animation
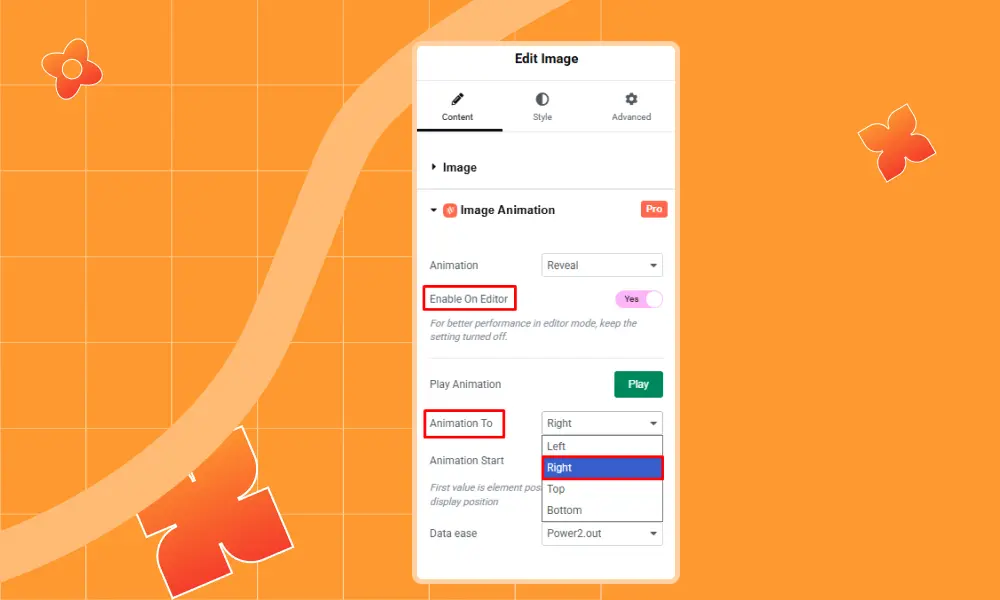
Choosing ‘None’ means no animation will be applied. Select ‘Reveal’ to get started.

Enable On Editor
Next, you’ll notice the ‘Enable’ setting. Without enabling the ‘Enable’ button, you won’t be able to preview your element’s animation directly in the “Enable On Editor”.
If you set it to “Yes”, the animation will play in the editor just like it does on the live page.
However, if you keep it “Off”, the element will remain static in the editor. This does not disable or remove the animation from the live site.
In short, this option gives you a quick idea of how your elements will animate on the front end.
Play Animation
In the Play Animation section, you can click ‘Play Now’ to see how the image animation looks right away.
Animation To :
The “Animation To” settings let you choose the direction in which your image will animate on the website. You can pick from Left, Right, Top, or Bottom.
- Left – Slides in from the left.
- Right – Slides in from the right.
- Top – Slides in from the top.
- Bottom – Slides in from the bottom.
Example: I selected Right, but chose the direction that fits your design.
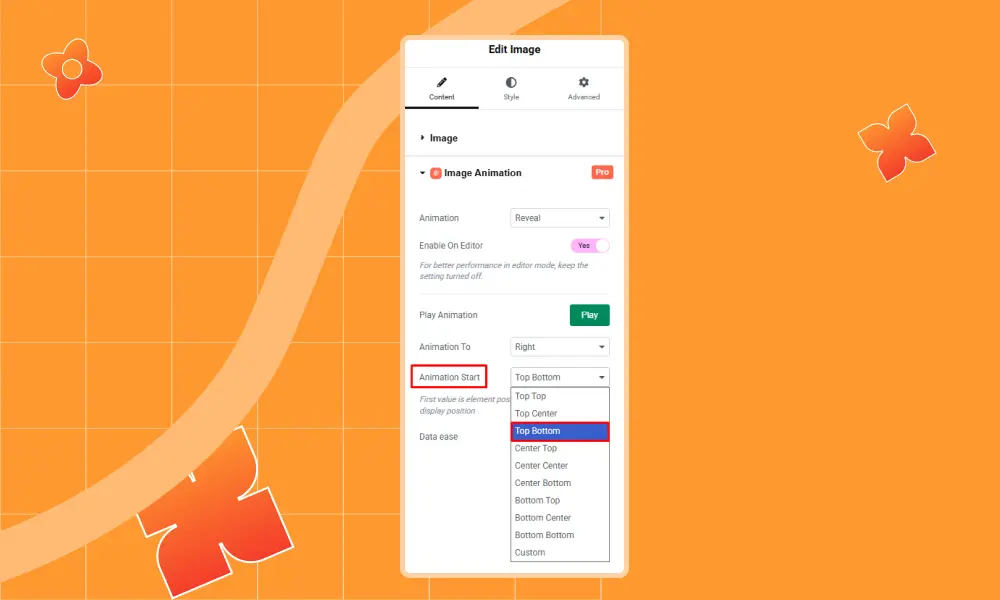
Animation Start :
Top Top: Starts when the top of the image aligns with the top of the screen.
Top Center: Starts when the top reaches the center.
Top Bottom: Triggers earlier—when the top hits the bottom of the screen.
Center Top: Starts when the center hits the top.
Center Center: Triggers when the image center reaches the screen center.
Bottom Top: Starts when the bottom of the image reaches the top of the screen.
Bottom Center: Triggers when the bottom hits the screen center.
Bottom Bottom: Begins when the image bottom aligns with the bottom of the screen.
Custom: Set your own scroll values. For example, I used 150% for the top, but you can use any value that works for you.
Out of all the options, I chose ‘Top Bottom,’ but you can select whichever one works best for you.
Data Ease :
Power2.out: Starts fast and slows down.
Bounce: Ends with a bouncing motion.
Back: Slightly overshoots and settles back.
Elastic: Stretches and snaps back with force.
Slowmo: Slows in the middle.
Stepped: Moves in distinct steps.
Sine: Smooth like a wave.
Expo: Starts fast and ends sharply.
Out of all the options, I chose ‘Bounce’, but you can pick whichever works best for you.

Final Output of Reveal Animation
- 2. Scale Animation
The Scale animation smoothly adjusts the size of your image as users scroll.
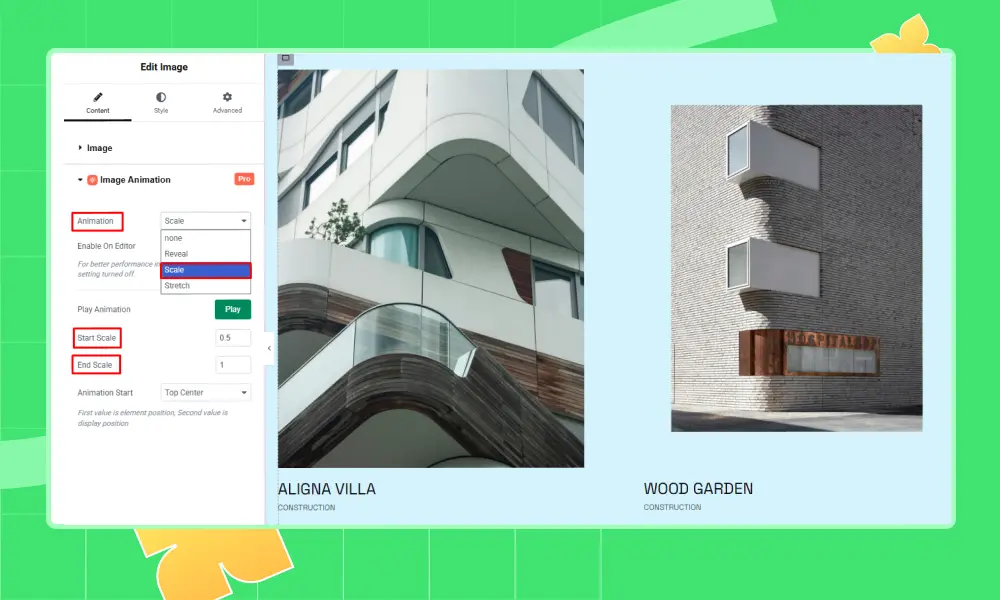
Animation
Choosing ‘Scale’ gives you a different animation effect compared to ‘Reveal,’ both in behavior and function.
Enable On Editor
Switch “Enable” to “Yes” to preview the animation directly in the editor.
Play Animation
Click Play Now to see how the scale effect behaves.
Start Scale
Defines the starting size:
- 0: Starts invisible and grows.
- 0.5: Starts at half size.
- 1: Starts at full size.
Example: I used 0.5, but you can set any value based on your preference.
End Scale
The End Scale function determines how large or small the image will be after the animation is complete.
For example, I set the End Scale to 1.
Note: You can choose any value you like, but keep in mind—higher values will make your image appear much larger.
Animation Start
(Same options as in Reveal Animation)
Top Top: Starts when the top of the image aligns with the top of the screen.
Top Center: Starts when the top reaches the center.
Top Bottom: Triggers earlier—when the top hits the bottom of the screen.
Center Top: Starts when the center hits the top.
Center Center: Triggers when the image center reaches the screen center.
Bottom Top: Starts when the bottom of the image reaches the top of the screen.
Bottom Center: Triggers when the bottom hits the screen center.
Bottom Bottom: Begins when the image bottom aligns with the bottom of the screen.
Custom: Set your own scroll values. For example, I used 150% for the top, but you can use any value that works for you.
Example: I chose Top Bottom, but feel free to experiment.
Final Output of Scale Animation
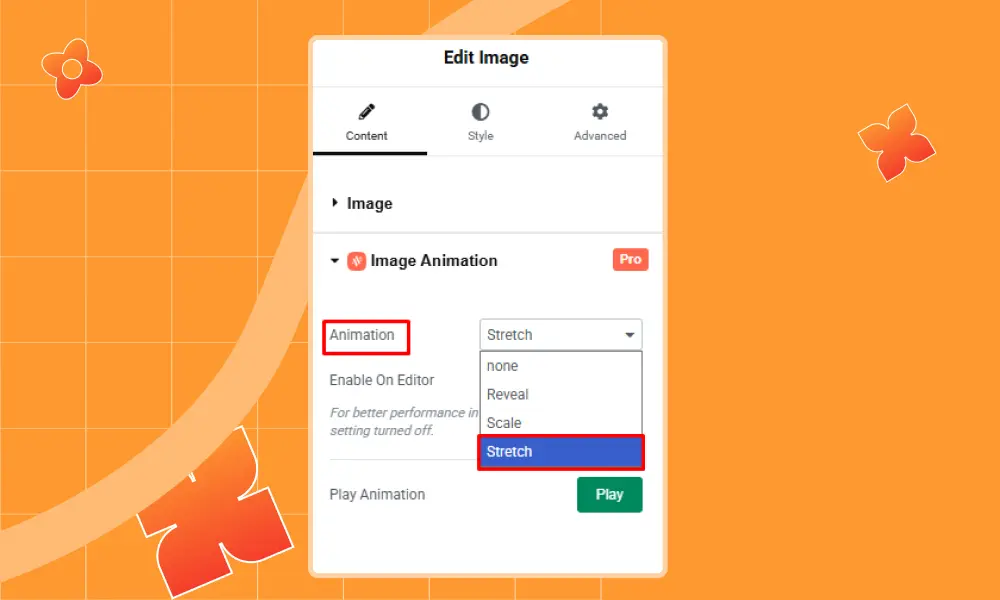
- 3. Stretch Animation
Stretch animation adds a dynamic movement to your image. It’s designed to catch the eye with a simple yet effective motion.
Animation
Choose Stretch from the animation options.
Enable On Editor
Toggle “Yes” to preview the animation inside the editor.
When “Off”, the animation won’t appear in the editor, but will still work live.
Play Animation
In the Play Animation section, you can click ‘Play Now’ to see how the image animation looks right away.
Final Output of Stretch Animation
Elementor Pro
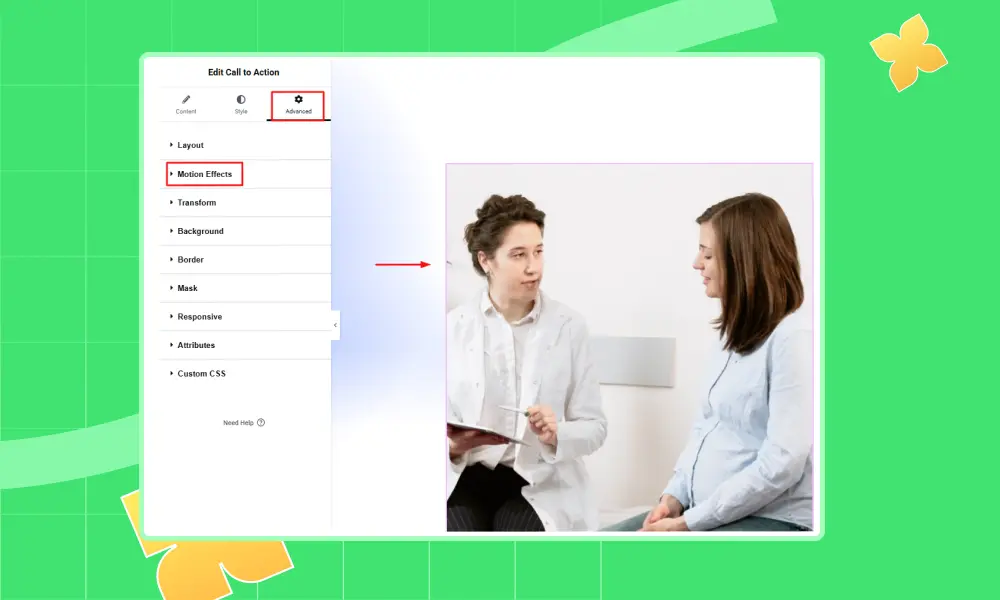
Elementor Pro is the paid version of the Elementor page builder for WordPress. It gives you full control over your website. You can use Elementor image animation, background image animation, and image hover animation directly from the Advanced > Motion Effects panel.
Here’s how to add image animations to Elementor Pro:
Step 1: To get started, click on any specific image element that you want to add image animation to. After that, go to the ‘Advanced’ tab.
Then scroll down a bit to find Motion Effects. Once you find it, click on it.
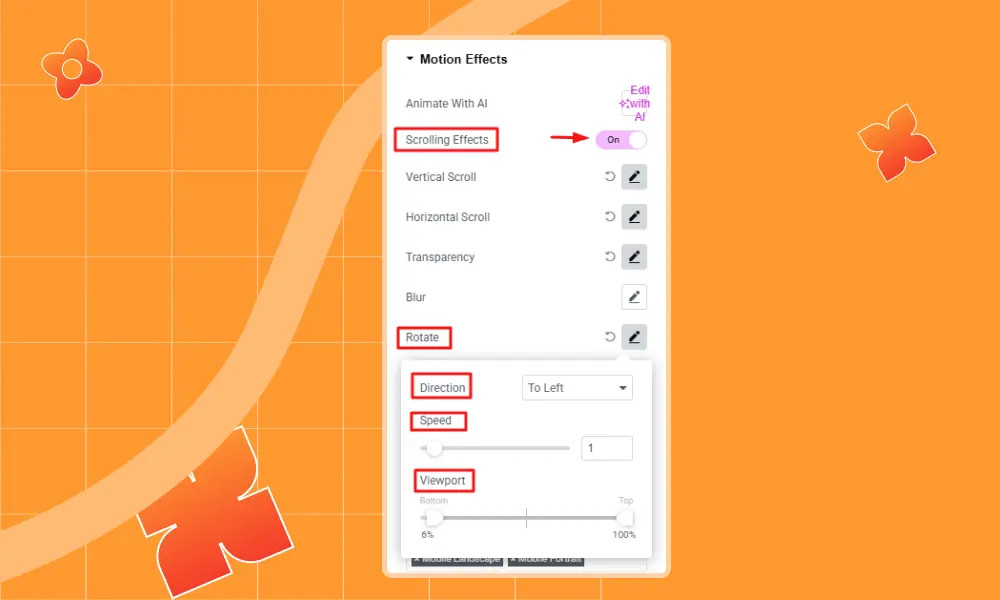
Step 2: Next, turn on ‘Scrolling Effects’ by toggling it. Then click the ‘Rotate’ option. Under Rotate, you’ll see settings for Direction, Speed, and Viewport. You can adjust these as you like.
For example, Direction is set to ‘To Left,’ Speed is set to 1, and Viewport is set to 6%.
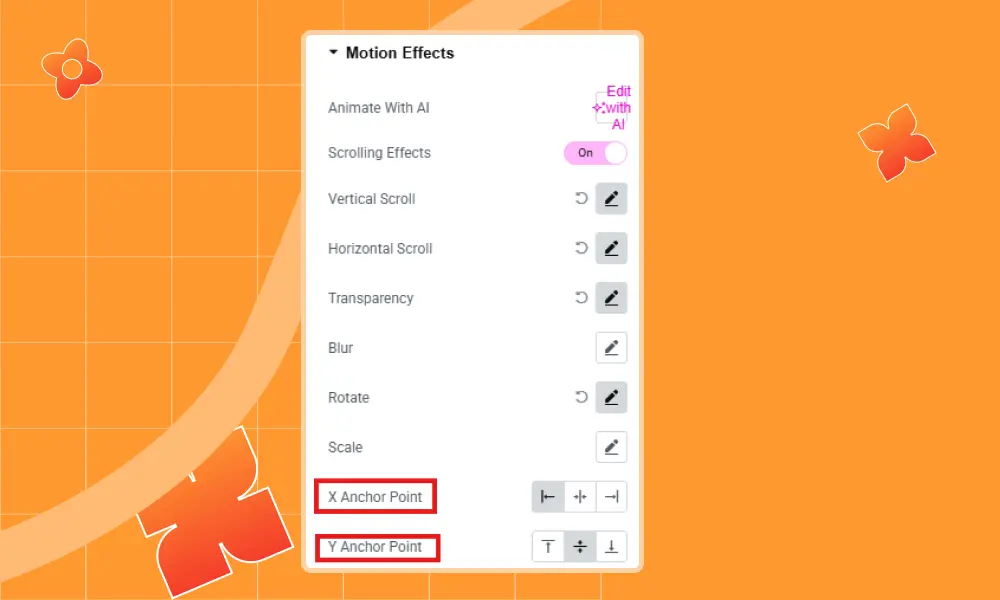
Now, under ‘X Anchor Point,’ you will find three options to control the element’s position: Left, Center, or Right. For example, here, X Anchor Point is set to Left, but you can choose either option based on your preference.
On the other hand, ‘Y Anchor Point’ defines the pivot for vertical animations. The options are Top, Center, and Bottom.
For example, here it is set to Center, but you can choose any option you prefer.
Step 3: In Entrance Animation, you’ll find different options to animate an element when it appears. For example, here it is set to ‘Fade In Up,’ but you can choose any option you prefer.

Finally, click on ‘Publish,’ then select ‘Preview’ to check the final result.
Custom CSS
Custom CSS is one of the most flexible ways to animate images in WordPress. Unlike plugins or built-in tools, CSS animations give you full control over timing, effects, and interaction. This method is ideal for developers or users with some coding knowledge.
Popular CSS Properties for Image Animation:
- Transition – Smoothly animates changes when a property (like size, color, or opacity) is triggered, often on hover.
- Transform – Allows scaling, rotating, skewing, or moving images in 2D and 3D space.
- Keyframes – Creates repeated or continuous animations, such as bouncing, fading, or sliding.
- Animation – Applies keyframes with duration, delay, and easing control.
Custom CSS allows you to create Reveal, Scale, and Stretch animations manually. Here are examples for each type:
1. Reveal Animation (Fade + Slide-In)
This animation reveals an image by sliding it upward while fading in.
					.reveal {

  opacity: 0;

  transform: translateY(30px);

  animation: revealAnim 1s ease-out forwards;

}

@keyframes revealAnim {

  to {

    opacity: 1;

    transform: translateY(0);

  }

}
How it works:
- The image starts slightly below with translateY(30px) and hidden with opacity: 0.
- The animation brings it into place while fading it in.
- Great for scroll-triggered reveals or hero images.
2. Scale Animation (Hover Zoom)
This animation enlarges the image smoothly when hovered.
					.scale: hover {

  transform: scale(1.1);

  transition: transform 0.4s ease;

}
How it works:
- On hover, the image scales up by 10%.
- The transition ensures smooth zooming.
- Perfect for galleries, product images, or call-to-action visuals.
3. Stretch Animation (Hover Expand)
This animation stretches the image width on hover.
					.stretch:hover {

  transform: scaleX(1.2);

  transition: transform 0.4s ease;

}
How it works:
- On hover, the image stretches horizontally to 120% of its original width.
- scaleX controls only the X-axis, while scaleY controls vertical stretch.
- Adds a modern, energetic effect to banners or interactive sections.
To use these, simply add the class (reveal, scale, or stretch) to your <img> tag, like this:
					<img src="example.jpg" alt="Image" class="reveal">

<img src="example.jpg" alt="Image" class="scale">

<img src="example.jpg" alt="Image" class="stretch">
GSAP Library
GSAP (GreenSock Animation Platform) is one of the most powerful and widely used JavaScript animation libraries. It lets you create smooth, high-performance animations that go far beyond what CSS or standard JavaScript can achieve.
GSAP works perfectly with WordPress, whether you’re coding directly or using page builders like Elementor. Here’s an example of each type of image animation code.
Reveal Animation (Fade + Slide-In)
					gsap.from(".reveal-image", {

  y: 50,           // start slightly below

  opacity: 0,      // start invisible

  duration: 1.2,   // animation time

  ease: "power2.out",

});
- Makes the image slide up and fade in when loaded.
- Great for hero sections, portfolios, or storytelling layouts.
Scale Animation (Hover Zoom or Pulse)
					gsap.to(".scale-image", {

  scale: 1.15,     // increase size by 15%

  duration: 0.5,

  repeat: -1,      // infinite loop

  yoyo: true,      // reverse animation each cycle

  ease: "power1.inOut"

});
- Smoothly enlarges the image repeatedly.
- Works well for interactive gallery items, product highlights, or buttons.
Stretch Animation (Horizontal Stretch)
					gsap.to(".stretch-image", {

  scaleX: 1.2,     // stretch horizontally

  duration: 0.6,

  repeat: -1,      // infinite loop

  yoyo: true,      // reverse back

  ease: "power1.inOut"

});
- Horizontally stretches the image back and forth.
- Ideal for banners, hero sections, or dynamic layouts that need subtle movement.
Best Practices & Common Mistakes to Avoid
Animations should make your website easier and more fun to use, not confusing. Don’t use too many effects or animate every part of the page because it can make your site look messy and slow. Always check your animations on phones, tablets, and different browsers to make sure they work well.
Use timing and smooth movement so animations feel natural. Good animations help show important things and make your site more interesting.
Keep It Simple
Animations should be simple and useful. Too much flashy or fast movement can distract people from your content. Small fade-ins, gentle scaling, or smooth slide-ins are usually enough to make your site look nice without confusing visitors.
Use Animation Purposefully
Every animation should serve a clear purpose, such as highlighting a key image, guiding attention, or emphasizing important messages. Avoid animating decorative elements that do not add value, as they can create visual clutter.
Optimize Performance
Heavy or complex animations can slow down your site, especially on mobile devices. Use hardware-accelerated CSS properties like transform and opacity, or optimized GSAP animations, to ensure smooth motion. Minimize unnecessary keyframes and avoid animating layout-heavy properties like width or height.
Test on Mobile
Animations that perform well on desktops may lag or stutter on smaller screens. Always test your animations across devices and adjust or disable effects for mobile if needed to maintain a smooth user experience.
Common Mistakes to Avoid
Animating every element on a page, combining too many animation types, ignoring performance impacts, skipping mobile testing, or using animations without user control can all negatively affect usability and site performance.
Conclusion
Image animations are one of the easiest ways to make a WordPress website look modern and engaging. With the right tools, you can turn plain pictures into moving elements that guide attention, highlight important content, and improve the overall user experience.
Whether you choose a plugin like Animation Addons or Elementor Pro, write your own CSS, or use the GSAP library for advanced effects, each method gives you full control over how your images appear and move on the screen.
The key is to keep animations simple, purposeful, and smooth. Test them on different devices, avoid overusing effects, and always make sure performance stays fast. Done right, image animations can make your site look polished, professional, and more enjoyable for every visitor.
FAQs
Do I need coding skills to animate images?
No, you don’t need coding skills. Plugins like Animation Addons and Elementor Pro let you add animations with just a few clicks. If you want more control, you can use CSS or GSAP, but for most users, plugins are the easiest way.
Which type of animation is best for performance?
Simple animations such as fade in, slide in, or scale work best for performance. They load quickly and run smoothly on most devices. Heavy effects with lots of movement can slow down your site, so it is better to keep things simple.
Can animations work on mobile devices?
Yes, animations work on mobile devices. However, smaller screens and slower internet speeds may affect how smooth they look. Always test your site on phones and tablets, and adjust or turn off certain animations if they feel too heavy.
Will animations slow down my website?
If you use too many animations or choose very heavy effects, yes, your site can slow down. To avoid this, optimize your images, use lightweight plugins, and limit animations to key areas like banners, call-to-actions, or product images.
Leave a Reply